Authentic Mexican Rice: A Flavorful Journey for Beginners
There’s something truly special about a side dish that can steal the spotlight. Mexican rice is one of those gems that transforms any meal into a memorable feast. I still remember the first time I tasted authentic Mexican rice—it was during a family dinner at my friend Rosa’s house. Her mom brought out a steaming pot of vibrant, golden rice, and I was hooked from the very first bite. The subtle flavors of tomato, garlic, and broth worked in perfect harmony, and I knew I had to learn how to make it myself.
PrintAuthentic Mexican Rice: A Flavorful Journey for Beginners

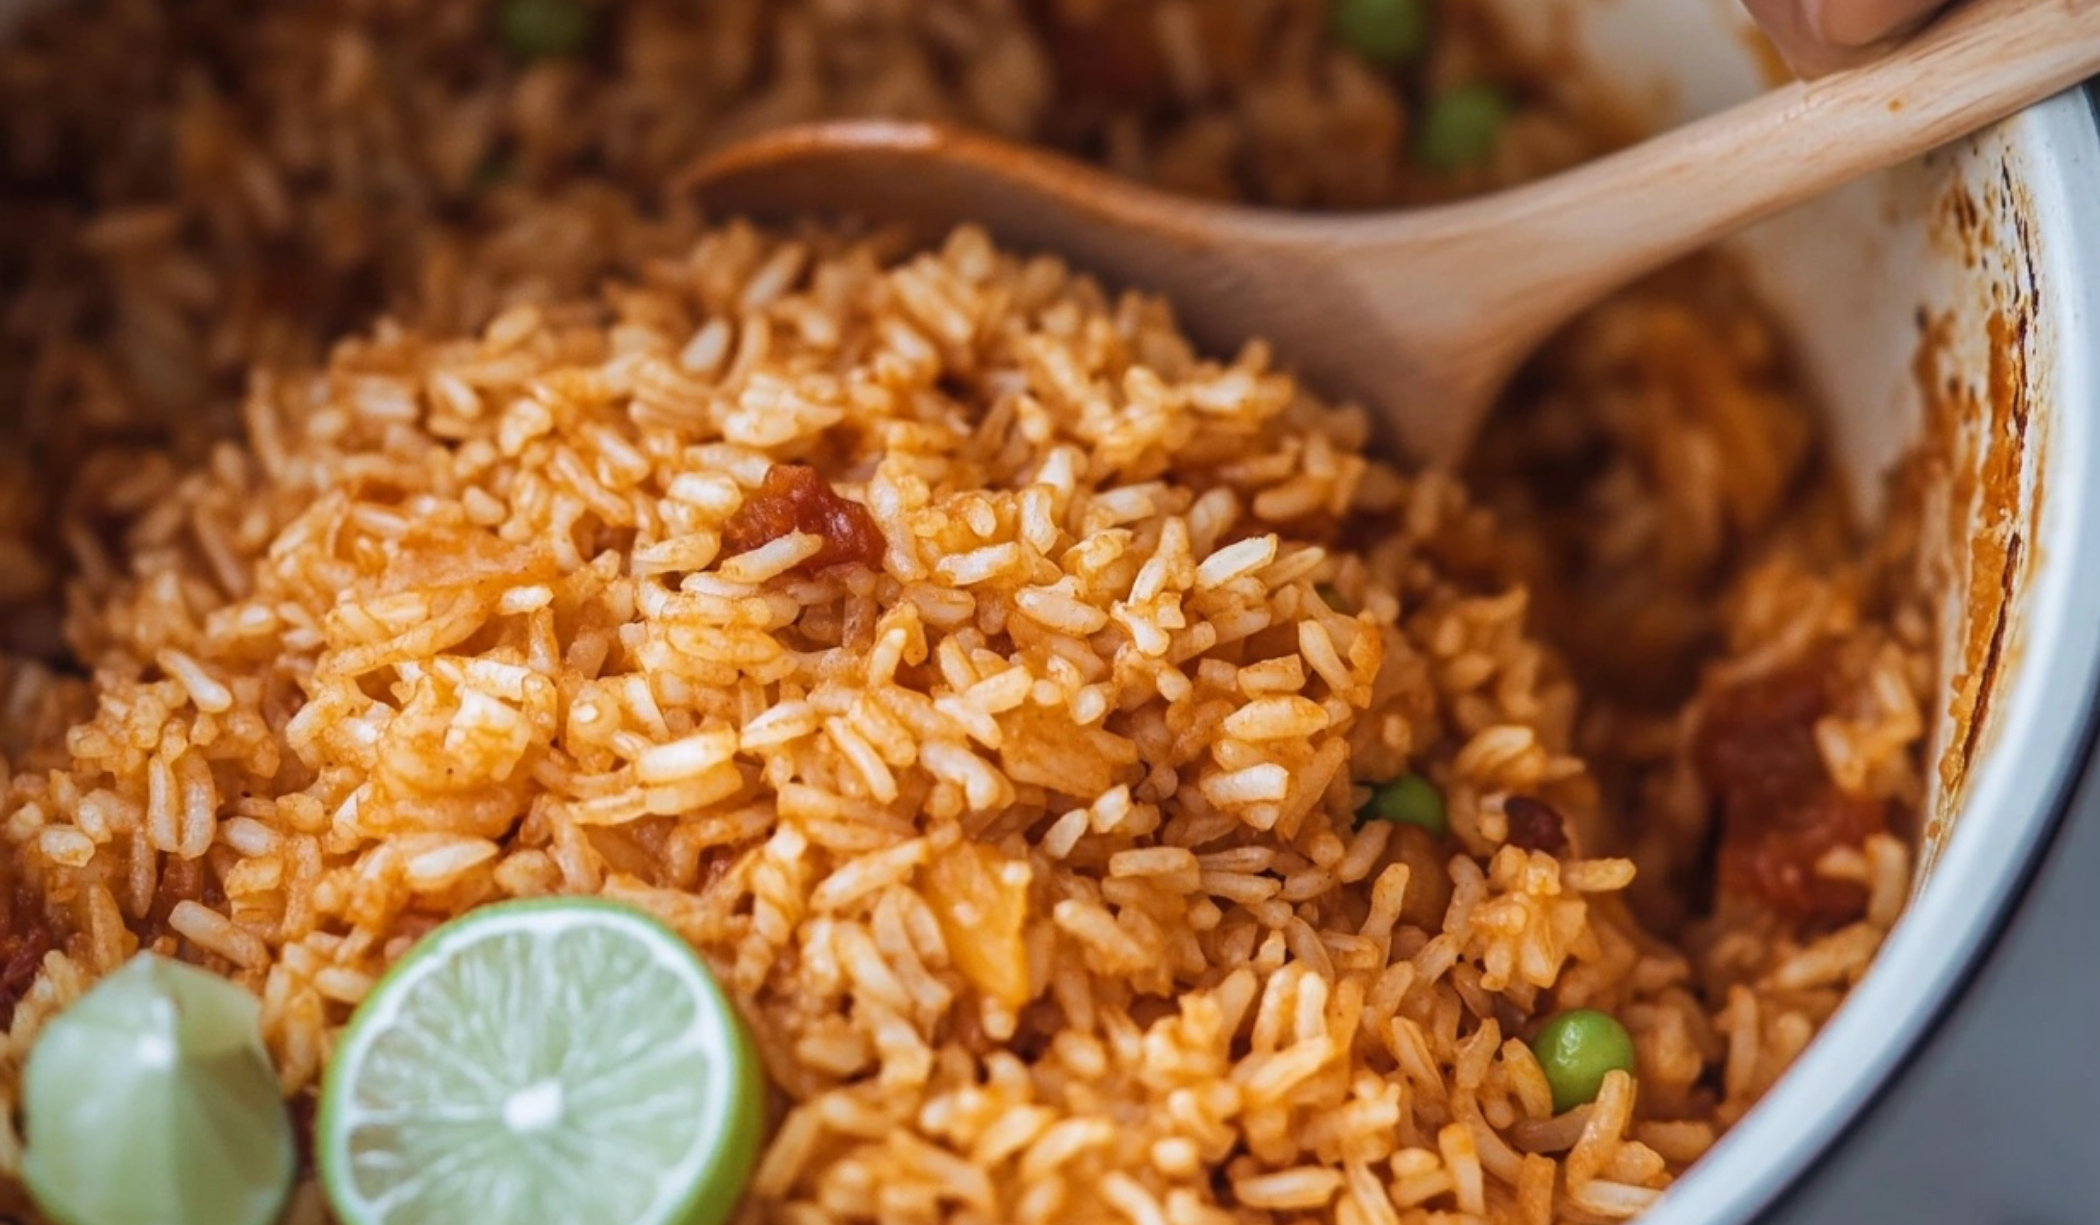
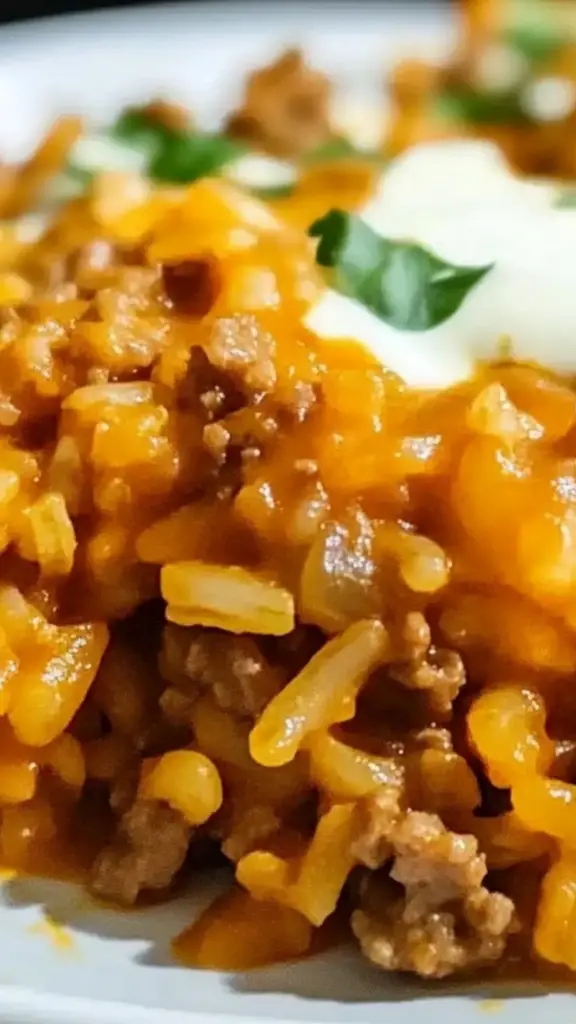
Say hello to the perfect side dish—Authentic Mexican Rice! 🍚🔥 Infused with tomatoes, spices, and just the right amount of heat, this recipe is your key to unlocking bold Mexican flavors. 🇲🇽🌶️ Easy to make and endlessly versatile, it’s a must-try for beginners looking to elevate their meals. Pair it with your favorite dishes or enjoy it on its own! 🌟
#MexicanRiceMagic 🍚✨ #BoldAndFlavorful 🌶️💥 #BeginnerCookApproved 👩🍳 #VersatileSideDish 🍴 #RiceLoversRejoice 💕 #AuthenticTaste 🇲🇽 #SimpleAndDelicious 🌟 #DinnerInspo 🚀 #TacoTuesdaySidekick 🌮 #FoodieGoals 😍
- Prep Time: 5 minutes
- Cook Time: 35 minutes
- Total Time: 40 minutes
- Yield: 8 servings 1x
Ingredients
- 2 cups long grain white rice: This type of rice is key to achieving the fluffy texture typical of Mexican rice. Avoid using short-grain rice, which can become sticky.
- ¼ cup olive oil: Adds a light, flavorful base for toasting the rice.
- ½ medium onion, finely diced: Yellow or white onion works best for authentic flavor.
- 1 Roma tomato, diced: Use a fresh, ripe tomato for sweetness and color.
- 4 cloves garlic, minced: Garlic adds depth to the dish. Adjust the amount if you prefer milder or stronger garlic flavors.
- 1 ½ teaspoons kosher salt, plus more to taste: Enhances the flavors of all the ingredients.
- 3 ½ cups broth (vegetable or chicken): This is the heart of the flavor. Use high-quality broth for the best results.
- 2 tablespoons tomato paste: Provides a rich tomato flavor and beautiful color.
- ½ cup frozen peas, thawed: Adds a pop of color and sweetness to the dish.
Instructions
Step 1: Rinse the Rice
Start by adding the rice to a fine mesh strainer or colander. Rinse it thoroughly under cold running water until the water runs clear. This step removes excess starch, ensuring that the rice turns out fluffy rather than sticky. Drain the rice well to prevent it from splattering when added to the hot oil.
Step 2: Toast the Rice
In a large saucepan or pot over low-medium heat, heat the olive oil. Once the oil is hot, add the rinsed and drained rice. Sauté for about 10 minutes, stirring frequently. The goal is to lightly toast the rice until it becomes golden brown. This step is crucial for enhancing the nutty flavor and creating the perfect texture.
Step 3: Add Aromatics
Add the diced onion, tomato, minced garlic, and salt to the pan. Stir well and let the ingredients sauté for about 30 seconds. This allows the flavors to meld and ensures the aromatics are evenly distributed throughout the dish.
Step 4: Incorporate Broth and Tomato Paste
Pour in the broth and add the tomato paste. Stir everything together until the tomato paste is fully dissolved. Bring the mixture to a boil, then reduce the heat to low. Cover the pot with a tight-fitting lid to trap the steam, which is essential for evenly cooked rice.
Step 5: Cook the Rice
Let the rice simmer on low heat for 20 minutes without lifting the lid. This undisturbed cooking time allows the rice to absorb the liquid and develop its full flavor.
Step 6: Rest and Fluff
After 20 minutes, remove the pot from the heat. Let it sit, covered, for 5 minutes to allow the remaining steam to finish cooking the rice. Remove the lid and gently fluff the rice with a fork. Avoid stirring, which can make the rice mushy.
Step 7: Add the Peas
Scatter the thawed frozen peas over the rice and gently fold them in with a fork. Their bright green color and subtle sweetness will enhance the dish. Taste the rice and adjust the salt if necessary.
Notes
Common Troubleshooting Tips
- Rice too mushy? This may be due to too much liquid or overcooking. Measure the broth carefully and set a timer.
- Rice sticking to the pot? Ensure you’re using a pot with a thick bottom and keep the heat low during cooking.
- Vegetables overcooked? Add delicate veggies like peas at the end to preserve their texture and color.
Kitchen Tips for Success
- Prep ingredients in advance: Dice the onion, tomato, and garlic before you start cooking. This keeps the process smooth and stress-free.
- Use a fork for fluffing: A fork separates the grains without breaking them, ensuring fluffy rice.
- Choose the right pot: A heavy-bottomed pot or saucepan helps distribute heat evenly, preventing burning.
This recipe is perfect for beginners because it uses simple, easy-to-find ingredients and involves straightforward techniques. Not only is it quick to prepare, but it’s also incredibly versatile. Whether you’re making tacos, enchiladas, or grilled chicken, this rice will complement your meal beautifully. Plus, it’s healthier and tastier than the rice you’ll find at most Mexican restaurants.
Let’s dive into the recipe, step by step, so you can confidently create this beloved dish in your own kitchen.
Ingredients and Preparation
To make this authentic Mexican rice, you’ll need the following ingredients:
- 2 cups long grain white rice: This type of rice is key to achieving the fluffy texture typical of Mexican rice. Avoid using short-grain rice, which can become sticky.
- ¼ cup olive oil: Adds a light, flavorful base for toasting the rice.
- ½ medium onion, finely diced: Yellow or white onion works best for authentic flavor.
- 1 Roma tomato, diced: Use a fresh, ripe tomato for sweetness and color.
- 4 cloves garlic, minced: Garlic adds depth to the dish. Adjust the amount if you prefer milder or stronger garlic flavors.
- 1 ½ teaspoons kosher salt, plus more to taste: Enhances the flavors of all the ingredients.
- 3 ½ cups broth (vegetable or chicken): This is the heart of the flavor. Use high-quality broth for the best results.
- 2 tablespoons tomato paste: Provides a rich tomato flavor and beautiful color.
- ½ cup frozen peas, thawed: Adds a pop of color and sweetness to the dish.
Ingredient Alternatives
If you want to customize the recipe, here are some substitutions:
- Rice: Swap white rice for brown rice for a nuttier flavor and added fiber. Adjust the cooking time and liquid ratio accordingly.
- Broth: Vegetable broth keeps it vegetarian, but chicken broth provides a richer flavor. You can even use beef broth for a deeper taste.
- Tomato Paste: In a pinch, you can substitute tomato sauce or blend a small canned tomato with a splash of water.
- Vegetables: Substitute peas with corn, green beans, or even diced carrots for variety.
Step-by-Step Instructions
Step 1: Rinse the Rice
Start by adding the rice to a fine mesh strainer or colander. Rinse it thoroughly under cold running water until the water runs clear. This step removes excess starch, ensuring that the rice turns out fluffy rather than sticky. Drain the rice well to prevent it from splattering when added to the hot oil.
Step 2: Toast the Rice
In a large saucepan or pot over low-medium heat, heat the olive oil. Once the oil is hot, add the rinsed and drained rice. Sauté for about 10 minutes, stirring frequently. The goal is to lightly toast the rice until it becomes golden brown. This step is crucial for enhancing the nutty flavor and creating the perfect texture.
Step 3: Add Aromatics
Add the diced onion, tomato, minced garlic, and salt to the pan. Stir well and let the ingredients sauté for about 30 seconds. This allows the flavors to meld and ensures the aromatics are evenly distributed throughout the dish.
Step 4: Incorporate Broth and Tomato Paste
Pour in the broth and add the tomato paste. Stir everything together until the tomato paste is fully dissolved. Bring the mixture to a boil, then reduce the heat to low. Cover the pot with a tight-fitting lid to trap the steam, which is essential for evenly cooked rice.
Step 5: Cook the Rice
Let the rice simmer on low heat for 20 minutes without lifting the lid. This undisturbed cooking time allows the rice to absorb the liquid and develop its full flavor.
Step 6: Rest and Fluff
After 20 minutes, remove the pot from the heat. Let it sit, covered, for 5 minutes to allow the remaining steam to finish cooking the rice. Remove the lid and gently fluff the rice with a fork. Avoid stirring, which can make the rice mushy.
Step 7: Add the Peas
Scatter the thawed frozen peas over the rice and gently fold them in with a fork. Their bright green color and subtle sweetness will enhance the dish. Taste the rice and adjust the salt if necessary.
Beginner Tips and Notes
Common Troubleshooting Tips
- Rice too mushy? This may be due to too much liquid or overcooking. Measure the broth carefully and set a timer.
- Rice sticking to the pot? Ensure you’re using a pot with a thick bottom and keep the heat low during cooking.
- Vegetables overcooked? Add delicate veggies like peas at the end to preserve their texture and color.
Kitchen Tips for Success
- Prep ingredients in advance: Dice the onion, tomato, and garlic before you start cooking. This keeps the process smooth and stress-free.
- Use a fork for fluffing: A fork separates the grains without breaking them, ensuring fluffy rice.
- Choose the right pot: A heavy-bottomed pot or saucepan helps distribute heat evenly, preventing burning.
Serving Suggestions
Mexican rice is incredibly versatile and pairs well with a variety of dishes. Here are a few serving ideas to elevate your meal:
- As a side dish: Serve alongside grilled chicken, beef fajitas, or shrimp tacos.
- In a bowl: Layer it with black beans, sautéed vegetables, and a dollop of guacamole for a satisfying rice bowl.
- With a sauce: Drizzle with salsa verde or chipotle cream sauce for an extra kick of flavor.
Leftover Storage Tips
- Refrigerate: Store leftover rice in an airtight container in the refrigerator for up to 4 days.
- Reheat: Add a splash of water or broth and reheat in the microwave or on the stovetop. Covering the dish while reheating prevents the rice from drying out.
- Freeze: Place portions of rice in freezer-safe bags or containers. Freeze for up to 3 months. Thaw in the refrigerator overnight before reheating.
Conclusion
Congratulations, you’ve mastered authentic Mexican rice! With its warm, savory flavors and fluffy texture, this dish is sure to become a favorite in your kitchen. The best part? It’s as easy as it is delicious, making it perfect for beginner cooks.
I’d love to hear about your experience making this recipe. Did you add your own twist, or stick to the classic version? Share your thoughts in the comments below, and don’t forget to tag me on social media when you share your creations. Let’s keep the joy of cooking alive, one flavorful bite at a time!