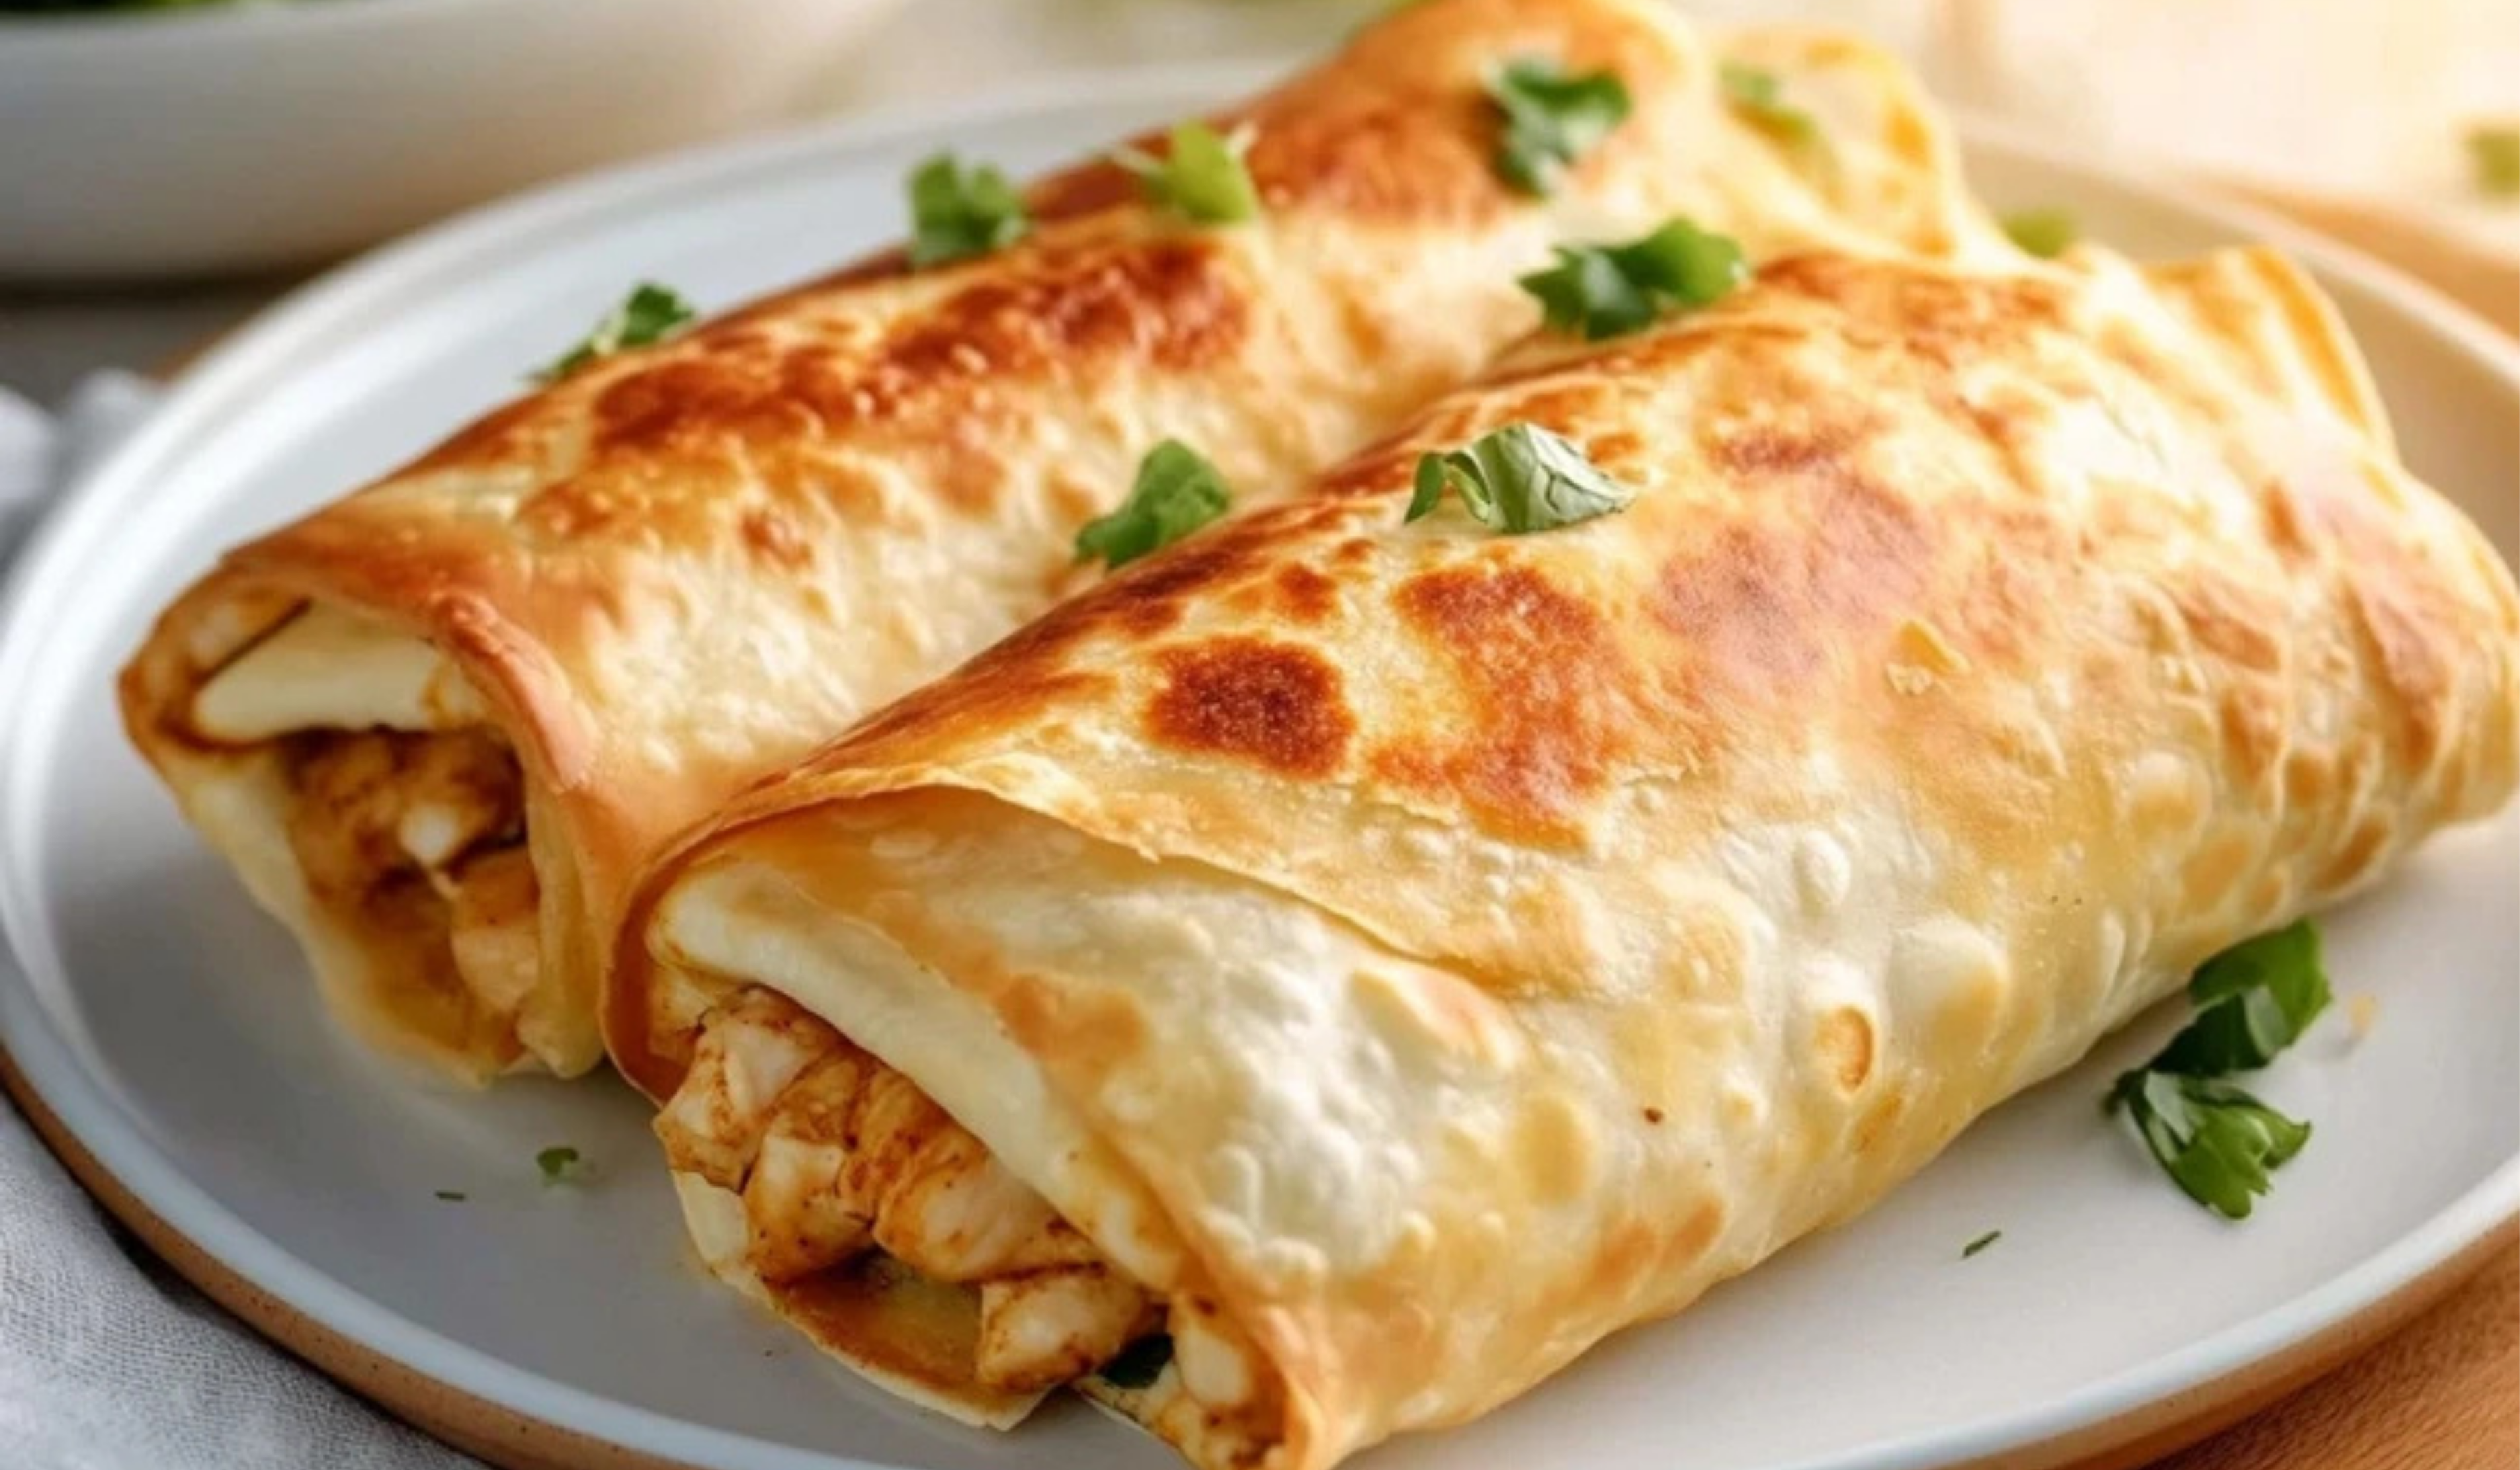
Baked Chicken Chimichangas: A Beginner’s Guide to Crispy, Cheesy Perfection
There is something undeniably comforting about biting into a crispy, golden-brown chimichanga filled with seasoned chicken and melted cheese. Traditionally, chimichangas are deep-fried, creating a crunchy shell that encases a flavorful filling. However, frying can be intimidating for beginners and adds unnecessary oil to the dish. This baked version achieves the same satisfying texture while being easier to prepare and lighter in calories.
PrintBaked Chicken Chimichangas: A Beginner’s Guide to Crispy, Cheesy Perfection
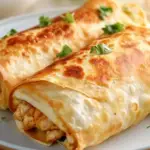
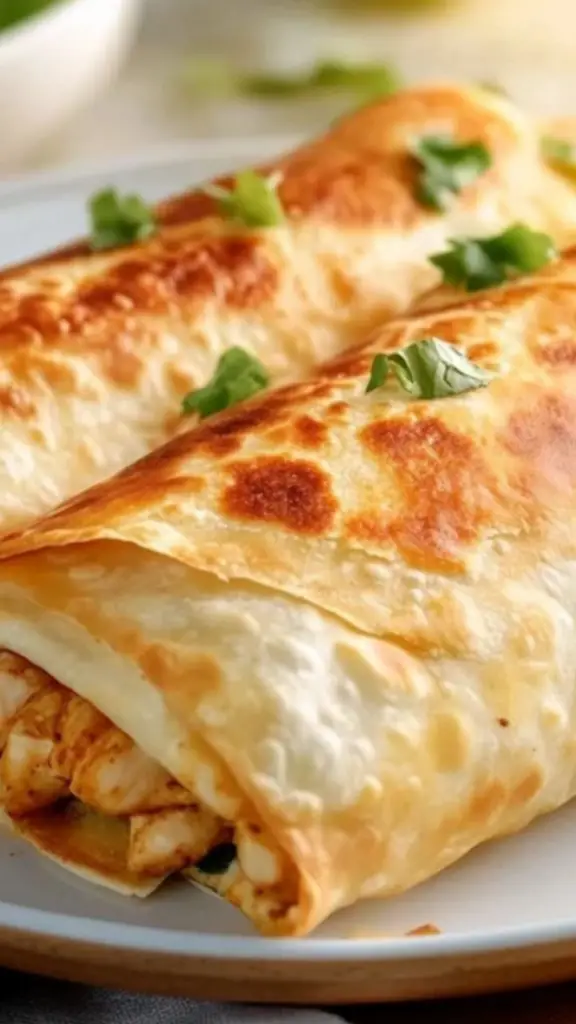
Baked Chicken Chimichangas are a lighter take on the deep-fried classic, delivering a golden, crispy shell filled with juicy, seasoned chicken and gooey melted cheese. This beginner-friendly recipe is easy to make and absolutely delicious! 🌯🔥🧀
- Prep Time: 10 minutes
- Cook Time: 25 minutes
- Total Time: 35 minutes
- Yield: 6 servings 1x
Ingredients
- 6 burrito-sized flour tortillas – Soft, large tortillas work best for wrapping the chimichangas. Smaller tortillas can be used for a snack-sized version.
- 3 cups Mexican shredded chicken – Shredded chicken seasoned with Mexican spices provides the base of the filling. Store-bought rotisserie chicken can also be used for convenience.
- ¾ cup shredded Monterey Jack or Pepper Jack cheese – Monterey Jack melts smoothly, while Pepper Jack adds a bit of spice.
- ¾ cup shredded cheddar cheese – Cheddar brings a sharp, rich flavor that complements the other ingredients.
- 2–3 tablespoons melted butter or vegetable oil – Brushing the tortillas before baking creates a crispy, golden-brown texture.
Instructions
1. Preheat the Oven
Set the oven to 400°F (200°C). Line a large baking sheet with aluminum foil or parchment paper for easy cleanup.
2. Prepare the Cheese Mixture
In a small bowl, mix the shredded Monterey Jack (or Pepper Jack) and cheddar cheese. This creates a balanced cheese blend with both creamy and sharp flavors.
3. Soften the Tortillas
Wrap the flour tortillas in a damp paper towel and microwave them for 20-25 seconds until they become soft and pliable. This prevents them from cracking when folded.
4. Drain the Chicken
If using pre-made Mexican shredded chicken, drain any excess liquid to avoid soggy chimichangas. If using plain shredded chicken, mix it with salsa, cumin, chili powder, and oregano for extra flavor.
5. Assemble the Chimichangas
- Lay a tortilla flat and sprinkle a small amount of the cheese mixture in the center.
- Add about ⅓ cup of shredded chicken on top of the cheese.
- Sprinkle a little more cheese over the chicken for a gooey filling.
6. Fold and Roll the Chimichangas
- Fold the bottom edge of the tortilla over the filling.
- Fold in the left and right sides to seal the edges.
- Roll the tortilla tightly, keeping the filling enclosed.
- Place it seam-side down on the prepared baking sheet. Repeat with the remaining tortillas.
7. Brush with Butter or Oil
Using a pastry brush or spoon, lightly coat the tops of the chimichangas with melted butter or vegetable oil. This helps them crisp up in the oven.
8. Bake Until Golden and Crispy
Place the baking sheet in the oven and bake for 25-30 minutes, or until the chimichangas are golden brown and crispy. There is no need to flip them, as the hot oven will ensure even cooking.
9. Serve with Toppings
Remove the chimichangas from the oven and let them cool for a few minutes. Serve them with guacamole, sour cream, pico de gallo, salsa, jalapeños, green onions, or fresh cilantro for extra flavor.
Notes
Common Mistakes and How to Fix Them:
- Tortillas Crack While Rolling – This happens if they are too cold. Warming them in the microwave makes them easier to fold.
- Filling Leaks Out While Baking – Overfilling the tortillas can cause them to burst open. Stick to about ⅓ cup of chicken per chimichanga.
- Not Crispy Enough – If the chimichangas do not crisp up, brush them with a little more butter or oil and bake for a few more minutes.
Helpful Kitchen Tips:
- Use Pre-Cooked Chicken – Rotisserie chicken saves time and adds great flavor.
- Make Ahead for Meal Prep – Assemble the chimichangas in advance and store them in the refrigerator until ready to bake.
- Freeze for Later – Wrap unbaked chimichangas in foil and freeze for up to 3 months. When ready to eat, bake directly from frozen at 400°F for about 35-40 minutes.
For those who are new to cooking, this recipe is a perfect introduction to making Mexican-inspired cuisine at home. It requires minimal ingredients, simple preparation techniques, and no complicated kitchen tools. With step-by-step guidance, helpful tips, and ingredient alternatives, even the most inexperienced cook can create a delicious and impressive meal.
Whether preparing a quick family dinner or trying out meal prepping for the week, these baked chicken chimichangas offer a practical and flavorful option. They can be customized with different toppings and sides, making them a versatile dish that can fit various tastes and dietary preferences.
Why This Recipe is Great for Beginners
- Simple Ingredients – Everything needed for this recipe is easy to find at any grocery store. Flour tortillas, shredded chicken, cheese, and a few seasonings create a rich and delicious filling.
- No Deep Frying Required – Baking eliminates the need for a large pot of hot oil, making the cooking process safer and more accessible for beginners.
- Customizable – The filling can be adjusted to include different spices, cheeses, or even a mix of chicken and vegetables.
- Quick and Efficient – The total preparation and cooking time is just 35 minutes, making it perfect for a busy schedule.
- Beginner-Friendly Techniques – Wrapping and rolling tortillas is easy to learn, and baking ensures even cooking with minimal effort.
Ingredients and Substitutions
Main Ingredients:
- 6 burrito-sized flour tortillas – Soft, large tortillas work best for wrapping the chimichangas. Smaller tortillas can be used for a snack-sized version.
- 3 cups Mexican shredded chicken – Shredded chicken seasoned with Mexican spices provides the base of the filling. Store-bought rotisserie chicken can also be used for convenience.
- ¾ cup shredded Monterey Jack or Pepper Jack cheese – Monterey Jack melts smoothly, while Pepper Jack adds a bit of spice.
- ¾ cup shredded cheddar cheese – Cheddar brings a sharp, rich flavor that complements the other ingredients.
- 2-3 tablespoons melted butter or vegetable oil – Brushing the tortillas before baking creates a crispy, golden-brown texture.
Toppings (Optional but Recommended):
- Guacamole
- Sour cream
- Pico de gallo
- Salsa
- Jalapeños
- Green onions
- Fresh cilantro
Alternative Ingredients:
- Protein Substitutes – If chicken is unavailable, shredded beef or turkey can be used.
- Cheese Variations – Mozzarella, Colby Jack, or a Mexican cheese blend can replace the suggested cheeses.
- Low-Carb Option – Whole wheat or low-carb tortillas work well for a healthier alternative.
- Dairy-Free Version – Use a dairy-free cheese alternative or skip the cheese altogether.
Step-by-Step Instructions
1. Preheat the Oven
Set the oven to 400°F (200°C). Line a large baking sheet with aluminum foil or parchment paper for easy cleanup.
2. Prepare the Cheese Mixture
In a small bowl, mix the shredded Monterey Jack (or Pepper Jack) and cheddar cheese. This creates a balanced cheese blend with both creamy and sharp flavors.
3. Soften the Tortillas
Wrap the flour tortillas in a damp paper towel and microwave them for 20-25 seconds until they become soft and pliable. This prevents them from cracking when folded.
4. Drain the Chicken
If using pre-made Mexican shredded chicken, drain any excess liquid to avoid soggy chimichangas. If using plain shredded chicken, mix it with salsa, cumin, chili powder, and oregano for extra flavor.
5. Assemble the Chimichangas
- Lay a tortilla flat and sprinkle a small amount of the cheese mixture in the center.
- Add about ⅓ cup of shredded chicken on top of the cheese.
- Sprinkle a little more cheese over the chicken for a gooey filling.
6. Fold and Roll the Chimichangas
- Fold the bottom edge of the tortilla over the filling.
- Fold in the left and right sides to seal the edges.
- Roll the tortilla tightly, keeping the filling enclosed.
- Place it seam-side down on the prepared baking sheet. Repeat with the remaining tortillas.
7. Brush with Butter or Oil
Using a pastry brush or spoon, lightly coat the tops of the chimichangas with melted butter or vegetable oil. This helps them crisp up in the oven.
8. Bake Until Golden and Crispy
Place the baking sheet in the oven and bake for 25-30 minutes, or until the chimichangas are golden brown and crispy. There is no need to flip them, as the hot oven will ensure even cooking.
9. Serve with Toppings
Remove the chimichangas from the oven and let them cool for a few minutes. Serve them with guacamole, sour cream, pico de gallo, salsa, jalapeños, green onions, or fresh cilantro for extra flavor.
Beginner Tips and Troubleshooting
Common Mistakes and How to Fix Them:
- Tortillas Crack While Rolling – This happens if they are too cold. Warming them in the microwave makes them easier to fold.
- Filling Leaks Out While Baking – Overfilling the tortillas can cause them to burst open. Stick to about ⅓ cup of chicken per chimichanga.
- Not Crispy Enough – If the chimichangas do not crisp up, brush them with a little more butter or oil and bake for a few more minutes.
Helpful Kitchen Tips:
- Use Pre-Cooked Chicken – Rotisserie chicken saves time and adds great flavor.
- Make Ahead for Meal Prep – Assemble the chimichangas in advance and store them in the refrigerator until ready to bake.
- Freeze for Later – Wrap unbaked chimichangas in foil and freeze for up to 3 months. When ready to eat, bake directly from frozen at 400°F for about 35-40 minutes.
Serving Suggestions
Pairing with Sides:
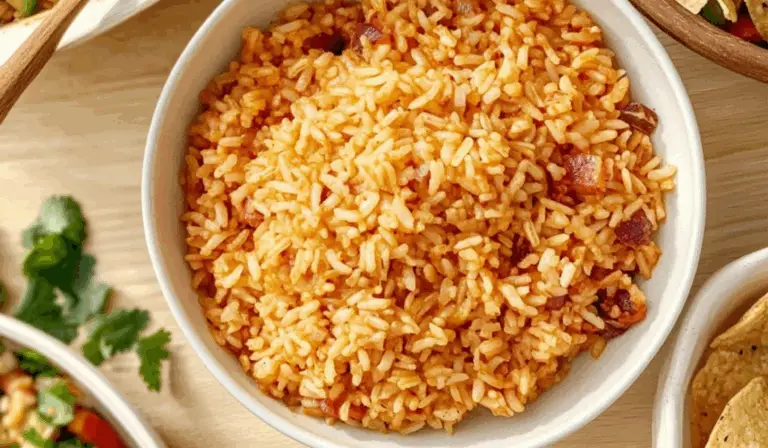
- Mexican Rice – A classic side that complements the flavors of the chimichangas.
- Refried Beans or Black Beans – Adds protein and texture to the meal.
- Corn Salad – A refreshing and slightly sweet contrast to the savory chimichanga.
- Tortilla Chips with Salsa or Queso – Perfect for dipping and snacking.
Storing Leftovers:
- Refrigeration – Store leftover chimichangas in an airtight container for up to 3 days. Reheat in the oven at 350°F for 10-15 minutes for best results.
- Freezing – Wrap cooked chimichangas individually in foil and freeze. Reheat directly from frozen at 375°F for 20-25 minutes.
Encouragement to Try the Recipe
Cooking can feel overwhelming at first, but starting with simple, foolproof recipes like these baked chicken chimichangas builds confidence in the kitchen. The process is easy to follow, and the result is a satisfying, restaurant-quality meal that can be made at home with minimal effort.
Experiment with different toppings, adjust the seasoning to taste, and make this dish your own. Whether preparing a quick weeknight dinner or looking for a meal that can be stored for later, these chimichangas are a great choice.
If you try this recipe, share your experience and any personal twists you added. Cooking is about creativity and enjoyment, and every cook brings their unique touch to a dish.