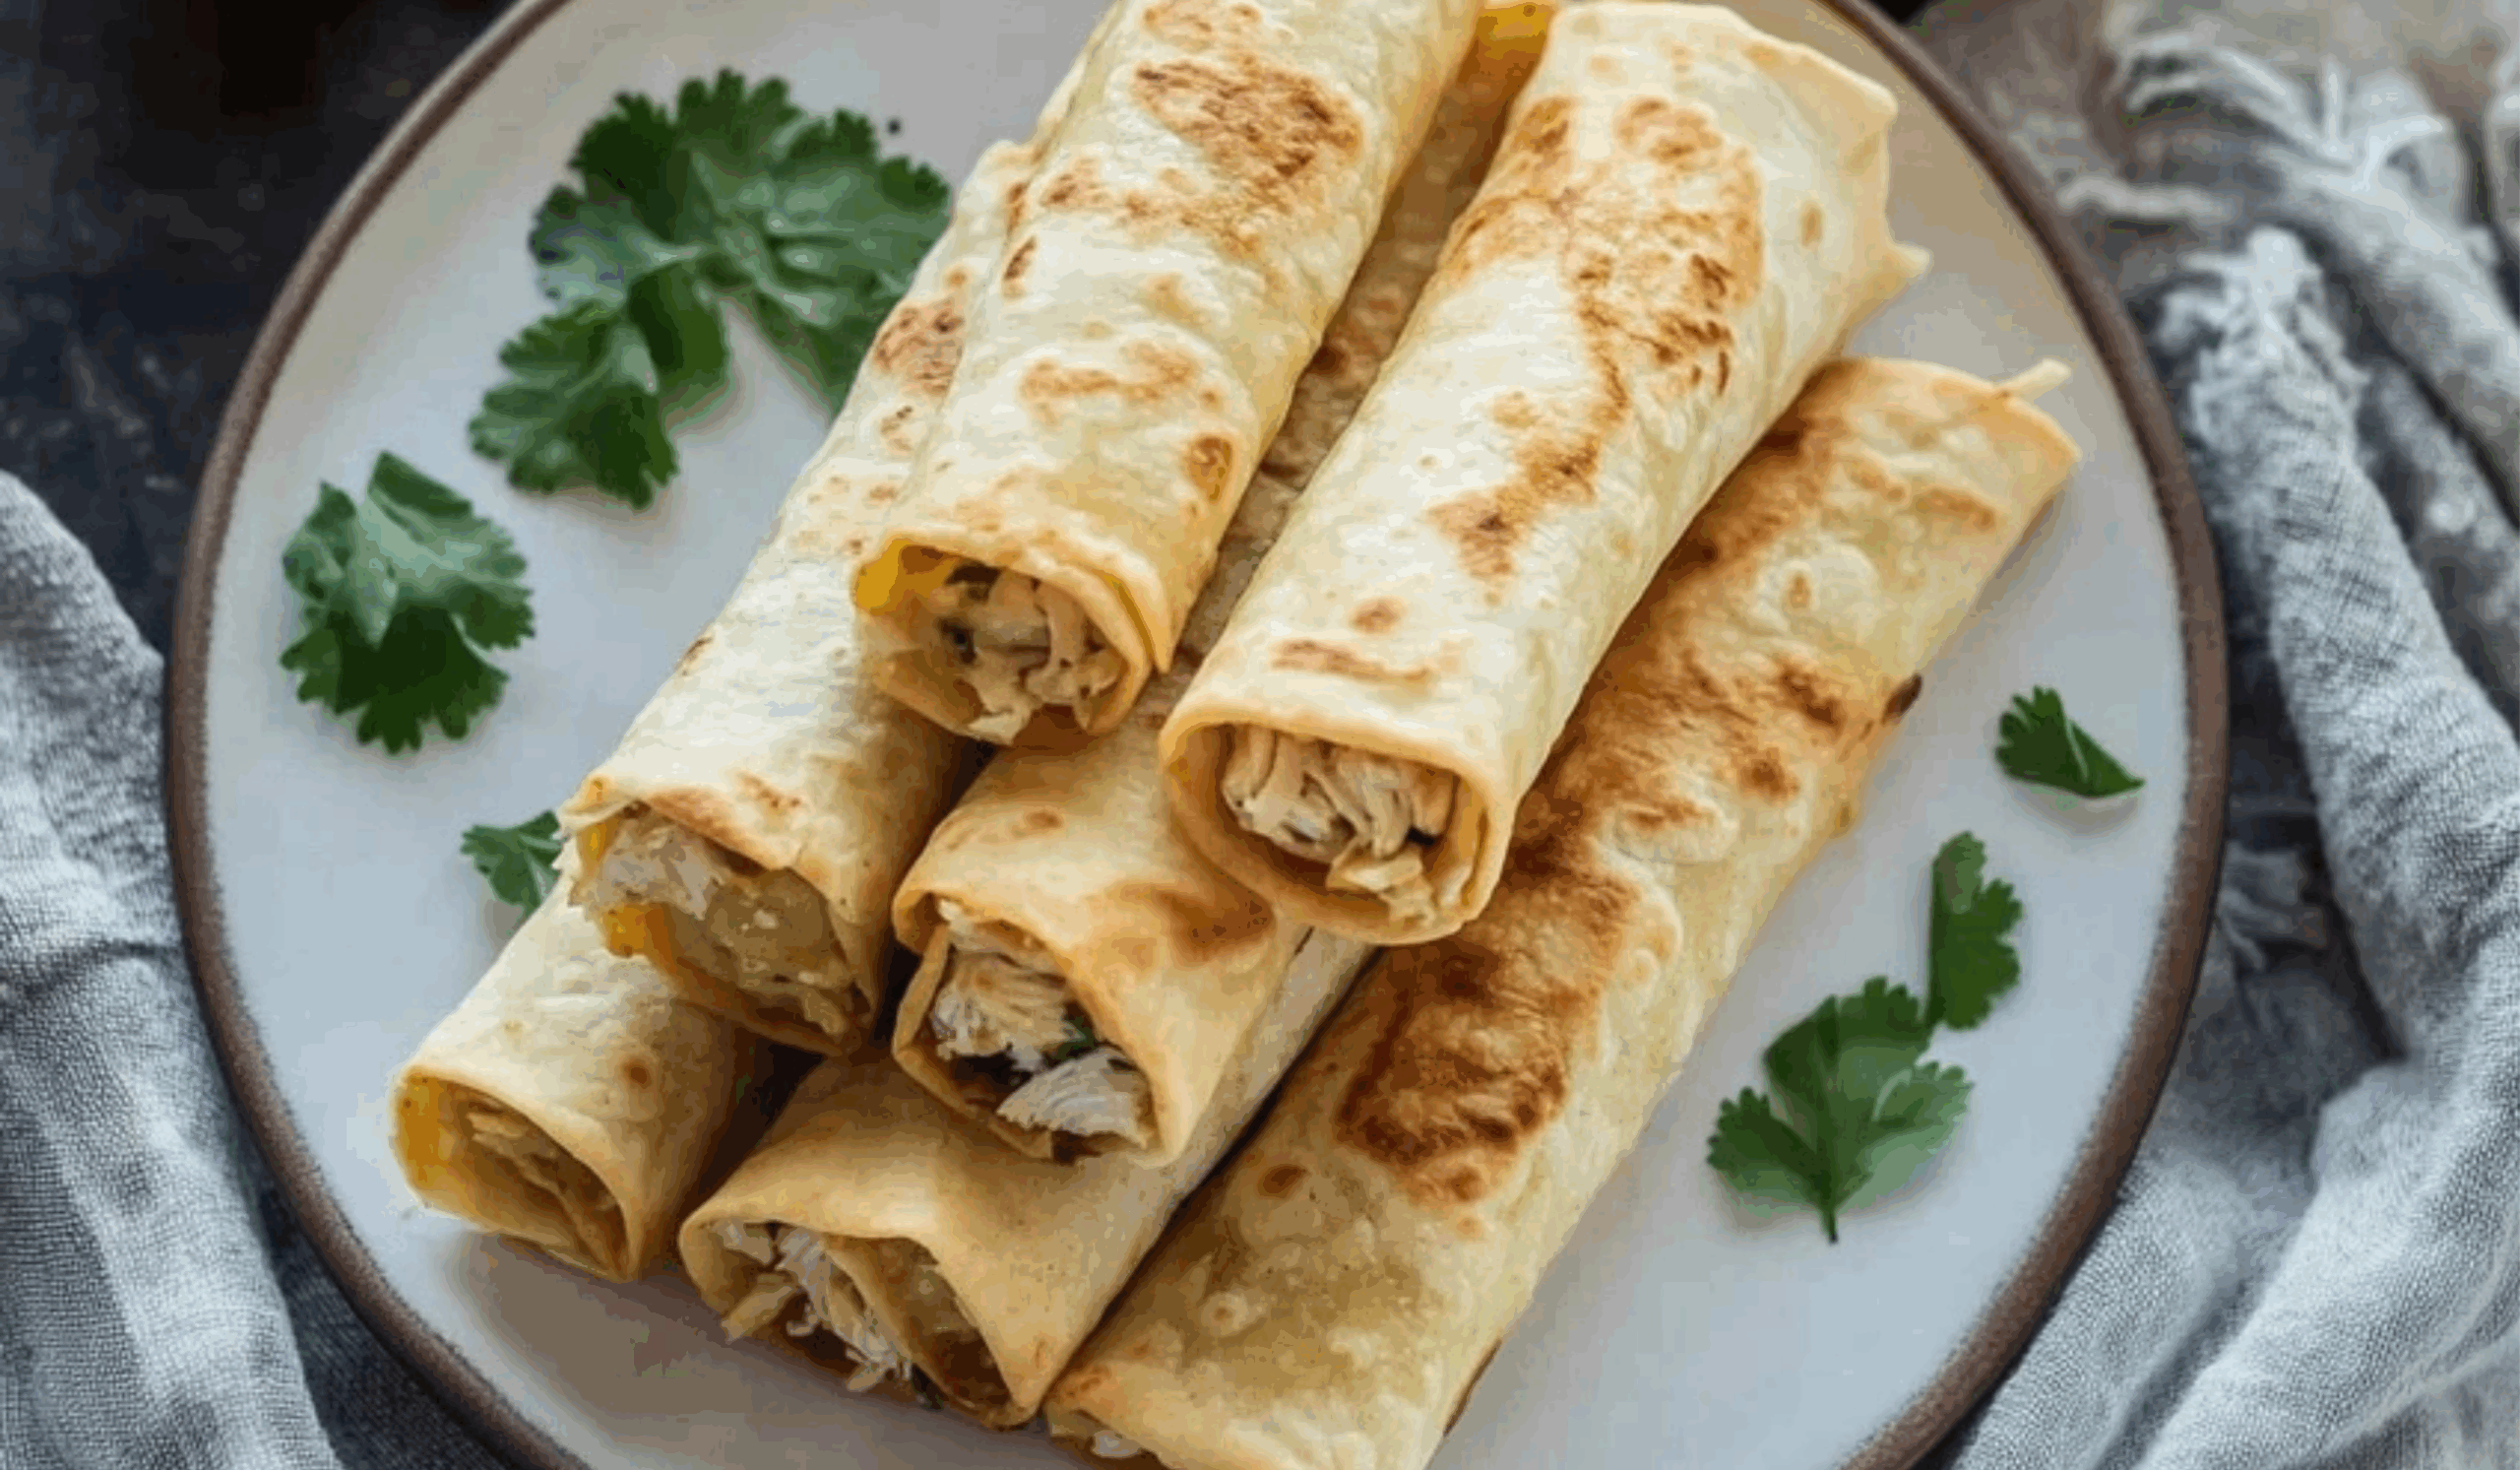
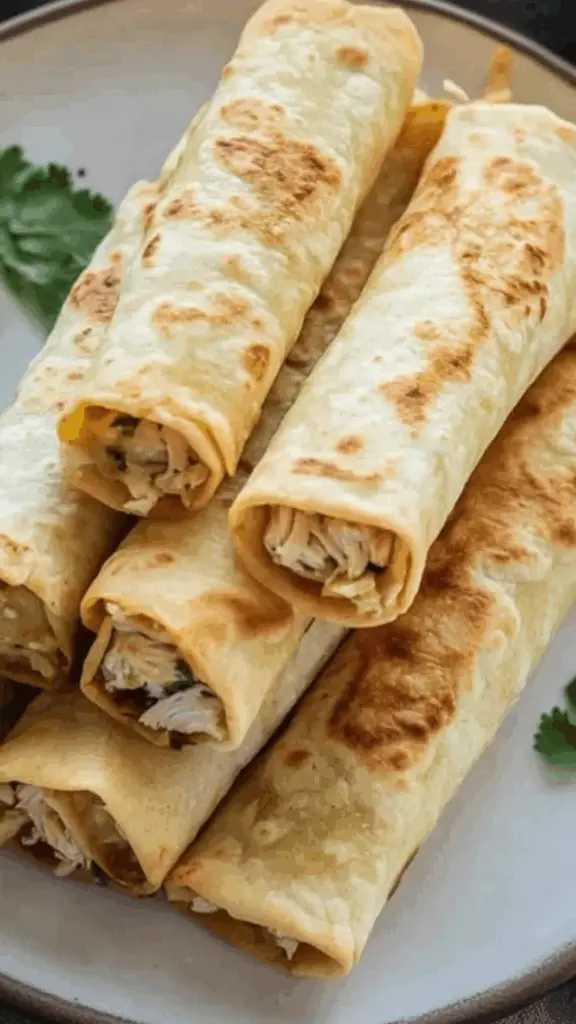
Baked Green Chile Chicken Taquitos: A Delicious and Healthier Twist on a Mexican Favorite
Some dishes hold a special place in the hearts of food lovers for their crispy texture, spicy kick, and comforting feel. One of those dishes is the taquito — a rolled tortilla filled with seasoned meat and baked or fried until golden brown. Traditionally deep-fried, taquitos are often considered indulgent. However, this version of baked green chile chicken taquitos offers a healthier alternative without compromising on flavor. The inspiration behind this recipe lies in combining the zesty heat of green chiles with tender shredded chicken, all wrapped in a golden-baked tortilla that satisfies with every bite. Whether you are cooking for a family dinner, a casual get-together, or simply want something flavorful yet easy on the calories, these taquitos check all the boxes. Let’s walk through how to bring them to life in your own kitchen.
Ingredients and Preparation
Here is a breakdown of what you’ll need before starting. This list includes ingredient alternatives to make the dish more flexible for your pantry or preferences:
Main Ingredients:
- 2 cups cooked and shredded chicken breast (rotisserie chicken is a great time-saving option)
- 1/2 cup low-fat cream cheese (room temperature for easier mixing)
- 1/4 cup plain non-fat Greek yogurt (can be replaced with sour cream if preferred)
- 1/3 cup salsa verde (use homemade or store-bought)
- 1/2 cup shredded cheddar or Monterey Jack cheese (or a blend of both)
- 1 can (4 oz) diced green chiles, drained
- 1/2 teaspoon garlic powder
- 1/2 teaspoon onion powder
- 1/4 teaspoon cumin
- 1/4 teaspoon salt (adjust to taste)
- 10 to 12 small corn tortillas
- Olive oil spray for baking
Optional Garnishes and Dipping Sauces:
- Fresh cilantro, chopped
- Lime wedges
- Avocado slices or guacamole
- Additional salsa verde or sour cream for dipping
Preparation Tips:
- Use cooked, cooled chicken that is finely shredded. This helps it combine better with the filling and makes it easier to roll.
- If your corn tortillas are stiff, warm them in a damp paper towel in the microwave for 20–30 seconds. This prevents cracking when rolling.
- You can adjust the spice level by adding diced jalapeños to the filling or using a spicier salsa verde.
Step-by-Step Instructions
- Preheat the oven to 425°F (220°C). Line a large baking sheet with parchment paper or foil. Lightly coat with nonstick spray or a drizzle of olive oil.
- Prepare the filling. In a medium bowl, combine the softened cream cheese, Greek yogurt, salsa verde, shredded cheese, diced green chiles, garlic powder, onion powder, cumin, and salt. Stir until well mixed.
- Fold in the chicken. Add the shredded chicken to the bowl and mix until the filling is evenly combined and creamy. Taste and adjust seasoning if needed.
- Warm the tortillas. Wrap a stack of tortillas in a damp paper towel and microwave for 30 seconds to soften. This step is crucial to prevent them from breaking when rolled.
- Assemble the taquitos. Spoon about 2 tablespoons of the chicken mixture onto the bottom third of a tortilla. Roll it tightly and place seam-side down on the prepared baking sheet. Repeat with the remaining tortillas and filling.
- Bake the taquitos. Lightly spray the tops of the rolled taquitos with olive oil. This helps them crisp up in the oven without frying. Bake for 18–20 minutes or until golden and slightly crisp.
- Serve hot. Remove from the oven and let them cool for a couple of minutes. Garnish with fresh cilantro or serve with your choice of dipping sauces.
Beginner Tips and Notes
- Use pre-cooked chicken to save time. Rotisserie chicken or leftover grilled chicken works wonderfully.
- Soften tortillas before rolling — if you skip this step, the tortillas may tear, making them harder to fill and roll properly.
- Don’t overfill. Using too much filling can cause the taquitos to burst during baking. Stick to 2 tablespoons per tortilla.
- Seal with the seam side down. This prevents the taquitos from unrolling during baking.
- Adjust for spice preference. If you or your guests are sensitive to heat, use mild green chiles and mild salsa verde. For those who enjoy a kick, use medium to hot versions.
- Make ahead tip. You can prepare and roll the taquitos ahead of time and refrigerate them until ready to bake. They also freeze well before or after baking.
- Don’t skip the oil spray. A quick mist of oil on top helps mimic the crispy texture of fried taquitos.
Serving Suggestions
These taquitos pair beautifully with a variety of sides and toppings. Here are a few ideas:
- Dips and sauces:
- Salsa verde or red salsa
- Guacamole or avocado crema
- Cilantro-lime sour cream
- Pico de gallo
- Side dishes:
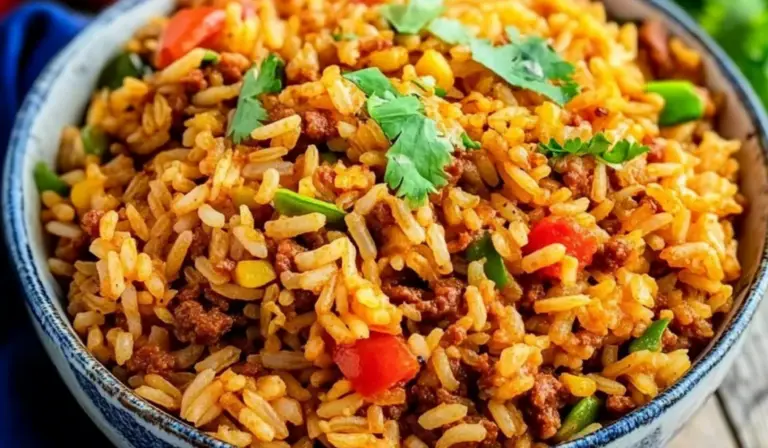
- Cilantro-lime rice
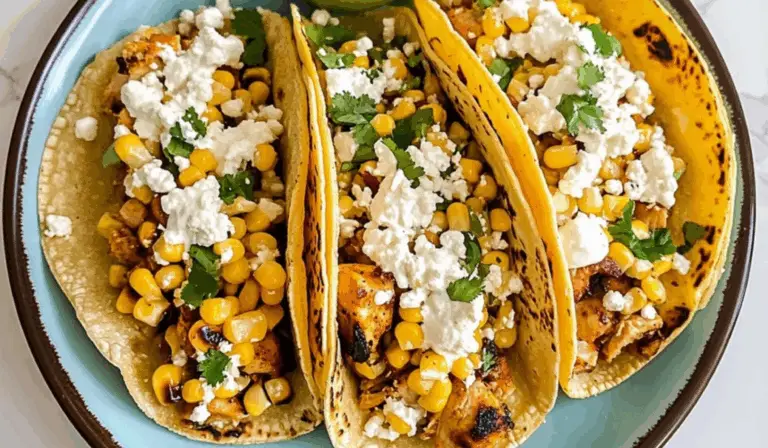
- Mexican street corn (elote)
- Refried beans or black beans
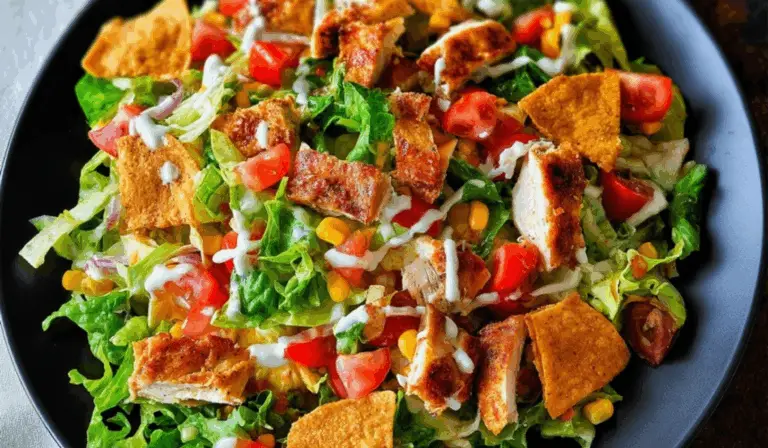
- Simple green salad with lime vinaigrette
- Presentation ideas:
- Arrange on a platter with lime wedges and chopped cilantro
- Serve in a taco bar setting so everyone can top their own
- Occasions:
- Game day snack or appetizer
- Quick weeknight dinner
- Party finger food or potluck dish
Baked Green Chile Chicken Taquitos: A Delicious and Healthier Twist on a Mexican Favorite

These Baked Green Chile Chicken Taquitos are crispy, cheesy, and bursting with bold flavor—without the deep fryer! 🌯🔥🍗 Shredded chicken, green chiles, and creamy cheese are rolled into tortillas and baked to golden perfection. 🌶️🧀🥑 They’re easy to prep, freezer-friendly, and perfect for dinner, snacks, or parties. Serve with salsa, guacamole, or sour cream for the ultimate healthier take on a Mexican favorite that’s sure to disappear fast! 🍽️🎉
- Prep Time: 15 minutes
- Cook Time: 20 minutes
- Total Time: 35 minutes
- Yield: 10–12 taquitos (serves 4) 1x
Ingredients
-
2 cups cooked and shredded chicken breast (rotisserie chicken is a great time-saving option)
-
1/2 cup low-fat cream cheese (room temperature for easier mixing)
-
1/4 cup plain non-fat Greek yogurt (can be replaced with sour cream if preferred)
-
1/3 cup salsa verde (use homemade or store-bought)
-
1/2 cup shredded cheddar or Monterey Jack cheese (or a blend of both)
-
1 can (4 oz) diced green chiles, drained
-
1/2 teaspoon garlic powder
-
1/2 teaspoon onion powder
-
1/4 teaspoon cumin
-
1/4 teaspoon salt (adjust to taste)
-
10 to 12 small corn tortillas
-
Olive oil spray for baking
Optional Garnishes and Dipping Sauces:
-
Fresh cilantro, chopped
-
Lime wedges
-
Avocado slices or guacamole
-
Additional salsa verde or sour cream for dipping
Preparation Tips:
-
Use cooked, cooled chicken that is finely shredded. This helps it combine better with the filling and makes it easier to roll.
-
If your corn tortillas are stiff, warm them in a damp paper towel in the microwave for 20–30 seconds. This prevents cracking when rolling.
-
You can adjust the spice level by adding diced jalapeños to the filling or using a spicier salsa verde.
Instructions
- Preheat the oven to 425°F (220°C). Line a large baking sheet with parchment paper or foil. Lightly coat with nonstick spray or a drizzle of olive oil.
- Prepare the filling. In a medium bowl, combine the softened cream cheese, Greek yogurt, salsa verde, shredded cheese, diced green chiles, garlic powder, onion powder, cumin, and salt. Stir until well mixed.
- Fold in the chicken. Add the shredded chicken to the bowl and mix until the filling is evenly combined and creamy. Taste and adjust seasoning if needed.
- Warm the tortillas. Wrap a stack of tortillas in a damp paper towel and microwave for 30 seconds to soften. This step is crucial to prevent them from breaking when rolled.
- Assemble the taquitos. Spoon about 2 tablespoons of the chicken mixture onto the bottom third of a tortilla. Roll it tightly and place seam-side down on the prepared baking sheet. Repeat with the remaining tortillas and filling.
- Bake the taquitos. Lightly spray the tops of the rolled taquitos with olive oil. This helps them crisp up in the oven without frying. Bake for 18–20 minutes or until golden and slightly crisp.
- Serve hot. Remove from the oven and let them cool for a couple of minutes. Garnish with fresh cilantro or serve with your choice of dipping sauces.
Notes
- Use pre-cooked chicken to save time. Rotisserie chicken or leftover grilled chicken works wonderfully.
- Soften tortillas before rolling — if you skip this step, the tortillas may tear, making them harder to fill and roll properly.
- Don’t overfill. Using too much filling can cause the taquitos to burst during baking. Stick to 2 tablespoons per tortilla.
- Seal with the seam side down. This prevents the taquitos from unrolling during baking.
- Adjust for spice preference. If you or your guests are sensitive to heat, use mild green chiles and mild salsa verde. For those who enjoy a kick, use medium to hot versions.
- Make ahead tip. You can prepare and roll the taquitos ahead of time and refrigerate them until ready to bake. They also freeze well before or after baking.
- Don’t skip the oil spray. A quick mist of oil on top helps mimic the crispy texture of fried taquitos.
Engagement Features
This recipe is an invitation to get creative in the kitchen while keeping things light and wholesome. If you’ve never made taquitos at home, this baked version is the perfect way to start. It delivers the crunch and bold flavors of traditional taquitos without the mess or calories of deep frying.
Whether you’re looking to use up leftover chicken or want a new twist for taco night, baked green chile chicken taquitos are a satisfying and crowd-pleasing option. Once you master the basic method, you can experiment with different fillings like ground beef, shredded turkey, or even a vegetarian version with beans and cheese.
We’d love to hear how your taquitos turned out. Did you stick to the green chile filling or try something new? What toppings or dips did you pair them with? Share your experience, your tips, or your questions in the comments. Your feedback helps others enjoy the recipe and builds a community of home cooks who learn and grow together.