Baked Stuffed Shrimp Casserole: A Beginner-Friendly Guide to a Delicious Seafood Dish
Seafood dishes often seem intimidating to beginner cooks, but this Baked Stuffed Shrimp Casserole proves that restaurant-quality meals can be simple to make at home. I remember the first time I attempted a shrimp casserole—I was nervous about overcooking the shrimp or making the stuffing too dry. However, with a few easy techniques, I realized that this dish is incredibly forgiving and perfect for those new to cooking.
PrintBaked Stuffed Shrimp Casserole: A Beginner-Friendly Guide to a Delicious Seafood Dish
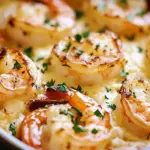
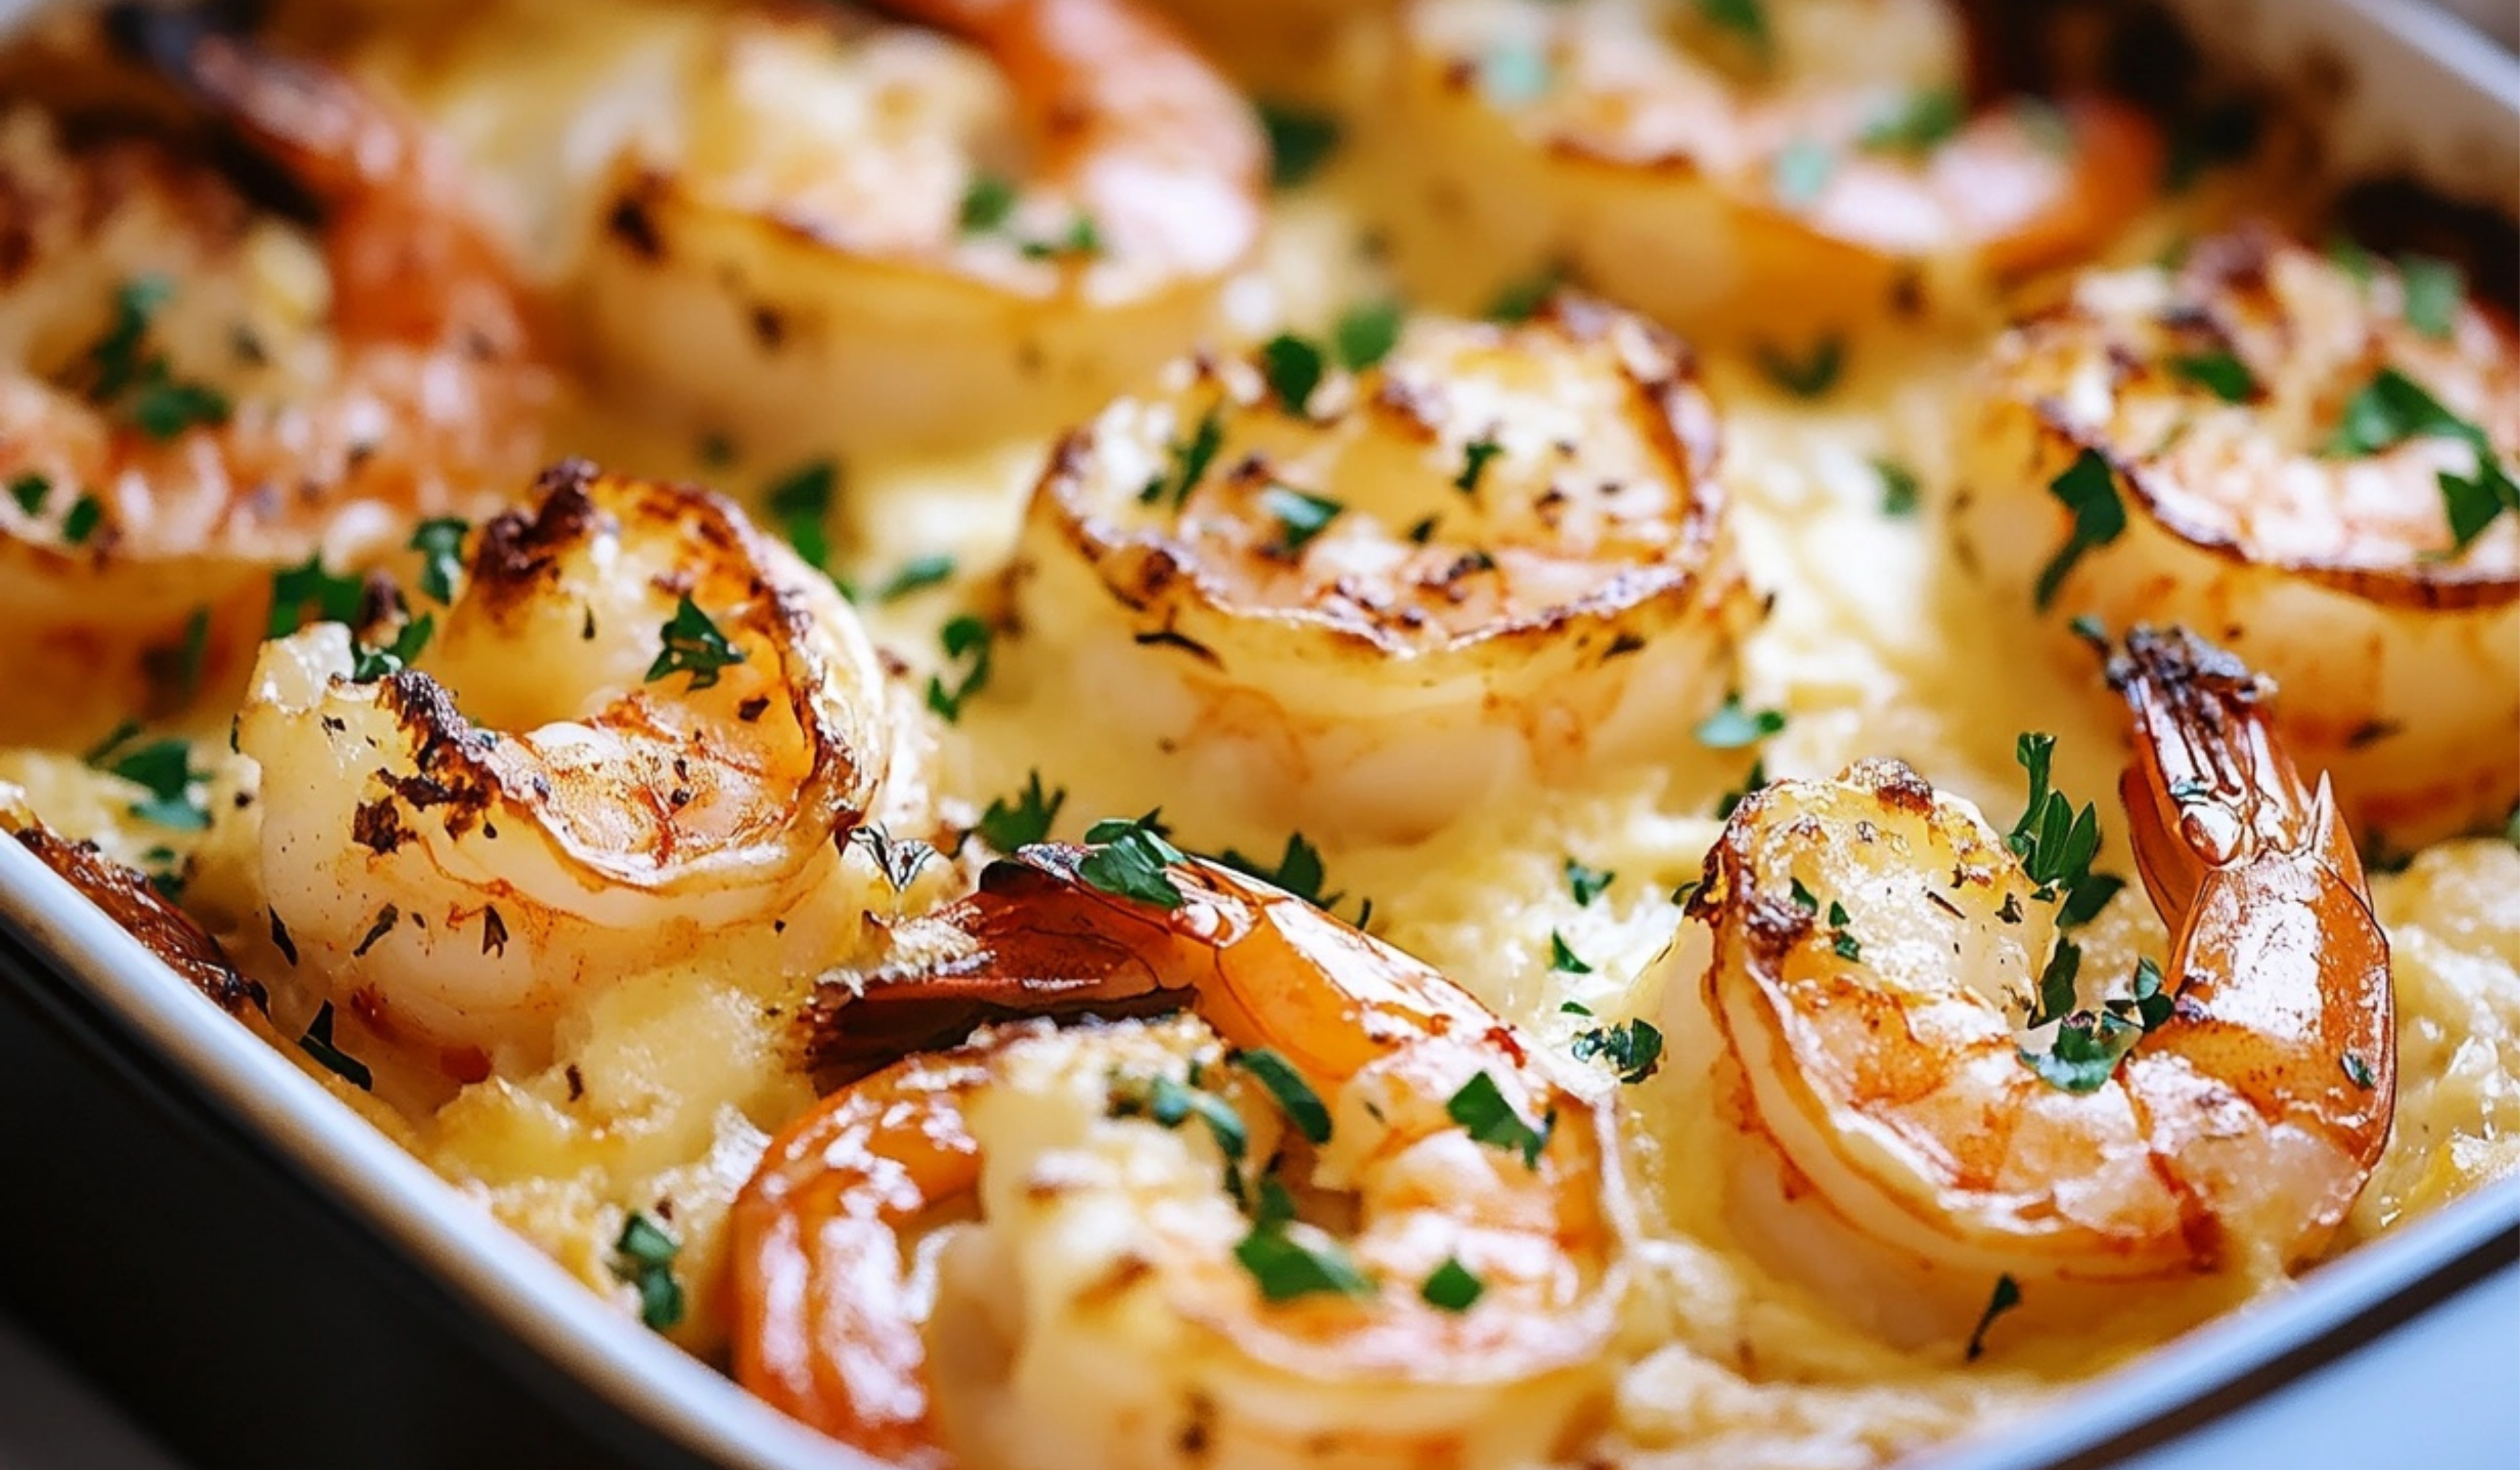
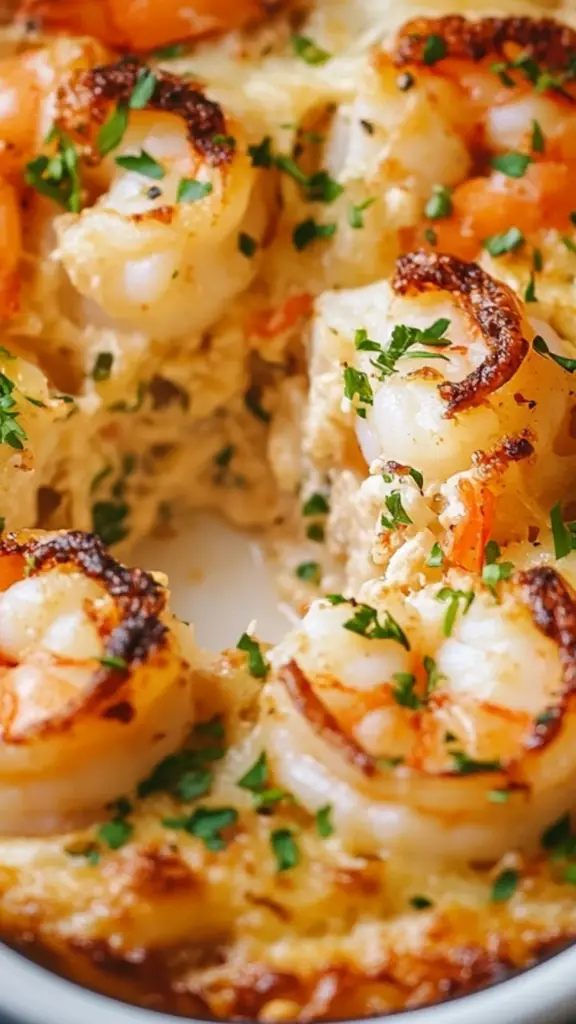
If you love shrimp and crave rich, buttery flavors, this Baked Stuffed Shrimp Casserole is a must-try! 🍤🔥 With tender shrimp nestled in a savory, herb-infused stuffing, this dish is incredibly easy yet impressive. No complicated steps—just mix, bake, and enjoy seafood perfection in every bite. Whether it’s a holiday dish or a weeknight comfort meal, this recipe makes cooking stress-free and delicious. Ready to take shrimp to the next level? Let’s get baking! 🍽️✨
#SeafoodCasserole 🍤 #BakedToPerfection 🔥 #GoldenCrust 😋 #HomemadeHappiness 🏡 #QuickAndTasty ⏳ #StuffedShrimpDelight 🍽️ #CozyAndDelicious ❤️ #EasyGourmet ✨ #SeafoodFeast 🌊 #ComfortFoodBliss 💥
- Prep Time: 15 minutes
- Cook Time: 25 minutes
- Total Time: 40 minutes
- Yield: 4 servings 1x
Ingredients
For the Shrimp
- 1 pound large shrimp, peeled and deveined
- 2 tablespoons olive oil
- Salt and pepper, to taste
For the Stuffing
- 1 cup breadcrumbs (panko for a crunchier texture or Italian-style for added flavor)
- 1/2 cup grated Parmesan cheese
- 1/4 cup melted butter
- 1/4 cup fresh parsley, chopped
- 1/4 cup green onions, finely chopped
- 2 cloves garlic, minced
- 1 tablespoon lemon juice
- 1/2 teaspoon paprika
- Salt and pepper, to taste
Instructions
Step 1: Prepare the Shrimp
- Preheat the Oven: Set your oven to 375°F (190°C) so it reaches the right temperature by the time you’re ready to bake.
- Season the Shrimp: Arrange the peeled and deveined shrimp in a single layer in a lightly greased baking dish. Drizzle with olive oil and season with salt and pepper. This step ensures that the shrimp stay moist and flavorful while baking.
Tip: If using frozen shrimp, thaw them completely by placing them in a bowl of cold water for about 15 minutes, then pat them dry with paper towels.
Step 2: Make the Stuffing
- Mix Ingredients: In a medium bowl, combine breadcrumbs, Parmesan cheese, melted butter, parsley, green onions, garlic, lemon juice, paprika, salt, and pepper.
- Ensure Even Coating: Stir everything together until the mixture is well combined and has a moist but crumbly texture.
Tip: The butter binds the ingredients, ensuring that the stuffing stays in place during baking. If it feels too dry, add an extra tablespoon of melted butter or a drizzle of olive oil.
Step 3: Assemble the Casserole
- Add the Stuffing: Spoon the breadcrumb mixture evenly over the shrimp, pressing gently so it sticks.
- Even Layering: Make sure each shrimp is covered to ensure an even golden crust.
Step 4: Bake the Casserole
- Bake for 20-25 Minutes: Place the dish in the preheated oven and bake until the shrimp turn pink and opaque, and the topping is golden brown.
Tip: Shrimp cook quickly, so keep an eye on them. Overcooked shrimp become rubbery, so remove the dish as soon as they turn firm and slightly curled.
Step 5: Serve and Enjoy
- Garnish and Serve: Remove the casserole from the oven, sprinkle with fresh parsley, and serve with lemon wedges on the side. The citrus enhances the flavors and balances the richness of the stuffing.
Notes
Common Mistakes and How to Fix Them
- Shrimp Overcooks Too Quickly: To avoid overcooking, start checking the shrimp at 18 minutes. If they are pink and curled, remove them immediately.
- Stuffing is Too Dry: If the breadcrumb mixture looks dry before baking, mix in an extra tablespoon of melted butter or a drizzle of olive oil.
- Topping Burns Before Shrimp is Done: Cover the dish loosely with foil during the last 5 minutes of baking to prevent over-browning.
Kitchen Efficiency Tips
- Pre-Chop Ingredients: Chop the garlic, parsley, and green onions before starting so everything is ready to mix.
- Use Fresh or Frozen Shrimp: If using frozen shrimp, thaw them properly before cooking to ensure even cooking.
- Make Ahead: You can prepare the stuffing mixture in advance and store it in the fridge for up to 24 hours, making meal prep even faster.
This recipe is great for beginners because it requires minimal prep, straightforward ingredients, and a short cooking time. The combination of juicy shrimp, buttery breadcrumbs, and aromatic herbs creates a flavorful and satisfying dish. Plus, it’s an excellent way to practice basic cooking skills like seasoning, baking, and making a breadcrumb topping.
If you’re looking for a quick yet elegant seafood dish, this recipe is the perfect place to start.
Ingredients and Preparation
For the Shrimp
- 1 pound large shrimp, peeled and deveined
- 2 tablespoons olive oil
- Salt and pepper, to taste
For the Stuffing
- 1 cup breadcrumbs (panko for a crunchier texture or Italian-style for added flavor)
- 1/2 cup grated Parmesan cheese
- 1/4 cup melted butter
- 1/4 cup fresh parsley, chopped
- 1/4 cup green onions, finely chopped
- 2 cloves garlic, minced
- 1 tablespoon lemon juice
- 1/2 teaspoon paprika
- Salt and pepper, to taste
For Garnish
- Lemon wedges, for serving
- Fresh parsley, chopped
Ingredient Substitutions for Flexibility
- Shrimp Alternative: If shrimp isn’t available, you can use bite-sized pieces of white fish like cod or tilapia.
- Breadcrumbs: Swap out regular breadcrumbs for crushed crackers or even ground almonds for a gluten-free option.
- Cheese: If you don’t have Parmesan, try pecorino Romano or omit the cheese for a lighter version.
- Butter Substitute: Use olive oil for a healthier alternative without sacrificing flavor.
Step-by-Step Instructions
Step 1: Prepare the Shrimp
- Preheat the Oven: Set your oven to 375°F (190°C) so it reaches the right temperature by the time you’re ready to bake.
- Season the Shrimp: Arrange the peeled and deveined shrimp in a single layer in a lightly greased baking dish. Drizzle with olive oil and season with salt and pepper. This step ensures that the shrimp stay moist and flavorful while baking.
Tip: If using frozen shrimp, thaw them completely by placing them in a bowl of cold water for about 15 minutes, then pat them dry with paper towels.
Step 2: Make the Stuffing
- Mix Ingredients: In a medium bowl, combine breadcrumbs, Parmesan cheese, melted butter, parsley, green onions, garlic, lemon juice, paprika, salt, and pepper.
- Ensure Even Coating: Stir everything together until the mixture is well combined and has a moist but crumbly texture.
Tip: The butter binds the ingredients, ensuring that the stuffing stays in place during baking. If it feels too dry, add an extra tablespoon of melted butter or a drizzle of olive oil.
Step 3: Assemble the Casserole
- Add the Stuffing: Spoon the breadcrumb mixture evenly over the shrimp, pressing gently so it sticks.
- Even Layering: Make sure each shrimp is covered to ensure an even golden crust.
Step 4: Bake the Casserole
- Bake for 20-25 Minutes: Place the dish in the preheated oven and bake until the shrimp turn pink and opaque, and the topping is golden brown.
Tip: Shrimp cook quickly, so keep an eye on them. Overcooked shrimp become rubbery, so remove the dish as soon as they turn firm and slightly curled.
Step 5: Serve and Enjoy
- Garnish and Serve: Remove the casserole from the oven, sprinkle with fresh parsley, and serve with lemon wedges on the side. The citrus enhances the flavors and balances the richness of the stuffing.
Beginner Tips and Notes
Common Mistakes and How to Fix Them
- Shrimp Overcooks Too Quickly: To avoid overcooking, start checking the shrimp at 18 minutes. If they are pink and curled, remove them immediately.
- Stuffing is Too Dry: If the breadcrumb mixture looks dry before baking, mix in an extra tablespoon of melted butter or a drizzle of olive oil.
- Topping Burns Before Shrimp is Done: Cover the dish loosely with foil during the last 5 minutes of baking to prevent over-browning.
Kitchen Efficiency Tips
- Pre-Chop Ingredients: Chop the garlic, parsley, and green onions before starting so everything is ready to mix.
- Use Fresh or Frozen Shrimp: If using frozen shrimp, thaw them properly before cooking to ensure even cooking.
- Make Ahead: You can prepare the stuffing mixture in advance and store it in the fridge for up to 24 hours, making meal prep even faster.
Serving Suggestions
Best Side Dishes
Pair this shrimp casserole with:
- Garlic Butter Rice – The mild, buttery flavor pairs perfectly with the shrimp.
- Steamed Vegetables – Broccoli, asparagus, or zucchini add a fresh contrast to the richness of the dish.
- Crisp Green Salad – A simple lemon vinaigrette dressing complements the citrus notes in the casserole.
Sauces for Extra Flavor
- Garlic Butter Sauce: Melt butter with minced garlic and drizzle over the casserole.
- Spicy Aioli: Mix mayonnaise with a dash of hot sauce and lemon juice for a creamy, tangy dip.
Storage and Reheating Tips
- Refrigerate Leftovers: Store in an airtight container for up to 3 days.
- Reheat Properly: Warm in a 350°F (175°C) oven for about 10 minutes to keep the stuffing crispy. Avoid microwaving, as it can make the shrimp rubbery.
Conclusion
This Baked Stuffed Shrimp Casserole is a fantastic beginner-friendly recipe that delivers impressive flavor with minimal effort. It teaches essential cooking techniques like seasoning seafood, making a breadcrumb topping, and baking to perfection.
Whether you’re cooking for yourself, family, or guests, this dish is a guaranteed hit. Try it out, experiment with different ingredients, and don’t be afraid to make it your own.
If you make this recipe, let us know how it turned out. What sides did you pair it with? Do you have any beginner cooking tips to share? Leave a comment below, and let’s build a community of confident home cooks.