Beef and Cheese Chimichangas: A Beginner’s Guide to Making Crispy, Flavorful Delights
There’s something magical about biting into a crispy, golden-fried chimichanga filled with savory beef, melted cheese, and just the right blend of spices. The crunchy exterior and gooey, flavorful filling make this dish irresistible. And the best part? It’s actually pretty simple to make, even for those who are just starting out in the kitchen. If you’re looking for a recipe that combines flavor, ease, and a little bit of indulgence, this Beef and Cheese Chimichanga recipe is the perfect choice.
PrintBeef and Cheese Chimichangas: A Beginner’s Guide to Making Crispy, Flavorful Delights

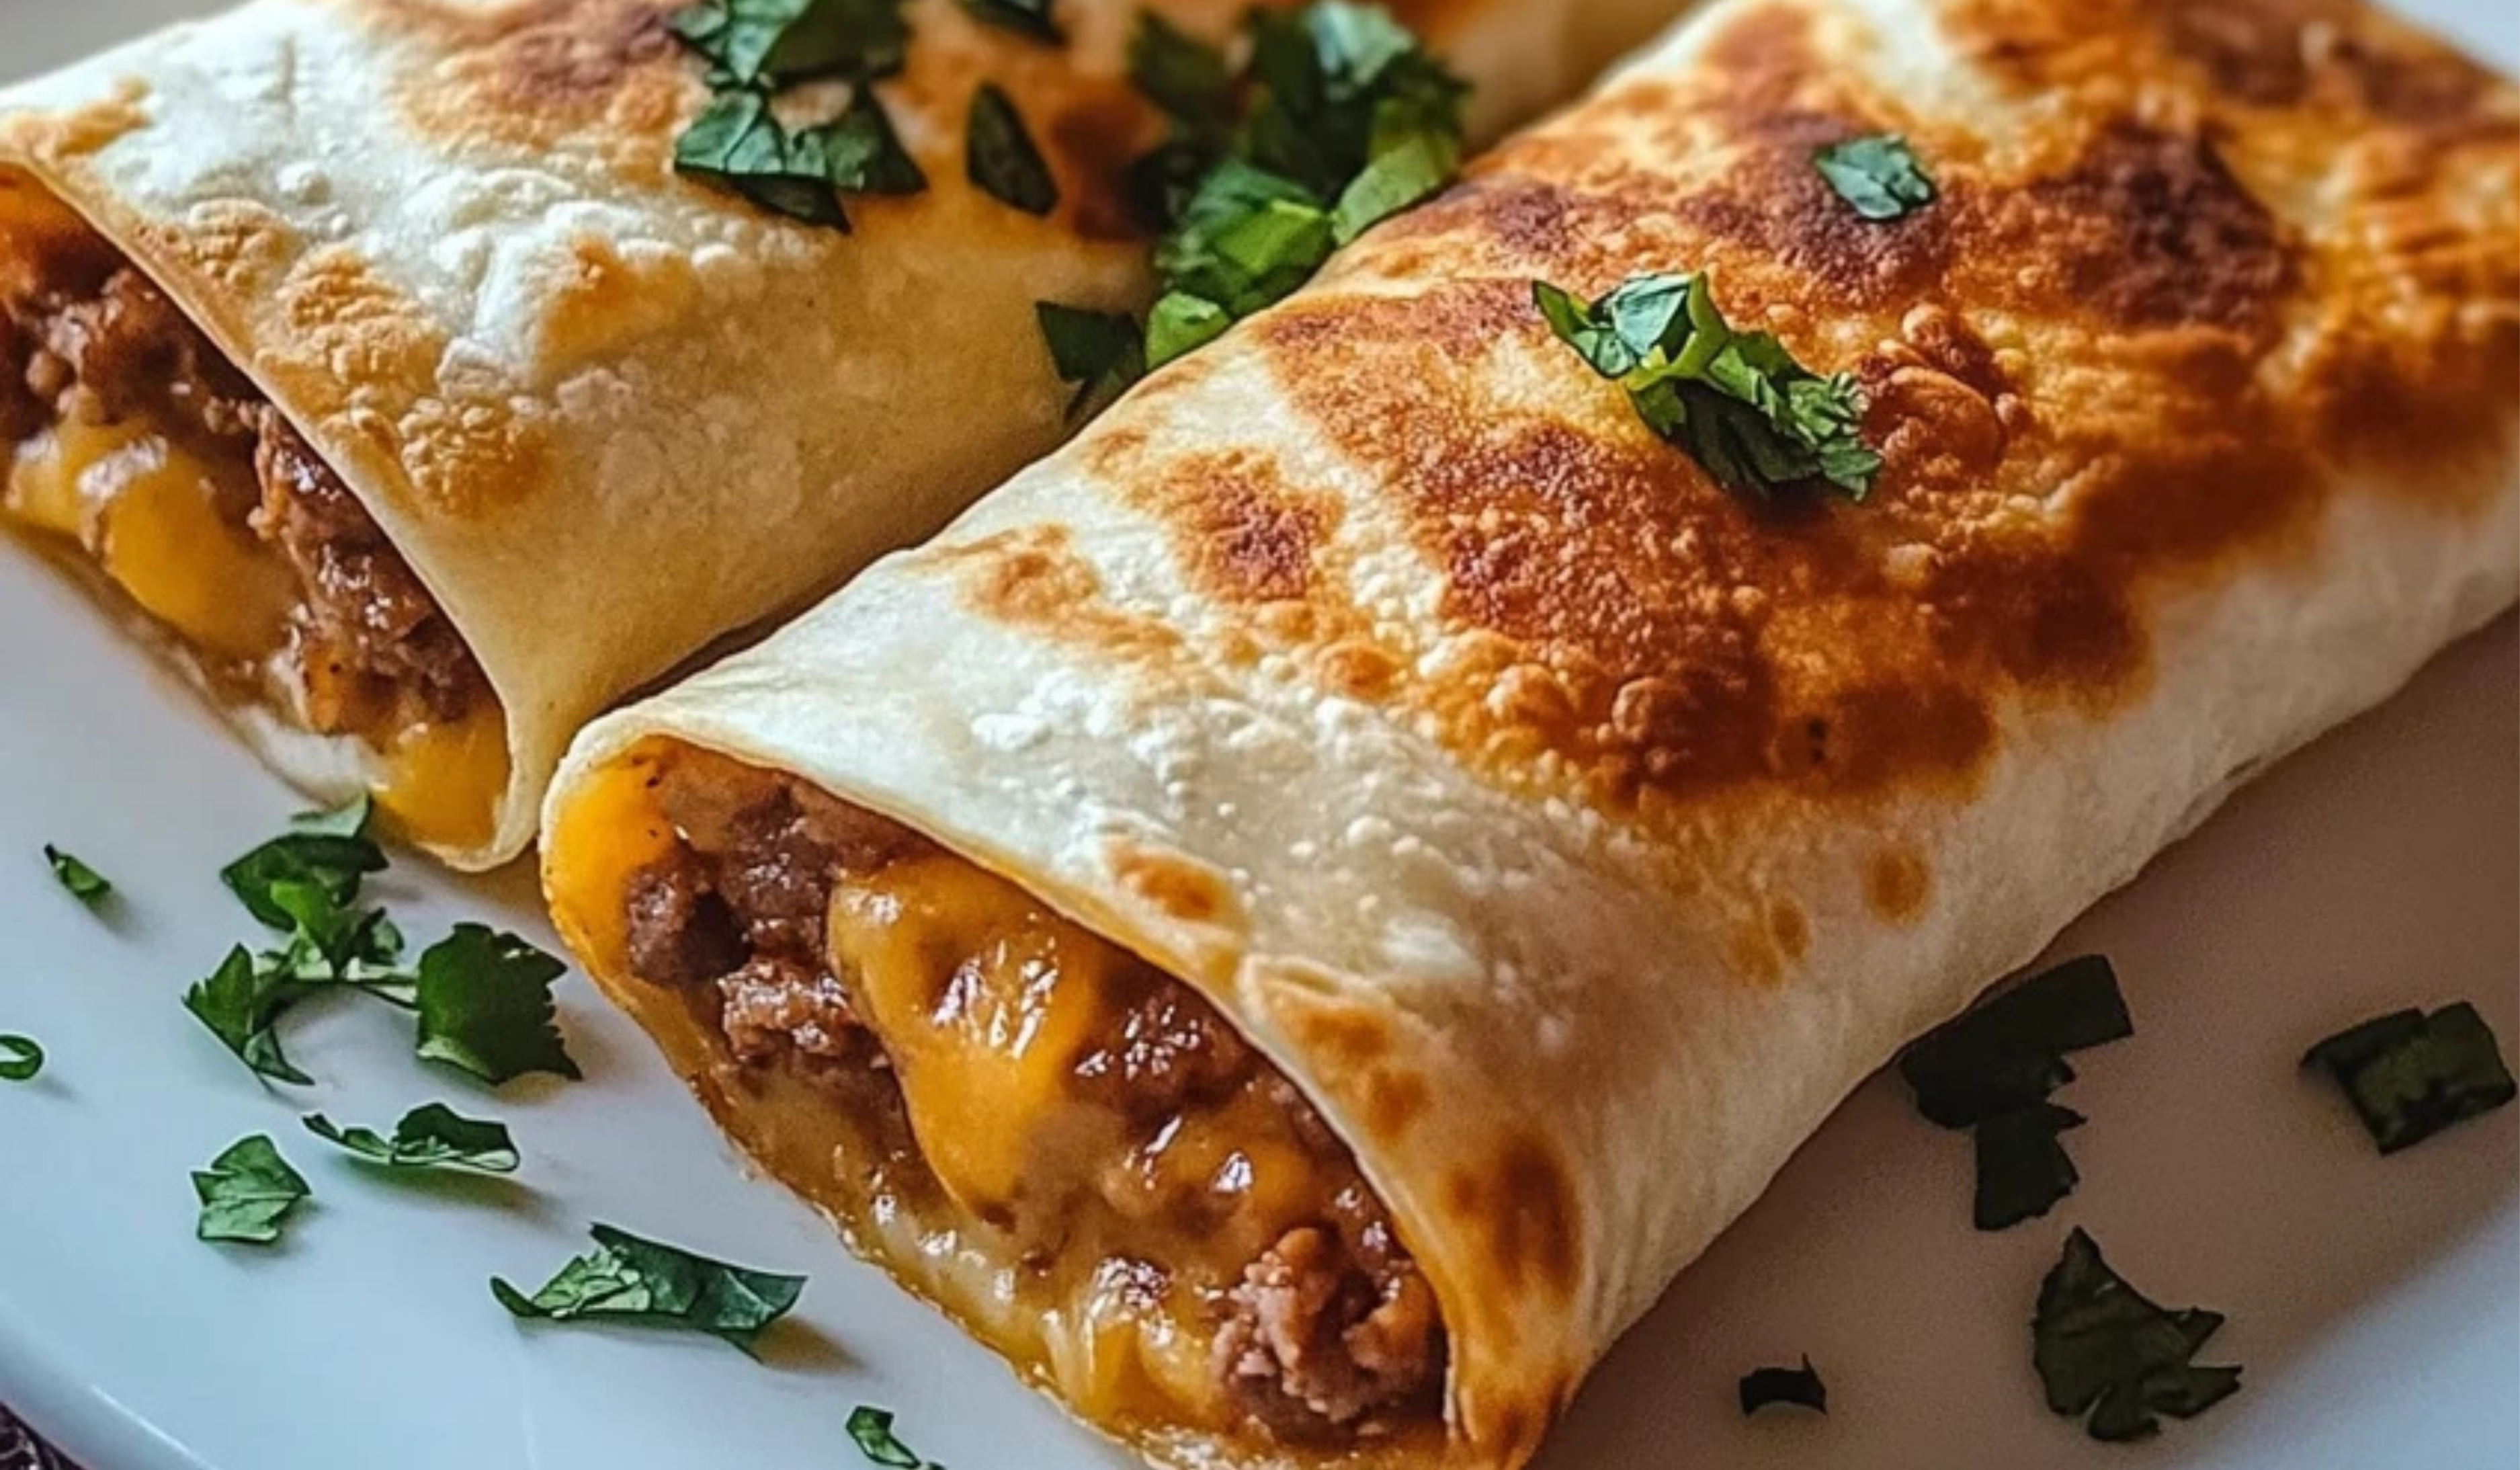
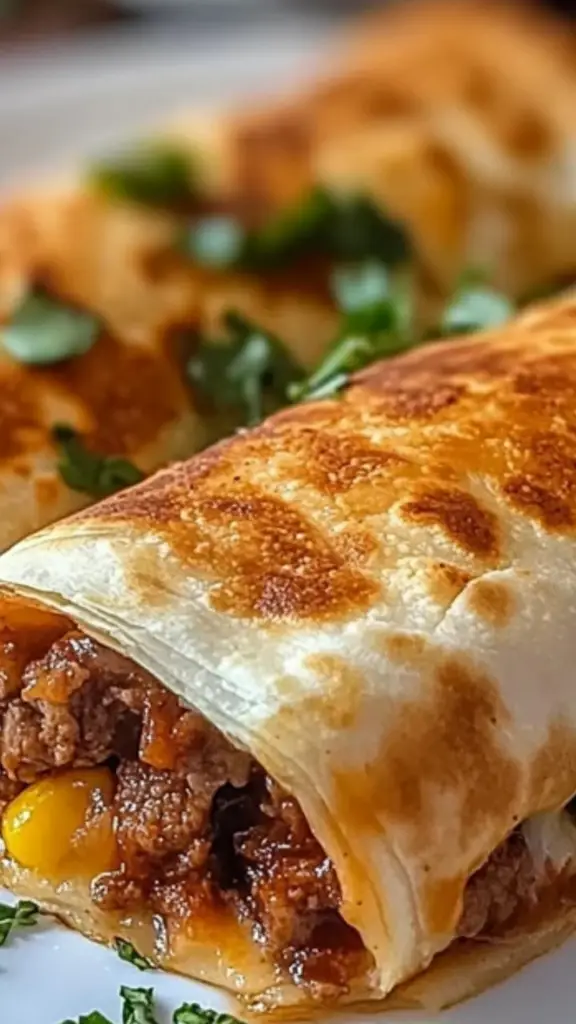
🔥 Beef and Cheese Chimichangas are golden, crispy, and packed with bold flavor! Juicy, seasoned beef and melty cheese are wrapped in a tortilla, then fried or baked to perfection. Crunchy on the outside, savory and cheesy on the inside—these Tex-Mex favorites are pure comfort food! 🌯🧀✨
- Prep Time: 15 minutes
- Cook Time: 20 minutes
- Total Time: 35 minutes
- Yield: 8 chimichangas 1x
Ingredients
- 1 lb ground beef (you can also substitute with ground chicken for a lighter option)
- 1 small onion, finely chopped
- 2 cloves garlic, minced
- 1 packet (1 oz) taco seasoning mix (feel free to use homemade seasoning if you prefer)
- ½ cup tomato sauce
- 1 can (4 oz) diced green chiles, drained
- 1 cup shredded cheddar cheese (or Mexican blend cheese)
- ½ cup refried beans (optional, but it adds extra richness and texture)
- Salt and pepper to taste
For the Chimichangas:
- 8 large flour tortillas (burrito size)
- Vegetable oil for frying (about 1 inch in depth)
- Toothpicks to secure the chimichangas during frying
For Toppings (Optional):
- Sour cream
- Guacamole
- Salsa
- Shredded lettuce
- Diced tomatoes
- Chopped cilantro
Instructions
- Prepare the Filling
Start by cooking the ground beef in a large skillet over medium heat. Use a wooden spoon to break up the meat as it cooks, ensuring that it cooks evenly. This should take about 5-7 minutes, or until the beef is browned and fully cooked through. - Add the Onion and Garlic
Once the beef is cooked, drain any excess fat from the skillet. Then, add the chopped onion and minced garlic to the pan. Sauté these for 3-4 minutes, or until the onion becomes soft and translucent. The garlic will release its fragrance during this time, infusing the mixture with flavor. - Stir in the Taco Seasoning and Tomato Sauce
Next, add the taco seasoning mix to the skillet along with the tomato sauce and diced green chiles. Stir everything together until well combined. Let this cook for an additional 2-3 minutes so that the flavors meld together. - Add the Cheese and Refried Beans
Once the mixture is hot and fragrant, remove the skillet from heat. Stir in the shredded cheese until it melts into the filling. If you’re using refried beans, mix them in at this point as well. This will add richness and creaminess to the chimichangas. Taste the mixture and season with salt and pepper to your liking. - Warm the Tortillas
To make rolling the chimichangas easier, warm the tortillas slightly. You can either heat them in the microwave for 15-20 seconds or warm them up in a dry skillet over medium heat for a few seconds on each side. The goal is to make the tortillas more pliable without making them too crispy or browned. - Assemble the Chimichangas
Once the tortillas are warmed, it’s time to assemble your chimichangas. Place about ¼ cup of the beef and cheese filling in the center of each tortilla. Then, fold in the sides of the tortilla, and roll it up tightly from the bottom to enclose the filling. Secure the ends of the tortilla with toothpicks to prevent them from unrolling during frying. - Fry the Chimichangas
Heat about 1 inch of vegetable oil in a large, deep skillet over medium heat. Use a thermometer to ensure that the oil reaches 350°F (175°C). Carefully place the chimichangas seam-side down into the hot oil. Depending on the size of your skillet, you may need to fry them in batches. Fry each chimichanga for 2-3 minutes on each side, or until golden brown and crispy. Turn them gently with tongs or a slotted spoon to avoid breaking the tortillas.
- Drain and Serve
Once fried to a crispy perfection, remove the chimichangas from the oil and place them on a paper towel-lined plate to drain any excess oil. Carefully remove the toothpicks and place the chimichangas on a serving plate. Serve immediately with your favorite toppings, such as sour cream, guacamole, salsa, shredded lettuce, diced tomatoes, and chopped cilantro.
Notes
- Keep the Heat Moderate: When frying, make sure the oil is hot enough (350°F or 175°C), but not so hot that the chimichangas burn on the outside before they cook through. If the oil is too hot, the outside will get crispy too quickly, and the filling might remain cold.
- Avoid Overcrowding: Fry the chimichangas in small batches to ensure that they fry evenly. Overcrowding the pan can cause the temperature of the oil to drop, resulting in soggy chimichangas instead of crispy ones.
- Use Toothpicks: Toothpicks are essential for keeping the chimichangas from unrolling during frying. Be sure to remove them carefully before serving to avoid any surprises!
- Substitute Ingredients: If you’re not a fan of beef, feel free to swap it for ground chicken or even turkey. You can also experiment with different cheese blends—Mexican blend or Monterey Jack both work great.
- Make Ahead: If you want to make these ahead of time, assemble the chimichangas and refrigerate them for a few hours before frying. This allows the filling to firm up, making them easier to handle during frying.
As a beginner cook, you might be intimidated by the idea of frying or assembling something that seems a little more complex. However, with just a few straightforward ingredients and simple steps, you’ll be able to make these crispy wonders without any trouble. Whether you’re cooking for a family dinner, hosting a party, or simply craving something delicious, these chimichangas are guaranteed to impress.
This recipe is ideal for beginners because it uses basic ingredients, simple cooking techniques, and provides plenty of room for customization. Plus, it offers a great opportunity to practice frying and rolling—two essential kitchen skills!
Ingredients and Preparation
To make these Beef and Cheese Chimichangas, you’ll need a few key ingredients that come together to create a filling that’s bursting with flavor. While the recipe calls for beef, cheese, and a couple of other ingredients, feel free to adjust based on your preferences or what you have available.
For the Filling:
- 1 lb ground beef (you can also substitute with ground chicken for a lighter option)
- 1 small onion, finely chopped
- 2 cloves garlic, minced
- 1 packet (1 oz) taco seasoning mix (feel free to use homemade seasoning if you prefer)
- ½ cup tomato sauce
- 1 can (4 oz) diced green chiles, drained
- 1 cup shredded cheddar cheese (or Mexican blend cheese)
- ½ cup refried beans (optional, but it adds extra richness and texture)
- Salt and pepper to taste
For the Chimichangas:
- 8 large flour tortillas (burrito size)
- Vegetable oil for frying (about 1 inch in depth)
- Toothpicks to secure the chimichangas during frying
For Toppings (Optional):
- Sour cream
- Guacamole
- Salsa
- Shredded lettuce
- Diced tomatoes
- Chopped cilantro
These ingredients are easy to find at any grocery store, and many of them are staples in Mexican-inspired dishes. If you’re feeling adventurous, try adding some different spices or fresh herbs to customize the flavor to your liking. This is a great recipe for getting creative in the kitchen!
Step-by-Step Instructions
Now that you have all the ingredients, let’s dive into the step-by-step process of making these Beef and Cheese Chimichangas. This recipe breaks down into three main parts: preparing the filling, assembling the chimichangas, and frying them to golden perfection. Follow these simple steps, and you’ll be savoring your creation in no time.
- Prepare the Filling
Start by cooking the ground beef in a large skillet over medium heat. Use a wooden spoon to break up the meat as it cooks, ensuring that it cooks evenly. This should take about 5-7 minutes, or until the beef is browned and fully cooked through. - Add the Onion and Garlic
Once the beef is cooked, drain any excess fat from the skillet. Then, add the chopped onion and minced garlic to the pan. Sauté these for 3-4 minutes, or until the onion becomes soft and translucent. The garlic will release its fragrance during this time, infusing the mixture with flavor. - Stir in the Taco Seasoning and Tomato Sauce
Next, add the taco seasoning mix to the skillet along with the tomato sauce and diced green chiles. Stir everything together until well combined. Let this cook for an additional 2-3 minutes so that the flavors meld together. - Add the Cheese and Refried Beans
Once the mixture is hot and fragrant, remove the skillet from heat. Stir in the shredded cheese until it melts into the filling. If you’re using refried beans, mix them in at this point as well. This will add richness and creaminess to the chimichangas. Taste the mixture and season with salt and pepper to your liking. - Warm the Tortillas
To make rolling the chimichangas easier, warm the tortillas slightly. You can either heat them in the microwave for 15-20 seconds or warm them up in a dry skillet over medium heat for a few seconds on each side. The goal is to make the tortillas more pliable without making them too crispy or browned. - Assemble the Chimichangas
Once the tortillas are warmed, it’s time to assemble your chimichangas. Place about ¼ cup of the beef and cheese filling in the center of each tortilla. Then, fold in the sides of the tortilla, and roll it up tightly from the bottom to enclose the filling. Secure the ends of the tortilla with toothpicks to prevent them from unrolling during frying. - Fry the Chimichangas
Heat about 1 inch of vegetable oil in a large, deep skillet over medium heat. Use a thermometer to ensure that the oil reaches 350°F (175°C). Carefully place the chimichangas seam-side down into the hot oil. Depending on the size of your skillet, you may need to fry them in batches. Fry each chimichanga for 2-3 minutes on each side, or until golden brown and crispy. Turn them gently with tongs or a slotted spoon to avoid breaking the tortillas. - Drain and Serve
Once fried to a crispy perfection, remove the chimichangas from the oil and place them on a paper towel-lined plate to drain any excess oil. Carefully remove the toothpicks and place the chimichangas on a serving plate. Serve immediately with your favorite toppings, such as sour cream, guacamole, salsa, shredded lettuce, diced tomatoes, and chopped cilantro.
Beginner Tips and Notes
Making chimichangas for the first time can seem daunting, but with these tips, you’ll feel confident in the kitchen:
- Keep the Heat Moderate: When frying, make sure the oil is hot enough (350°F or 175°C), but not so hot that the chimichangas burn on the outside before they cook through. If the oil is too hot, the outside will get crispy too quickly, and the filling might remain cold.
- Avoid Overcrowding: Fry the chimichangas in small batches to ensure that they fry evenly. Overcrowding the pan can cause the temperature of the oil to drop, resulting in soggy chimichangas instead of crispy ones.
- Use Toothpicks: Toothpicks are essential for keeping the chimichangas from unrolling during frying. Be sure to remove them carefully before serving to avoid any surprises!
- Substitute Ingredients: If you’re not a fan of beef, feel free to swap it for ground chicken or even turkey. You can also experiment with different cheese blends—Mexican blend or Monterey Jack both work great.
- Make Ahead: If you want to make these ahead of time, assemble the chimichangas and refrigerate them for a few hours before frying. This allows the filling to firm up, making them easier to handle during frying.
Serving Suggestions
Chimichangas are incredibly versatile, and there are many ways to enjoy them. Here are some serving ideas to elevate your dish:
- Top with Fresh Toppings: A dollop of sour cream, guacamole, or salsa adds a cool, tangy contrast to the warm, crispy chimichangas. Shredded lettuce, diced tomatoes, and chopped cilantro bring a fresh crunch that complements the rich filling.
- Pair with Sides: Serve your chimichangas alongside some classic Mexican sides like Spanish rice, refried beans, or a simple side salad. The combination of flavors and textures will take your meal to the next level.
- Extra Sauces: If you like things spicy, serve the chimichangas with a side of hot sauce or salsa verde. The heat will balance the richness of the beef and cheese.
- Leftover Tips: If you have leftovers, store them in an airtight container in the refrigerator for up to 2-3 days. You can reheat them in the oven at 350°F for about 10 minutes to restore some of that crispy texture.
Engagement Features
Cooking is all about experimentation and enjoying the process. We encourage you to try this Beef and Cheese Chimichanga recipe, make it your own, and share your results! If you’re feeling creative, try different fillings or toppings and let us know how they turn out. Whether you’re new to cooking or a seasoned pro, everyone loves a satisfying, homemade chimichanga.
We’d love to hear how your chimichangas turned out! Share your experience in the comments below, and feel free to ask any questions you might have. And don’t forget to pin the recipe for later so you can come back to it whenever you’re craving something crispy and delicious. Happy cooking!