Beginner’s Guide to Making Mongolian Shrimp: A Flavorful and Easy Recipe
Cooking at home can feel intimidating, especially for beginners. Finding a recipe that is both simple and delicious can make all the difference in building confidence in the kitchen. This Mongolian shrimp recipe is an excellent choice for new cooks because it balances ease of preparation with bold, restaurant-quality flavors.
PrintBeginner’s Guide to Making Mongolian Shrimp: A Flavorful and Easy Recipe

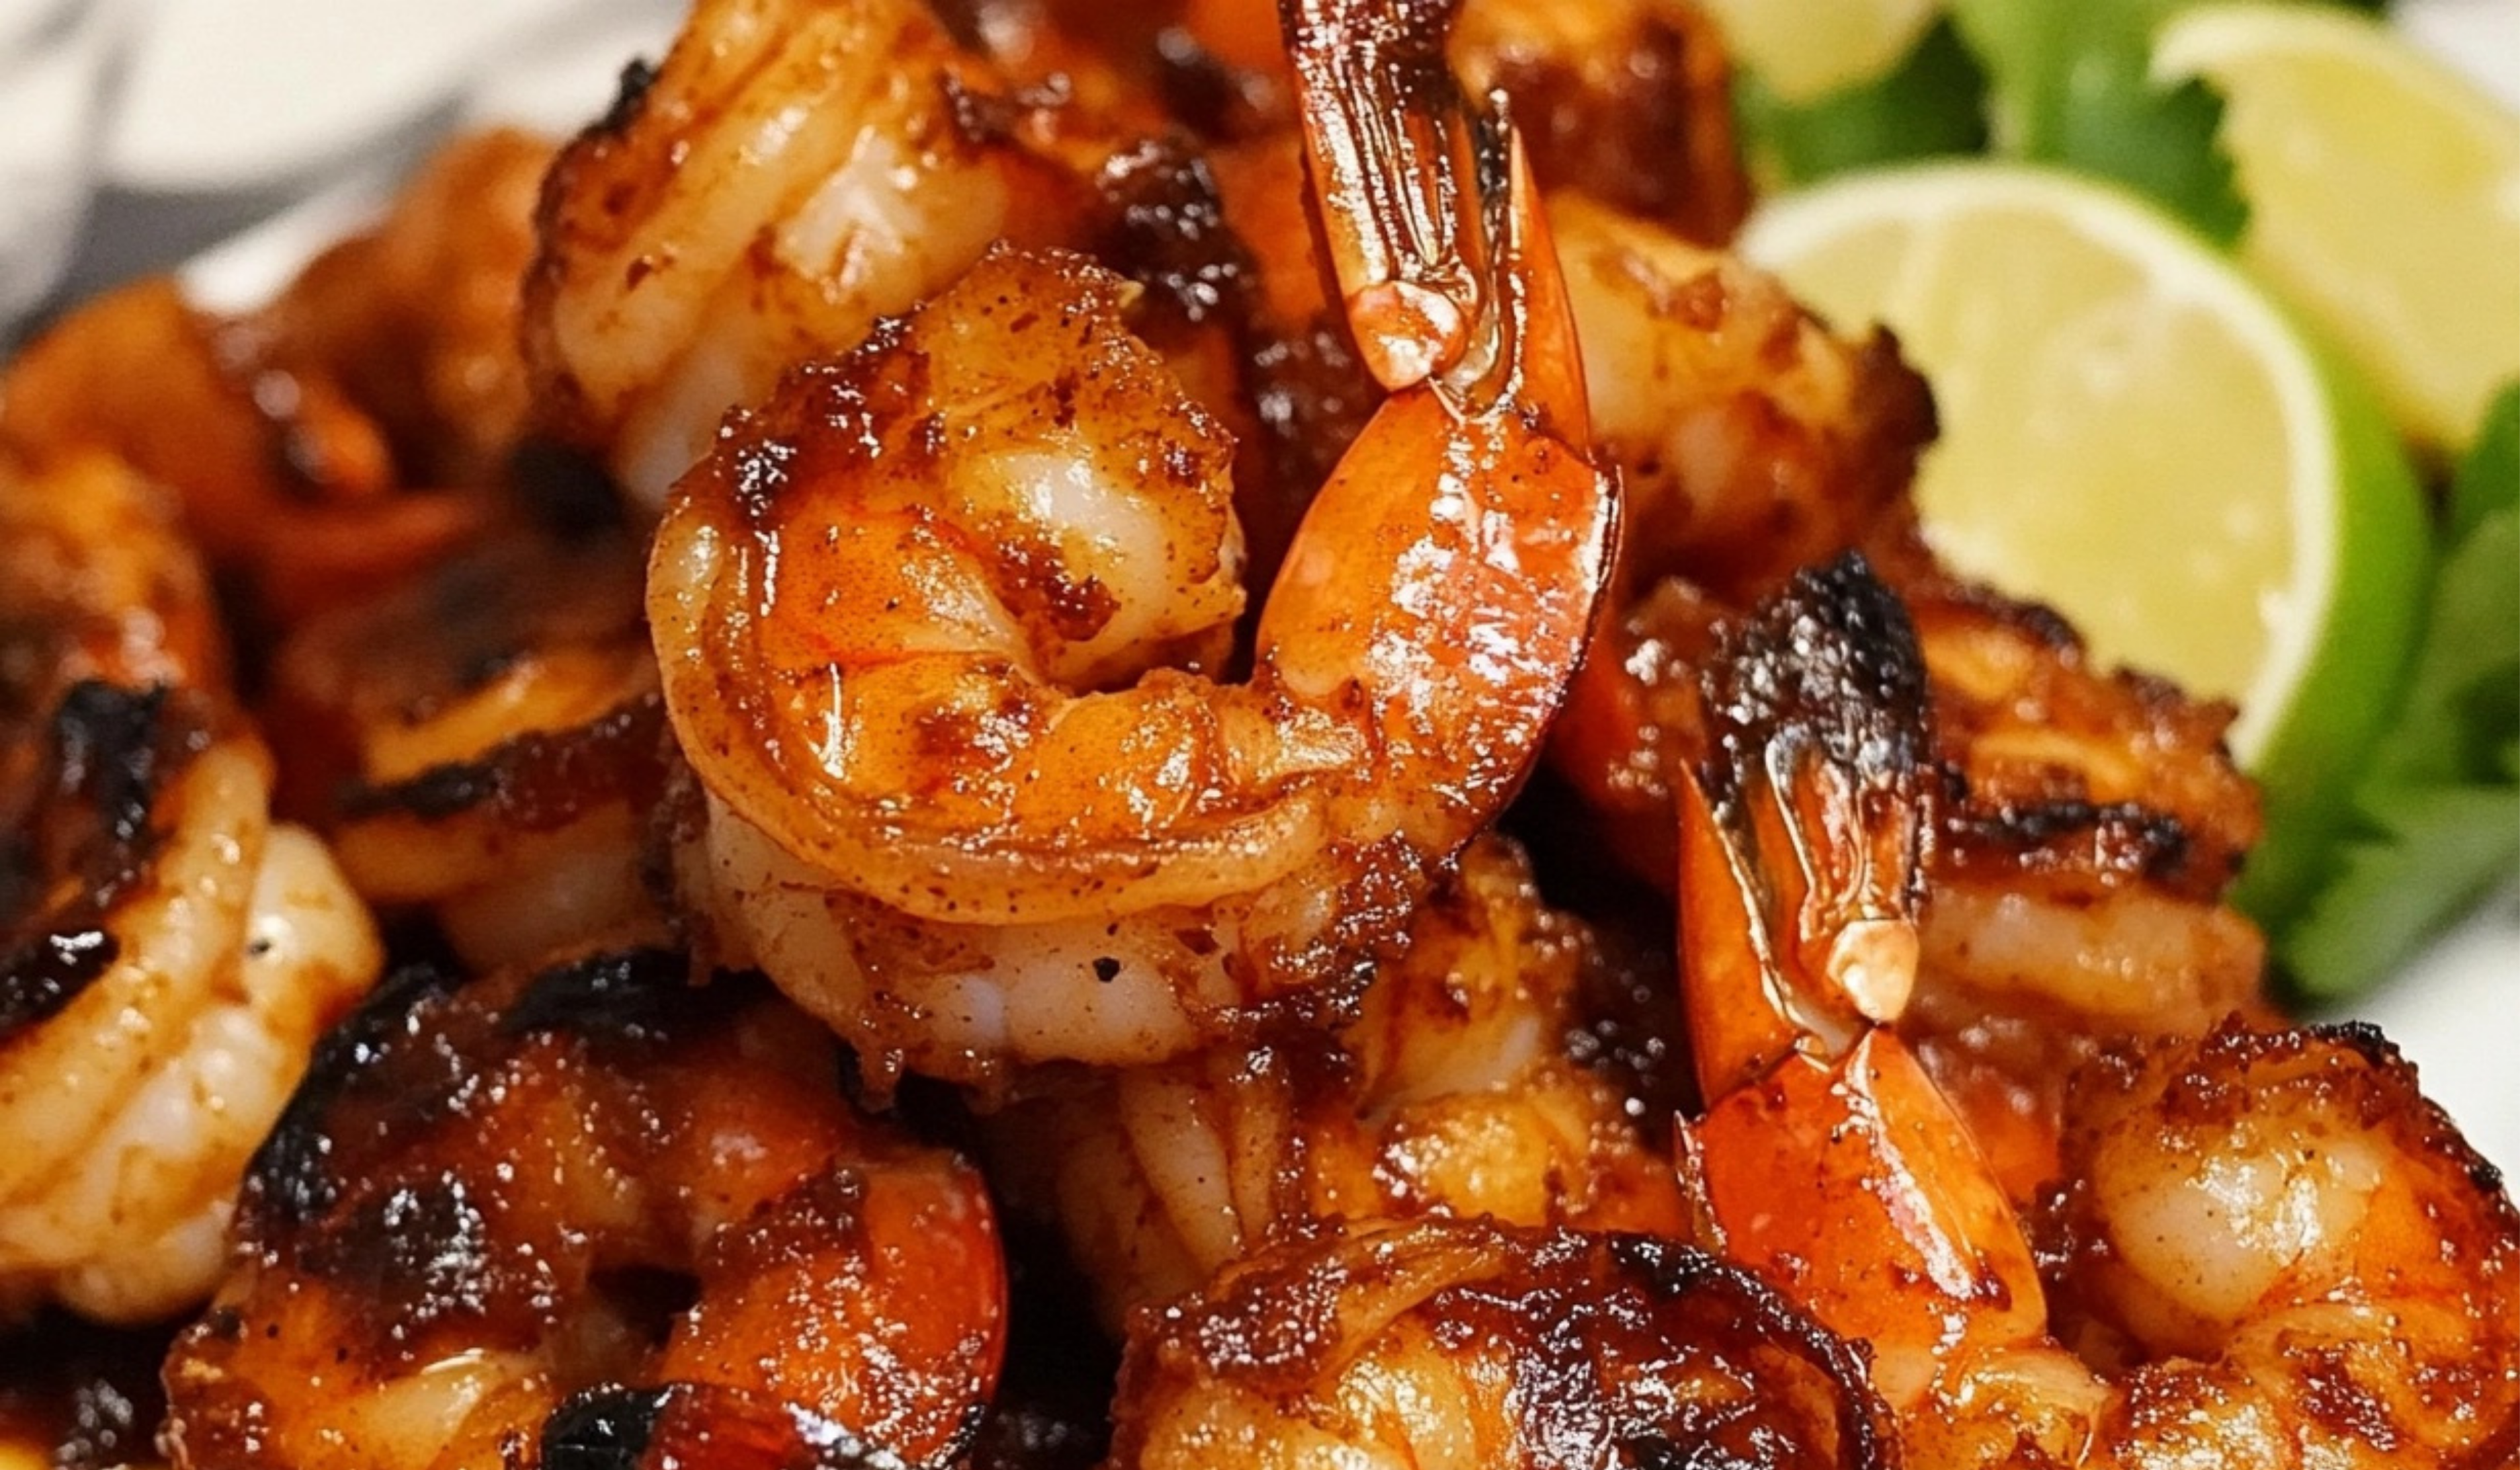
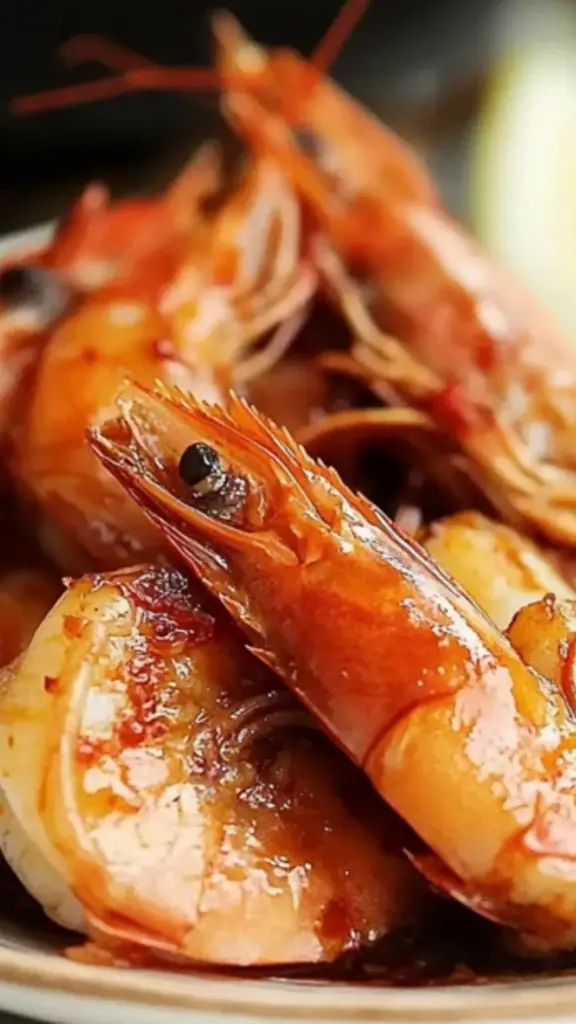
Say hello to your new favorite shrimp dish—Mongolian Shrimp! 🍤✨ This quick and easy recipe features succulent shrimp coated in a sticky, garlicky, and slightly spicy Mongolian sauce that’s absolutely addictive. The flavors of soy sauce, brown sugar, ginger, and garlic create the perfect balance of sweet and savory! Serve it over rice or noodles for a restaurant-quality meal in under 30 minutes. Who’s ready to dig in?
#ShrimpLover 🍤 #MongolianFlavors 🔥 #EasyAndTasty 🍽️ #HomemadeTakeout 🏡 #SavoryAndSweet 😋 #SeafoodDelight 🦐 #BetterThanRestaurant 🌟 #QuickDinnerFix 🕛 #FlavorfulEats 🍜 #FoodieApproved ❤️
- Prep Time: 5 minutes
- Cook Time: 25 minutes
- Total Time: 30 minutes
- Yield: 4 servings 1x
Ingredients
- 12 oz peeled shrimp (from 24 oz whole)
- 8 oz broccoli (cut into florets)
- 3 ½ cups cooked medium-grain rice
- ¼ cup green onions (chopped)
- ¼ cup water
- ¼ cup cornstarch (save 1 tsp for the sauce)
- 1 cup canola oil (save 1 ½ tbsp for the aromatics)
- 2 tbsp reduced-sodium soy sauce
- 1 tbsp garlic (minced)
- 2 tsp brown sugar
- 1 tsp hoisin sauce
- ½ tsp ground black pepper
- 1 tsp ginger (minced)
- ½ tsp red pepper flakes
Instructions
Step 1: Prepare the Sauce
- In a small bowl, mix together:
- ¼ cup water
- 2 tbsp soy sauce
- 2 tsp brown sugar
- 1 tsp cornstarch
- 1 tsp hoisin sauce
- ½ tsp ground black pepper
- Stir until the cornstarch is fully dissolved, then set aside.
Step 2: Blanch the Broccoli
- Bring a pot of water to a boil.
- Add the broccoli and cook for 2 minutes.
- Immediately transfer the broccoli to a bowl of ice water to stop the cooking process.
- Drain and set aside.
Step 3: Coat the Shrimp
- Pat the shrimp dry with a paper towel.
- Toss with the remaining cornstarch (less than ¼ cup) until evenly coated.
Step 4: Fry the Shrimp
- Heat 1 cup of canola oil in a non-stick pan over medium heat for about 2 minutes.
- Shake off excess cornstarch from each shrimp and carefully place them into the hot oil. Avoid overcrowding.
- Fry for about 2 minutes or until golden brown.
- Remove the shrimp and place them on a paper towel-lined plate to absorb excess oil.
Step 5: Cook the Aromatics
- In a clean pan, heat 1 ½ tbsp of the saved oil over medium heat.
- Add minced garlic and ginger, sautéing for about 30 seconds until fragrant.
Step 6: Add the Sauce
- Stir the sauce mixture and pour it into the pan with the garlic and ginger.
- Reduce the heat and let the sauce simmer for about 1 minute, stirring occasionally.
- If not serving immediately, turn off the heat and set the sauce aside.
Step 7: Coat the Shrimp in the Sauce
- Add the fried shrimp to the pan.
- Toss until fully coated with the sauce.
- Sprinkle in chopped green onions for extra freshness.
Step 8: Serve and Garnish
- Plate the shrimp with cooked rice and blanched broccoli.
- Sprinkle red pepper flakes on top for a hint of spice.
Notes
Common Mistakes and How to Fix Them
- Shrimp cooks too fast and becomes tough: Lower the heat slightly and remove from oil as soon as they turn golden.
- Vegetables become mushy: Blanch for exactly 2 minutes and immediately cool in ice water.
- Sauce turns too thick or clumpy: Stir constantly when adding the sauce to prevent lumps.
Kitchen Efficiency Tips
- Prep ingredients before cooking: Chop vegetables, measure ingredients, and set everything out in advance.
- Use a thermometer for frying: Oil should be around 350°F to achieve crispy shrimp without excess grease.
- Multi-task smartly: While shrimp is frying, keep an eye on the sauce to bring the dish together efficiently.
Imagine coming home after a long day and craving something satisfying but quick to make. Instead of ordering takeout, you can prepare this crispy, saucy shrimp dish in just 30 minutes. The sweet and savory sauce clings perfectly to the golden-brown shrimp, complemented by tender broccoli and fluffy rice.
This recipe is designed to introduce beginner cooks to essential cooking techniques like stir-frying, blanching, and making a simple sauce. The step-by-step instructions, troubleshooting tips, and serving suggestions will help you master the dish with confidence.
Whether you’re cooking for yourself, your family, or guests, this Mongolian shrimp will impress with its rich flavor and satisfying texture. Let’s get started!
Why This Recipe is Perfect for Beginners
1. Simple Ingredients
The ingredients are easy to find in most grocery stores and include everyday kitchen staples like soy sauce, garlic, and cornstarch.
2. Quick Preparation
From start to finish, this dish takes only 30 minutes to prepare, making it ideal for busy weeknights.
3. Easy-to-Learn Techniques
This recipe introduces essential cooking skills like blanching vegetables, frying shrimp, and making a basic stir-fry sauce—all beginner-friendly techniques that build confidence in the kitchen.
4. Balanced and Customizable Flavors
The combination of sweet, savory, and slightly spicy flavors makes this dish universally appealing. Plus, it can be adjusted to suit your taste preferences.
Ingredients and Preparation
Ingredients (Serves 4)
- 12 oz peeled shrimp (from 24 oz whole)
- 8 oz broccoli (cut into florets)
- 3 ½ cups cooked medium-grain rice
- ¼ cup green onions (chopped)
- ¼ cup water
- ¼ cup cornstarch (save 1 tsp for the sauce)
- 1 cup canola oil (save 1 ½ tbsp for the aromatics)
- 2 tbsp reduced-sodium soy sauce
- 1 tbsp garlic (minced)
- 2 tsp brown sugar
- 1 tsp hoisin sauce
- ½ tsp ground black pepper
- 1 tsp ginger (minced)
- ½ tsp red pepper flakes
Ingredient Substitutions
- Shrimp Alternatives: Chicken or beef can replace shrimp. Cut the chicken into small pieces and cook until golden brown. For beef, slice it thinly and cook quickly over high heat.
- Vegetable Options: If broccoli isn’t available, try green beans, bell peppers, or asparagus.
- Soy Sauce Substitute: Use tamari or coconut aminos for a gluten-free option.
- Cornstarch Alternative: Potato starch or arrowroot powder works well for thickening and coating.
Step-by-Step Instructions
Step 1: Prepare the Sauce
- In a small bowl, mix together:
- ¼ cup water
- 2 tbsp soy sauce
- 2 tsp brown sugar
- 1 tsp cornstarch
- 1 tsp hoisin sauce
- ½ tsp ground black pepper
- Stir until the cornstarch is fully dissolved, then set aside.
Step 2: Blanch the Broccoli
- Bring a pot of water to a boil.
- Add the broccoli and cook for 2 minutes.
- Immediately transfer the broccoli to a bowl of ice water to stop the cooking process.
- Drain and set aside.
Step 3: Coat the Shrimp
- Pat the shrimp dry with a paper towel.
- Toss with the remaining cornstarch (less than ¼ cup) until evenly coated.
Step 4: Fry the Shrimp
- Heat 1 cup of canola oil in a non-stick pan over medium heat for about 2 minutes.
- Shake off excess cornstarch from each shrimp and carefully place them into the hot oil. Avoid overcrowding.
- Fry for about 2 minutes or until golden brown.
- Remove the shrimp and place them on a paper towel-lined plate to absorb excess oil.
Step 5: Cook the Aromatics
- In a clean pan, heat 1 ½ tbsp of the saved oil over medium heat.
- Add minced garlic and ginger, sautéing for about 30 seconds until fragrant.
Step 6: Add the Sauce
- Stir the sauce mixture and pour it into the pan with the garlic and ginger.
- Reduce the heat and let the sauce simmer for about 1 minute, stirring occasionally.
- If not serving immediately, turn off the heat and set the sauce aside.
Step 7: Coat the Shrimp in the Sauce
- Add the fried shrimp to the pan.
- Toss until fully coated with the sauce.
- Sprinkle in chopped green onions for extra freshness.
Step 8: Serve and Garnish
- Plate the shrimp with cooked rice and blanched broccoli.
- Sprinkle red pepper flakes on top for a hint of spice.
Beginner Tips and Troubleshooting
Common Mistakes and How to Fix Them
- Shrimp cooks too fast and becomes tough: Lower the heat slightly and remove from oil as soon as they turn golden.
- Vegetables become mushy: Blanch for exactly 2 minutes and immediately cool in ice water.
- Sauce turns too thick or clumpy: Stir constantly when adding the sauce to prevent lumps.
Kitchen Efficiency Tips
- Prep ingredients before cooking: Chop vegetables, measure ingredients, and set everything out in advance.
- Use a thermometer for frying: Oil should be around 350°F to achieve crispy shrimp without excess grease.
- Multi-task smartly: While shrimp is frying, keep an eye on the sauce to bring the dish together efficiently.
Serving Suggestions
Perfect Side Dishes
- Cucumber Salad: A simple salad with rice vinegar and sesame seeds balances the richness of the dish.
- Egg Drop Soup: A light, comforting soup makes a great starter.
- Steamed Dumplings: A fun and flavorful addition to your meal.
Sauce Enhancements
- Drizzle with sesame oil for a deeper nutty flavor.
- Add a squeeze of fresh lime for brightness.
- Sprinkle with sesame seeds for extra texture.
Storage and Reheating Tips
- Refrigeration: Store leftovers in an airtight container for up to 2 days.
- Reheating: Reheat in a pan over low heat to retain crispiness. Avoid microwaving, as it can make the shrimp rubbery.
- Avoid Freezing: The texture of shrimp changes when frozen and thawed, so it’s best enjoyed fresh.
Conclusion: A Simple Yet Flavorful Dish to Master
Mongolian shrimp is a fantastic recipe for beginner cooks because it introduces essential cooking techniques while delivering a satisfying, flavorful dish. With crispy shrimp, a well-balanced sauce, and perfectly cooked broccoli, this dish is both comforting and impressive.
The beauty of this recipe lies in its versatility. You can substitute different proteins, adjust the spice level, and pair it with various side dishes to suit your taste. Best of all, it’s quick and easy to make, making it an ideal go-to meal for any night of the week.
If you try this recipe, let us know how it turns out! Did you make any modifications? What was your favorite part? Share your experience in the comments and happy cooking!