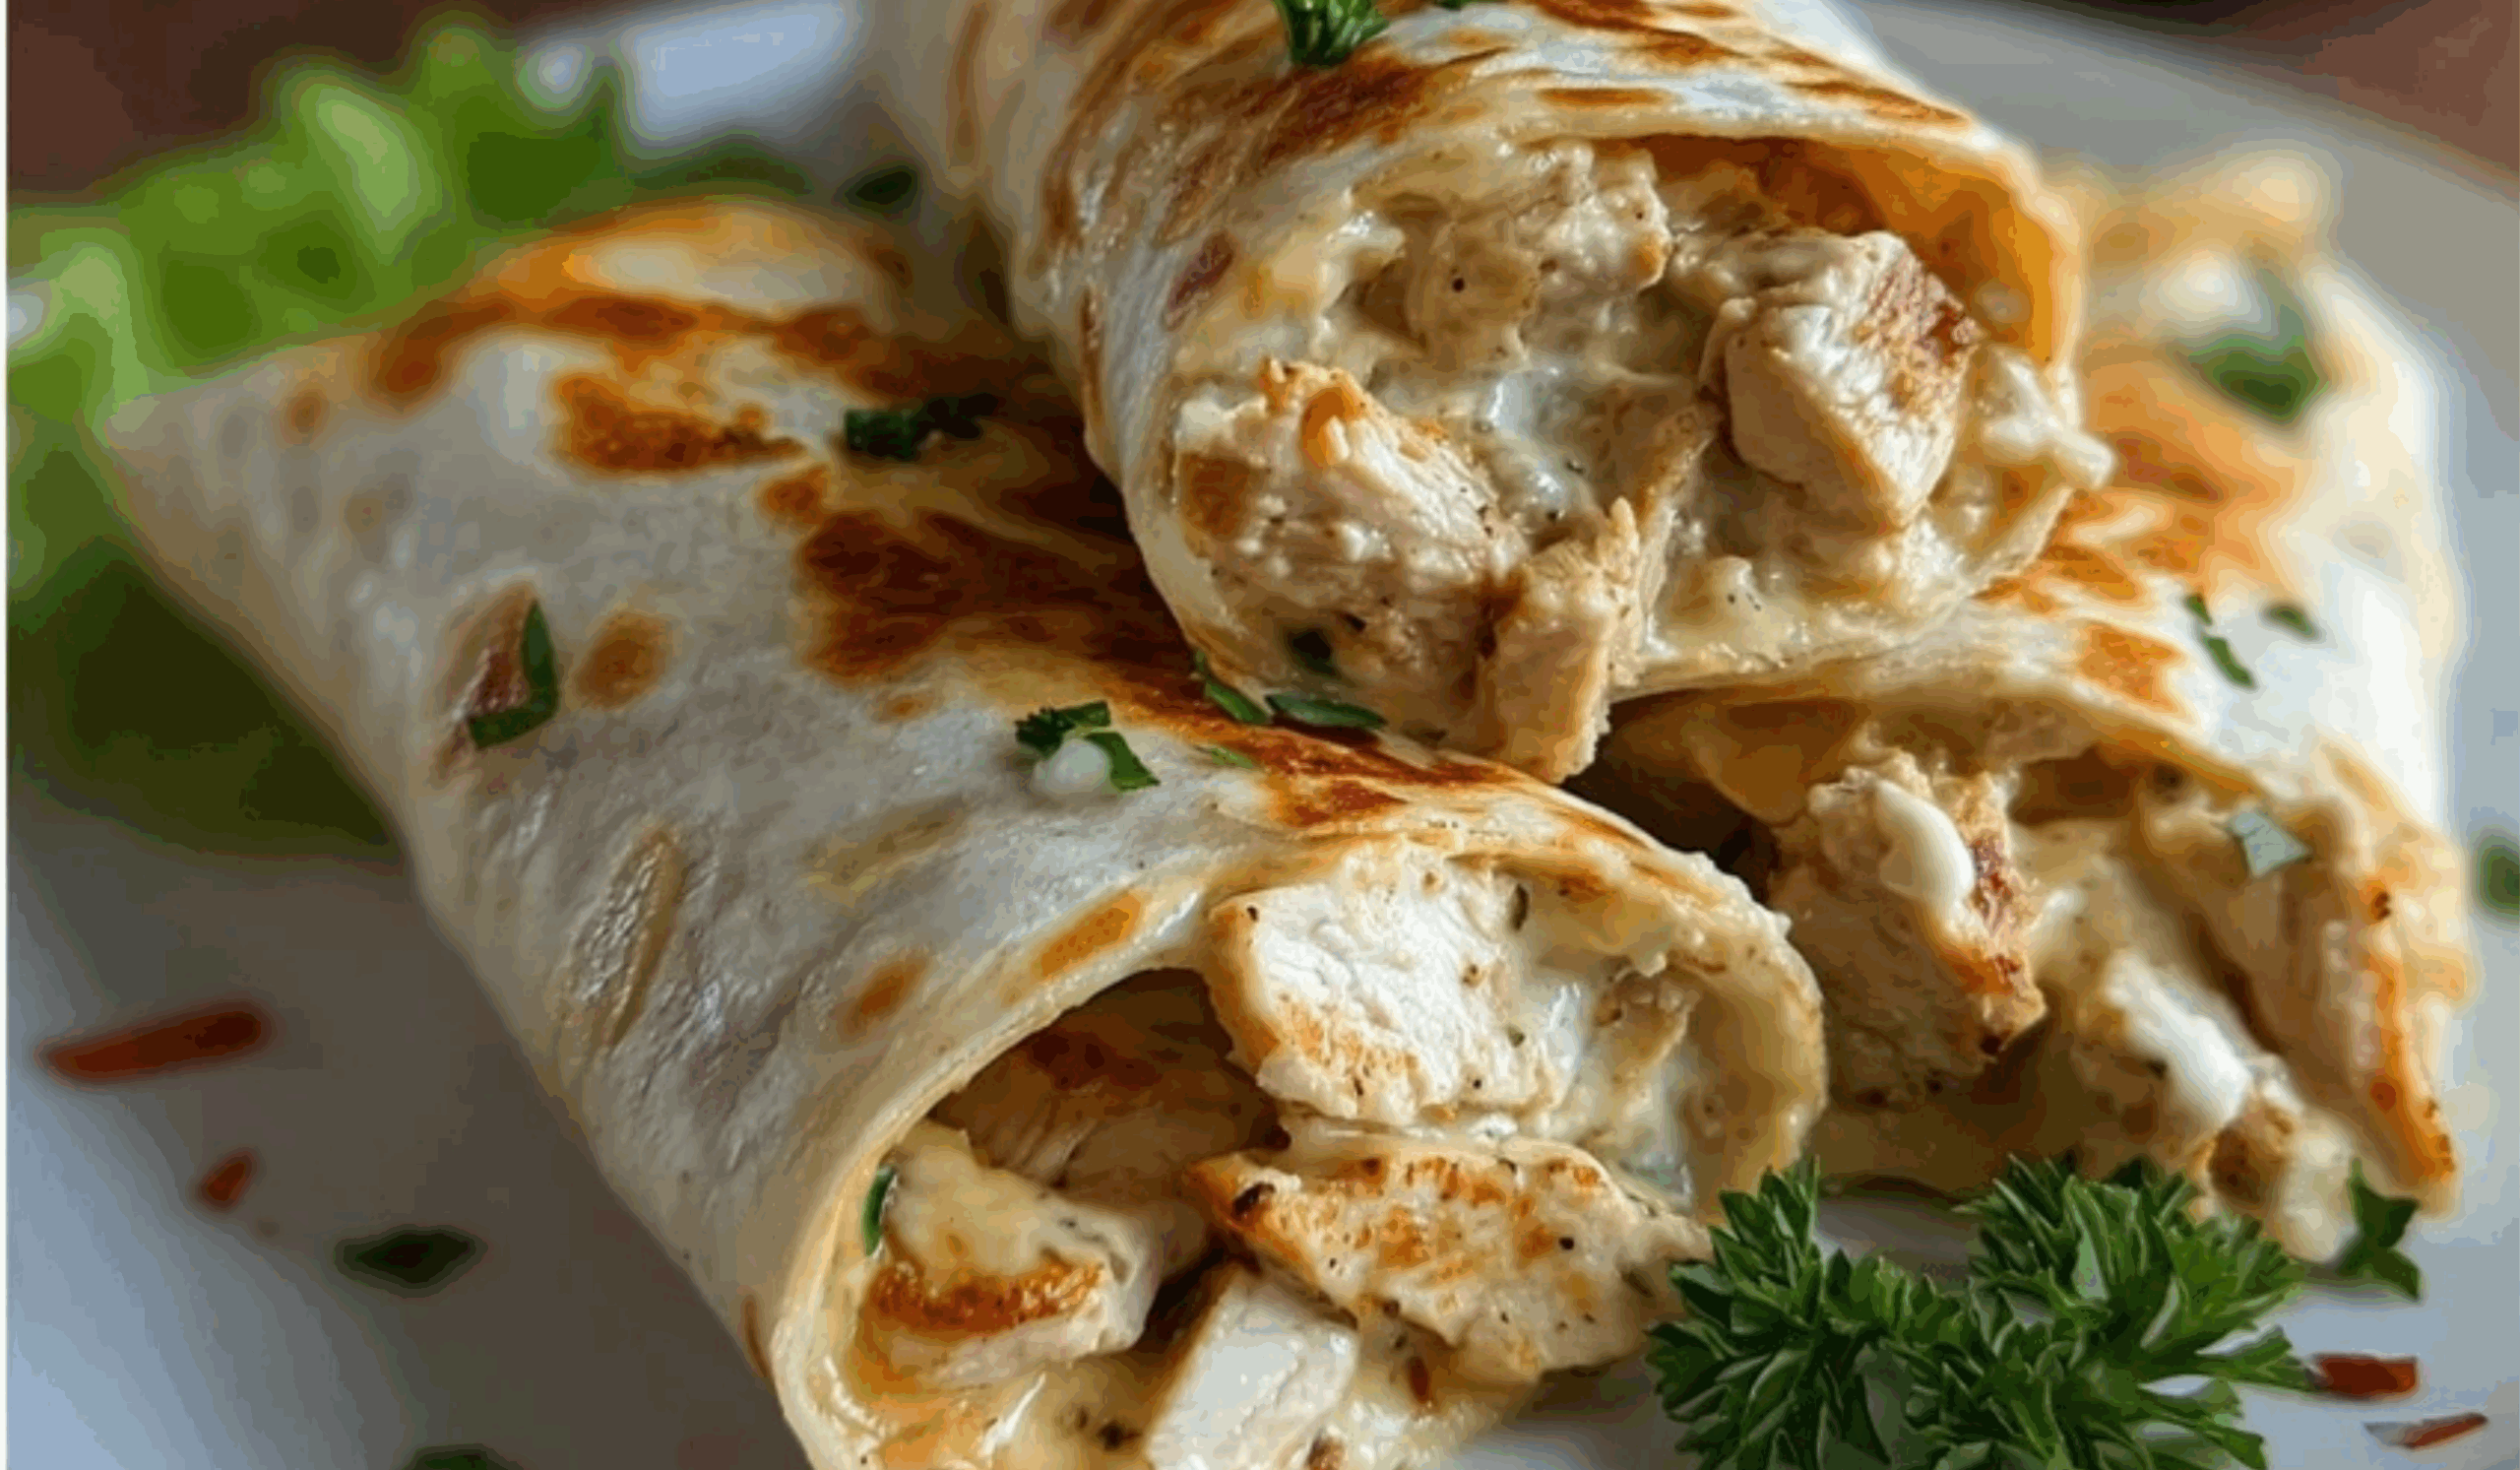
Cheesy Garlic Chicken Wraps – A Crispy, Creamy Chicken Wrap That Delivers Big Flavor
If you’re looking for a meal that checks all the boxes—quick, cheesy, flavorful, and endlessly versatile—then these Cheesy Garlic Chicken Wraps will hit the spot. Imagine golden pan-seared chicken breast chunks smothered in creamy garlic sauce, layered with plenty of melted cheese, then wrapped tightly in a toasted tortilla that’s perfectly crisp on the outside. It’s everything you want in a meal: a satisfying crunch, rich flavor, and a gooey, comforting center.
This recipe takes inspiration from classic grilled wraps you might find at your favorite café or fast-food joint, but with a fresher, more wholesome homemade twist. The garlic sauce is rich without being heavy, and the balance of seasoning means this wrap can suit adults and kids alike. Whether you serve it for a weekday lunch, a lazy dinner, or slice it into pinwheels for party appetizers, this cheesy garlic chicken wrap is versatile enough to meet the occasion.
One of the best things about this recipe is how simple it is to prepare. There are no complicated sauces or advanced techniques—just solid, straightforward cooking with maximum results. You can prep the chicken and sauce in advance if you’re busy during the week, and then assemble the wraps in minutes when you’re ready to eat.
Let’s break it down step-by-step so you can master this recipe and enjoy a cheesy wrap that’s both crisp on the outside and bursting with savory goodness on the inside.
Ingredients and Preparation
For the Chicken:
- 2 large boneless, skinless chicken breasts, cut into small ½-inch cubes
- 1 teaspoon garlic powder
- ½ teaspoon paprika
- ½ teaspoon dried oregano
- ½ teaspoon salt
- ¼ teaspoon ground black pepper
- 1 tablespoon olive oil
For the Garlic Cheese Sauce:
- 2 tablespoons unsalted butter
- 3 garlic cloves, minced
- 2 tablespoons all-purpose flour
- 1 cup whole milk (warm or at room temperature)
- ½ teaspoon salt
- ¼ teaspoon black pepper
- 1 cup shredded mozzarella cheese
- ½ cup shredded cheddar cheese
For the Wraps:
- 4 large flour tortillas (10-inch size)
- 1 tablespoon butter or oil (for toasting the wraps)
- Optional: baby spinach, chopped parsley, red pepper flakes for extra flavor and presentation
Step-by-Step Instructions
1. Season and Cook the Chicken
- In a medium bowl, combine the diced chicken breast with garlic powder, paprika, oregano, salt, and black pepper.
- Mix well until the chicken pieces are fully coated with the seasoning.
- Heat 1 tablespoon of olive oil in a large non-stick skillet over medium-high heat.
- Add the seasoned chicken and sauté for 6–8 minutes, stirring occasionally, until the chicken is cooked through and lightly browned.
- Remove from heat and set aside to cool slightly.
2. Make the Garlic Cheese Sauce
- In a small saucepan, melt 2 tablespoons of butter over medium heat.
- Add the minced garlic and cook for 30–45 seconds until fragrant, being careful not to brown it.
- Whisk in the flour and stir continuously for 1 minute to form a smooth roux.
- Slowly pour in the milk while whisking constantly to prevent lumps.
- Continue to whisk until the mixture thickens, about 2–3 minutes.
- Season with salt and pepper.
- Remove from heat and stir in the mozzarella and cheddar cheeses until fully melted and smooth.
- Taste and adjust salt or pepper if needed. Set aside.
3. Assemble the Wraps
- Lay out the flour tortillas on a clean surface.
- Spoon a generous amount of cooked chicken down the center of each tortilla.
- Drizzle or spread 2–3 tablespoons of the garlic cheese sauce over the chicken.
- Optional: Add a handful of baby spinach or some chopped parsley for a fresh touch.
- Fold the sides of each tortilla in, then roll tightly from the bottom up to form a sealed wrap.
4. Toast the Wraps
- Wipe down your skillet and return it to medium heat.
- Add a small amount of butter or oil to the pan.
- Place the wraps seam-side down and cook for 2–3 minutes on each side, or until golden brown and crispy.
- Press gently with a spatula to help seal and flatten them slightly as they cook.
- Remove from the skillet and let rest for a minute before slicing.
Beginner Tips and Notes
- Uniform Chicken Size: Cut the chicken into equal-sized cubes to ensure even cooking and prevent dryness.
- Don’t Rush the Sauce: Keep the heat medium while making the garlic sauce. High heat can burn the flour or curdle the milk.
- Cheese Variations: Feel free to substitute Monterey Jack, Gouda, or provolone if you want a different flavor. Just make sure the cheese melts well.
- Wrap Handling: Don’t overfill your tortilla. It can be tempting to pack in lots of filling, but overstuffed wraps are harder to seal and flip.
- Use Fresh Tortillas: Stale or dry tortillas tend to crack when rolling. If your tortillas feel stiff, warm them for 10–15 seconds in the microwave before using.
- Add Crunch: Want a textural contrast? Add thin slices of red bell pepper, shredded lettuce, or coleslaw before wrapping.
- Storage: Store leftover filling (chicken and sauce) in airtight containers in the fridge for up to 3 days. Assemble fresh wraps when ready to eat for best texture.
Serving Suggestions
- Meal Pairing:
- Serve these wraps with a simple green salad tossed in lemon vinaigrette for a light contrast.
- Roasted potato wedges or a side of sweet potato fries make a great companion for a heartier meal.
- For a low-carb side, serve with steamed broccoli or roasted cauliflower.
- Presentation:
- Cut the wrap in half diagonally for a bistro-style look.
- Sprinkle with extra parsley or a pinch of red pepper flakes for added color.
- Serve with a side of the garlic cheese sauce or plain Greek yogurt for dipping.
- For Entertaining:
- Make smaller wraps using fajita-sized tortillas and slice into pinwheels for party platters.
- Provide a variety of dipping sauces like ranch, buffalo, or chipotle mayo for guests to try.
- Lunchbox Idea:
- Let the wraps cool slightly before packing to prevent sogginess.
- Wrap in foil or parchment paper and include a small container of dipping sauce.
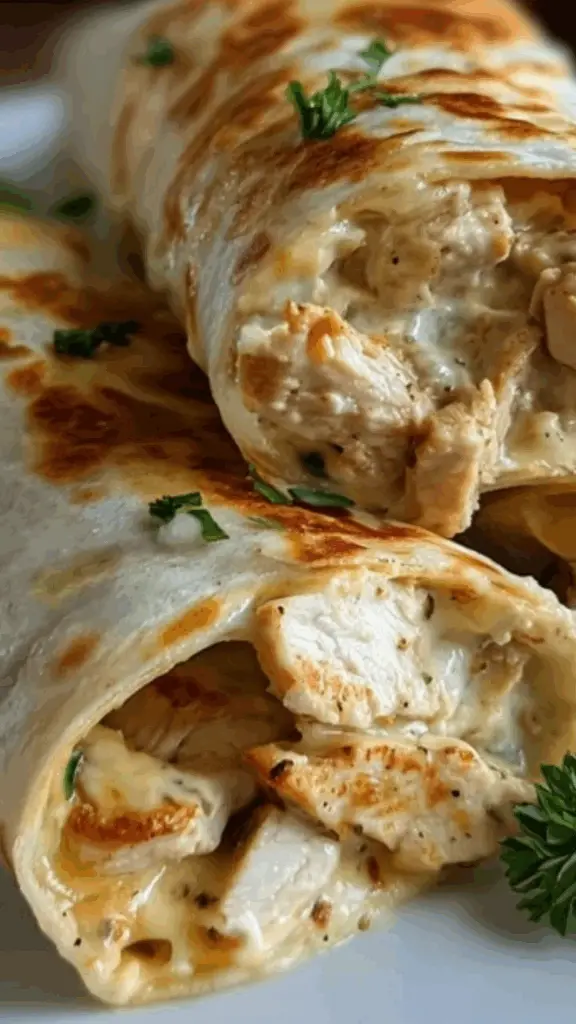
Cheesy Garlic Chicken Wraps – A Crispy, Creamy Chicken Wrap That Delivers Big Flavor

These Cheesy Garlic Chicken Wraps are crispy, creamy, and bursting with flavor! 🧄🧀 Tender chicken is wrapped with melty cheese, a garlic-infused sauce, and fresh veggies in a golden, toasted tortilla. 🌯🍗 Whether you’re craving a quick lunch or a satisfying dinner, this wrap checks all the boxes—easy, cheesy, and absolutely delicious. Pair with your favorite dip or side for a crave-worthy meal you’ll want on repeat! 🔥🥗
- Prep Time: 15 minutes
- Cook Time: 15 minutes
- Total Time: 30 minutes
- Yield: 4 wraps 1x
Ingredients
For the Chicken:
-
2 large boneless, skinless chicken breasts, cut into small ½-inch cubes
-
1 teaspoon garlic powder
-
½ teaspoon paprika
-
½ teaspoon dried oregano
-
½ teaspoon salt
-
¼ teaspoon ground black pepper
-
1 tablespoon olive oil
For the Garlic Cheese Sauce:
-
2 tablespoons unsalted butter
-
3 garlic cloves, minced
-
2 tablespoons all-purpose flour
-
1 cup whole milk (warm or at room temperature)
-
½ teaspoon salt
-
¼ teaspoon black pepper
-
1 cup shredded mozzarella cheese
-
½ cup shredded cheddar cheese
For the Wraps:
-
4 large flour tortillas (10-inch size)
-
1 tablespoon butter or oil (for toasting the wraps)
-
Optional: baby spinach, chopped parsley, red pepper flakes for extra flavor and presentation
Instructions
1. Season and Cook the Chicken
-
In a medium bowl, combine the diced chicken breast with garlic powder, paprika, oregano, salt, and black pepper.
-
Mix well until the chicken pieces are fully coated with the seasoning.
-
Heat 1 tablespoon of olive oil in a large non-stick skillet over medium-high heat.
-
Add the seasoned chicken and sauté for 6–8 minutes, stirring occasionally, until the chicken is cooked through and lightly browned.
-
Remove from heat and set aside to cool slightly.
2. Make the Garlic Cheese Sauce
-
In a small saucepan, melt 2 tablespoons of butter over medium heat.
-
Add the minced garlic and cook for 30–45 seconds until fragrant, being careful not to brown it.
-
Whisk in the flour and stir continuously for 1 minute to form a smooth roux.
-
Slowly pour in the milk while whisking constantly to prevent lumps.
-
Continue to whisk until the mixture thickens, about 2–3 minutes.
-
Season with salt and pepper.
-
Remove from heat and stir in the mozzarella and cheddar cheeses until fully melted and smooth.
-
Taste and adjust salt or pepper if needed. Set aside.
3. Assemble the Wraps
-
Lay out the flour tortillas on a clean surface.
-
Spoon a generous amount of cooked chicken down the center of each tortilla.
-
Drizzle or spread 2–3 tablespoons of the garlic cheese sauce over the chicken.
-
Optional: Add a handful of baby spinach or some chopped parsley for a fresh touch.
-
Fold the sides of each tortilla in, then roll tightly from the bottom up to form a sealed wrap.
4. Toast the Wraps
-
Wipe down your skillet and return it to medium heat.
-
Add a small amount of butter or oil to the pan.
-
Place the wraps seam-side down and cook for 2–3 minutes on each side, or until golden brown and crispy.
-
Press gently with a spatula to help seal and flatten them slightly as they cook.
-
Remove from the skillet and let rest for a minute before slicing.
Notes
- Uniform Chicken Size: Cut the chicken into equal-sized cubes to ensure even cooking and prevent dryness.
- Don’t Rush the Sauce: Keep the heat medium while making the garlic sauce. High heat can burn the flour or curdle the milk.
- Cheese Variations: Feel free to substitute Monterey Jack, Gouda, or provolone if you want a different flavor. Just make sure the cheese melts well.
- Wrap Handling: Don’t overfill your tortilla. It can be tempting to pack in lots of filling, but overstuffed wraps are harder to seal and flip.
- Use Fresh Tortillas: Stale or dry tortillas tend to crack when rolling. If your tortillas feel stiff, warm them for 10–15 seconds in the microwave before using.
- Add Crunch: Want a textural contrast? Add thin slices of red bell pepper, shredded lettuce, or coleslaw before wrapping.
- Storage: Store leftover filling (chicken and sauce) in airtight containers in the fridge for up to 3 days. Assemble fresh wraps when ready to eat for best texture.
Engagement Features
- Tried it?
Did you make these Cheesy Garlic Chicken Wraps? Let us know how it went! Drop a comment below and tell us if you added any veggies, used different cheeses, or found a new twist that worked. - Need a Variation?
Try these wraps with grilled beef strips or even shrimp for a seafood spin. Have leftovers? Use them to make quesadillas the next day! - Join the Conversation
Want more recipes like this? Follow for weekly updates, and don’t forget to share your wrap photos online and tag us so we can see your version.