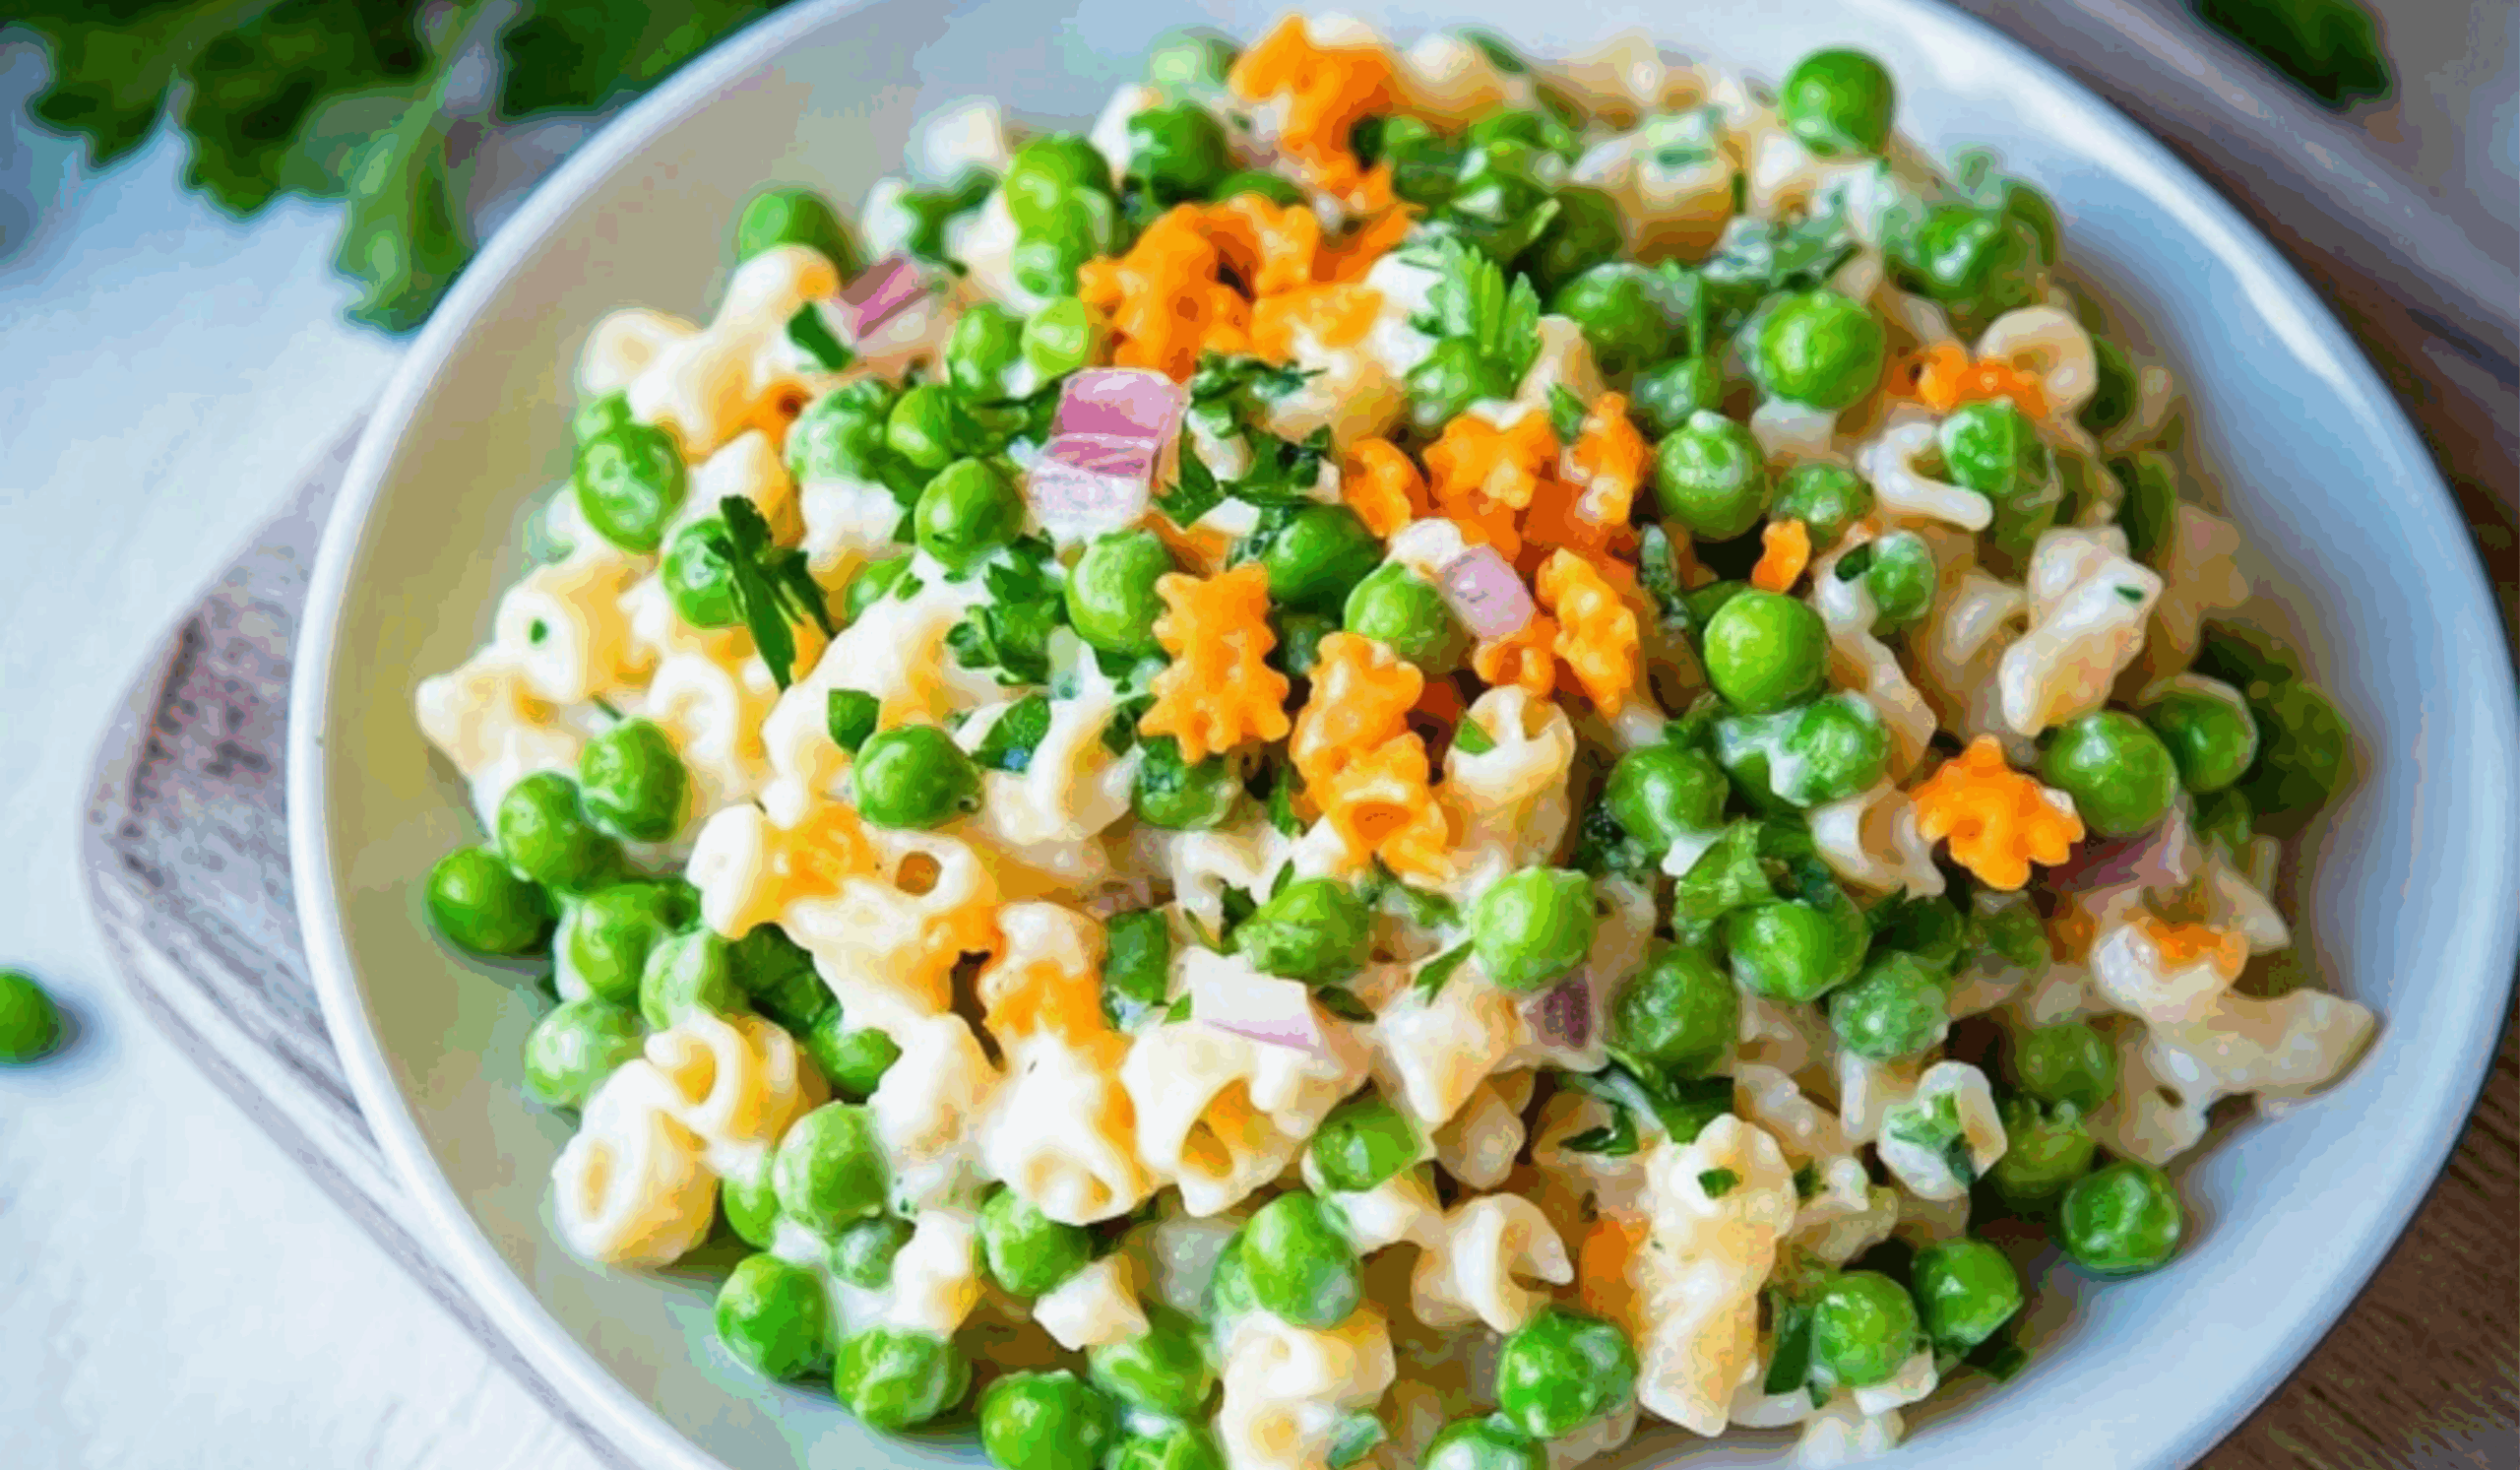
Creamy Chicken and Pea Pasta Salad: A Refreshing Twist on a Classic Side
There’s something nostalgic about a cold pasta salad. Whether it’s served at a weekend potluck, a holiday barbecue, or tucked into a lunchbox for a quick midday meal, this dish offers comfort, flavor, and versatility in every bite. The original version of this salad uses bacon, but in this version, we’re giving it a delicious upgrade with cooked chicken, which adds a lean protein component without overpowering the creamy dressing and sweet green peas. Perfect for anyone looking for a pork-free alternative, this chicken and pea pasta salad is creamy, crunchy, and satisfying all in one. Not only is it a great make-ahead dish, but it’s also easy to scale for gatherings or store for the week. Let’s dive into a refreshing and hearty salad that beginners will love making just as much as they enjoy eating it.
Ingredients and Preparation
Here are the essential ingredients you’ll need to prepare this creamy chicken and pea pasta salad. Each one plays a key role in the texture and flavor profile of the final dish:
Main Ingredients:
- 8 oz shell pasta or elbow macaroni (small shapes work best for even mixing)
- 1 cup frozen green peas (no need to thaw in advance)
- 1 cup cooked chicken breast, diced (grilled or roasted for extra flavor)
- 1/3 cup red onion, finely diced
- 1/2 cup cheddar cheese, cubed or shredded
- 1/4 cup chopped fresh parsley (optional for garnish)
Creamy Dressing:
- 1/2 cup mayonnaise
- 1/2 cup sour cream or plain Greek yogurt (for a lighter version)
- 1 tablespoon white vinegar or lemon juice
- 1/2 teaspoon garlic powder
- 1/2 teaspoon onion powder
- Salt and pepper to taste
Preparation Steps Before Assembly:
- Cook the pasta according to package instructions. Drain and rinse with cold water to stop the cooking process and cool the pasta.
- While the pasta is cooking, cook and dice the chicken breast. Use pre-cooked chicken if you’re short on time.
- Dice the red onion and cube the cheddar cheese.
- Measure out the peas, mayonnaise, sour cream, and seasoning.
Step-by-Step Instructions
- Cook the Pasta
- Fill a large pot with water and bring it to a boil.
- Add a pinch of salt and the dry pasta.
- Cook until just tender (al dente), about 8–10 minutes depending on the brand and shape.
- Drain the pasta and rinse it under cold water to cool it quickly and prevent sticking.
- Prepare the Chicken
- While the pasta is cooking, season your chicken breast with salt and pepper.
- Grill, bake, or pan-cook the chicken until it reaches an internal temperature of 165°F.
- Let the chicken cool slightly, then dice into bite-sized pieces.
- Mix the Creamy Dressing
- In a medium bowl, combine the mayonnaise and sour cream (or Greek yogurt).
- Add vinegar or lemon juice, garlic powder, onion powder, and a pinch of salt and pepper.
- Stir until the dressing is smooth and creamy. Taste and adjust seasoning as needed.
- Combine Salad Ingredients
- In a large mixing bowl, add the cooled pasta, diced chicken, frozen peas, red onion, and cheddar cheese.
- Pour the dressing over the mixture and gently fold until everything is evenly coated.
- Chill the Salad
- Cover the bowl with plastic wrap or transfer the salad to an airtight container.
- Refrigerate for at least 1 hour before serving to allow flavors to meld and peas to thaw.
- Serve and Garnish
- Just before serving, stir the salad again and garnish with chopped fresh parsley if desired.
- Taste and adjust seasoning one last time.
Beginner Tips and Notes
- Use Rotisserie Chicken for Ease: If you don’t have time to cook chicken from scratch, shredded rotisserie chicken works beautifully and saves effort.
- Avoid Overcooked Pasta: Be sure not to overcook the pasta; you want it firm enough to hold up to the creamy dressing without becoming mushy.
- Cool Ingredients Before Mixing: Make sure the pasta and chicken are cool before adding the dressing. Warm ingredients can break down the creamy texture and cause separation.
- Add Crunch if Desired: If you like extra crunch, consider tossing in chopped celery, diced bell pepper, or even sunflower seeds.
- Make it Ahead: This salad tastes even better after chilling for several hours or overnight, which makes it ideal for prep ahead of time.
- Storage: Store in an airtight container in the fridge for up to 3 days. Stir before serving as some of the dressing may settle.
- Customization Tips: You can swap the cheese with mozzarella for a milder flavor or use Greek yogurt exclusively to lighten the dish.
- Season to Taste: Always taste after chilling—cold pasta salads sometimes need an extra dash of salt or vinegar before serving.
Serving Suggestions
This creamy chicken and pea pasta salad can be served in many versatile ways, whether as a side or a main dish:
- Picnic Side Dish: Serve alongside grilled chicken, burgers, or vegetable skewers at outdoor gatherings.
- Lunchbox Staple: Pair it with fresh fruit or crackers for a balanced lunch that travels well.
- Light Dinner: Serve over a bed of greens for a quick, no-fuss dinner salad.
- Buffet Table Addition: This dish holds well at room temperature for short periods, making it perfect for potlucks and parties.
- Mini Appetizer Cups: Spoon portions into small cups for individual servings at events.
- With Soup: Pair with tomato soup or a light broth for a comforting, complete meal.
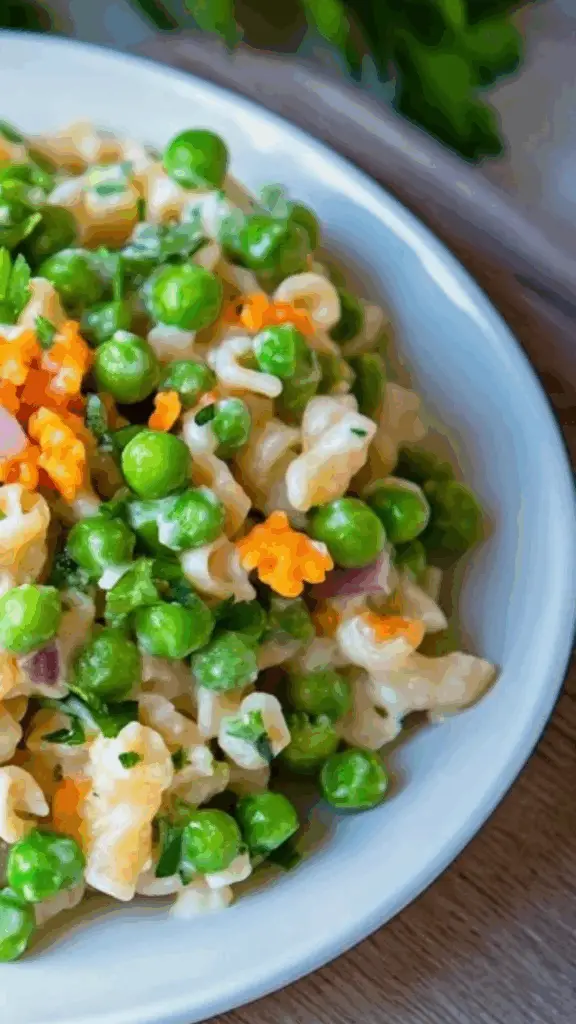
Creamy Chicken and Pea Pasta Salad: A Refreshing Twist on a Classic Side

Cool, creamy, and packed with flavor—this Chicken and Pea Pasta Salad is the perfect twist on a picnic classic! 🍗🟢🍝 Juicy chicken, sweet peas, and tender pasta are tossed in a rich, tangy dressing for a dish that’s light yet satisfying. 🧅🧄🌿 Ideal for barbecues, potlucks, or easy lunches, it’s a crowd-pleasing side that comes together fast and stores beautifully. Simple, fresh, and comforting—this salad is a must-try favorite! 🎉🍽️
- Prep Time: 15 minutes
- Cook Time: 10 minutes
- Total Time: 25 minutes
- Yield: 4–6 servings 1x
Ingredients
- 8 oz shell pasta or elbow macaroni (small shapes work best for even mixing)
- 1 cup frozen green peas (no need to thaw in advance)
- 1 cup cooked chicken breast, diced (grilled or roasted for extra flavor)
- 1/3 cup red onion, finely diced
- 1/2 cup cheddar cheese, cubed or shredded
- 1/4 cup chopped fresh parsley (optional for garnish)
Creamy Dressing:
- 1/2 cup mayonnaise
- 1/2 cup sour cream or plain Greek yogurt (for a lighter version)
- 1 tablespoon white vinegar or lemon juice
- 1/2 teaspoon garlic powder
- 1/2 teaspoon onion powder
- Salt and pepper to taste
Preparation Steps Before Assembly:
- Cook the pasta according to package instructions. Drain and rinse with cold water to stop the cooking process and cool the pasta.
- While the pasta is cooking, cook and dice the chicken breast. Use pre-cooked chicken if you’re short on time.
- Dice the red onion and cube the cheddar cheese.
- Measure out the peas, mayonnaise, sour cream, and seasoning.
Instructions
- Cook the Pasta
- Fill a large pot with water and bring it to a boil.
- Add a pinch of salt and the dry pasta.
- Cook until just tender (al dente), about 8–10 minutes depending on the brand and shape.
- Drain the pasta and rinse it under cold water to cool it quickly and prevent sticking.
- Prepare the Chicken
- While the pasta is cooking, season your chicken breast with salt and pepper.
- Grill, bake, or pan-cook the chicken until it reaches an internal temperature of 165°F.
- Let the chicken cool slightly, then dice into bite-sized pieces.
- Mix the Creamy Dressing
- In a medium bowl, combine the mayonnaise and sour cream (or Greek yogurt).
- Add vinegar or lemon juice, garlic powder, onion powder, and a pinch of salt and pepper.
- Stir until the dressing is smooth and creamy. Taste and adjust seasoning as needed.
- Combine Salad Ingredients
- In a large mixing bowl, add the cooled pasta, diced chicken, frozen peas, red onion, and cheddar cheese.
- Pour the dressing over the mixture and gently fold until everything is evenly coated.
- Chill the Salad
- Cover the bowl with plastic wrap or transfer the salad to an airtight container.
- Refrigerate for at least 1 hour before serving to allow flavors to meld and peas to thaw.
- Serve and Garnish
- Just before serving, stir the salad again and garnish with chopped fresh parsley if desired.
- Taste and adjust seasoning one last time.
Notes
- Use Rotisserie Chicken for Ease: If you don’t have time to cook chicken from scratch, shredded rotisserie chicken works beautifully and saves effort.
- Avoid Overcooked Pasta: Be sure not to overcook the pasta; you want it firm enough to hold up to the creamy dressing without becoming mushy.
- Cool Ingredients Before Mixing: Make sure the pasta and chicken are cool before adding the dressing. Warm ingredients can break down the creamy texture and cause separation.
- Add Crunch if Desired: If you like extra crunch, consider tossing in chopped celery, diced bell pepper, or even sunflower seeds.
- Make it Ahead: This salad tastes even better after chilling for several hours or overnight, which makes it ideal for prep ahead of time.
- Storage: Store in an airtight container in the fridge for up to 3 days. Stir before serving as some of the dressing may settle.
- Customization Tips: You can swap the cheese with mozzarella for a milder flavor or use Greek yogurt exclusively to lighten the dish.
- Season to Taste: Always taste after chilling—cold pasta salads sometimes need an extra dash of salt or vinegar before serving.
Engagement Features
If you try this creamy chicken and pea pasta salad, we’d love to hear how it turned out. Did you make any ingredient swaps? Did you find it a hit at your picnic or party? Feel free to share your thoughts, adjustments, or even a picture of your dish. Questions are welcome too—whether you’re unsure about the dressing or want ideas for variations. This recipe is all about simplicity, flexibility, and making food that feels good to eat and easy to prepare. Tell us what you think and inspire others to give it a try.