Creamy Salsa Dip: A Simple and Flavorful 5-Minute Recipe for Beginners
Every great home cook starts somewhere, and one of the best ways to build confidence in the kitchen is with simple, foolproof recipes. This creamy salsa dip is the perfect starting point for beginner cooks because it requires no cooking, minimal effort, and delivers maximum flavor. Whether you are preparing a quick snack for a gathering, looking for an easy appetizer, or just craving something delicious to pair with tortilla chips, this recipe is a game-changer.
PrintCreamy Salsa Dip: A Simple and Flavorful 5-Minute Recipe for Beginners

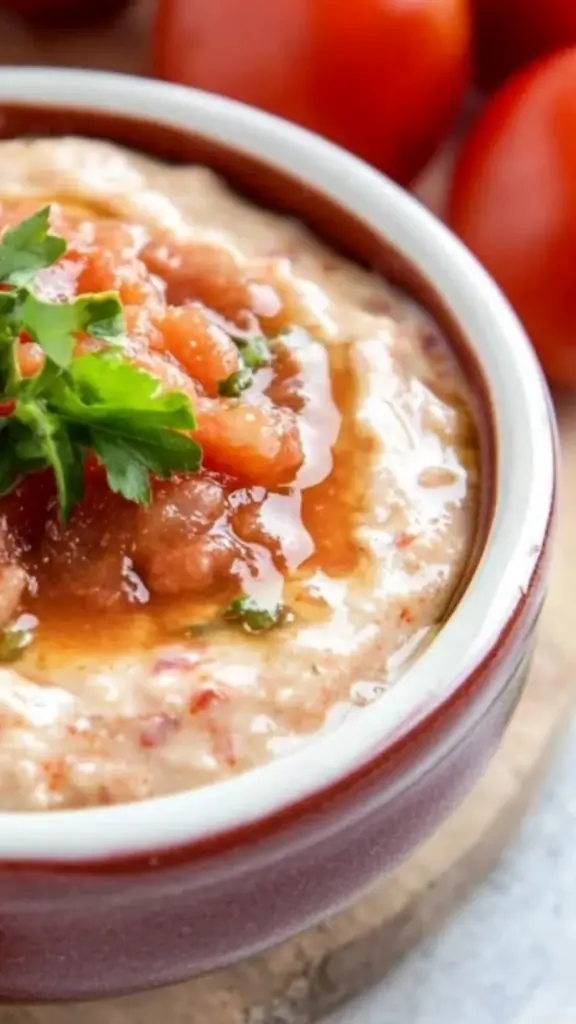
🧀🔥 Creamy Salsa Dip is the ultimate easy, flavor-packed snack! Just mix rich, velvety cream cheese with bold, zesty salsa for a dip that’s smooth, tangy, and irresistibly delicious. Perfect for chips, veggies, or spreading on tacos—ready in just 5 minutes! 🌶️🥑✨
- Prep Time: 5 minutes
- Total Time: 5 minutes
- Yield: 8 servings 1x
Ingredients
- 8 ounces cream cheese, softened – This provides the creamy base for the dip. Softening it beforehand ensures smooth mixing.
- 1 cup salsa – Choose mild, medium, or hot salsa depending on your preference. A chunky salsa will add texture, while a smooth salsa creates a more uniform consistency.
- 1 cup sour cream – This balances the richness of the cream cheese and adds a slight tang. Greek yogurt can be used as a substitute for a healthier alternative.
Instructions
Step 1: Prepare the Ingredients
Gather all ingredients and allow the cream cheese to soften. If using a chunky salsa, give it a quick stir to evenly distribute the ingredients.
Step 2: Combine the Ingredients
In a large mixing bowl, add the softened cream cheese, salsa, and sour cream. Using a spoon or a hand mixer, stir until everything is well combined and smooth. If you prefer a whipped texture, beat the mixture with a mixer for 1-2 minutes.
Step 3: Adjust for Taste and Texture
Taste the dip and adjust as needed. If you want more heat, add a pinch of chili powder or a few drops of hot sauce. If the dip is too thick, stir in a little more salsa or a splash of milk until you reach the desired consistency.
Step 4: Chill (Optional but Recommended)
While this dip can be served immediately, refrigerating it for 30 minutes allows the flavors to meld together. The dip will also thicken slightly as it chills.
Step 5: Serve and Enjoy
Transfer the dip to a serving bowl and pair it with tortilla chips, crackers, or fresh vegetables. If serving at a gathering, garnish with chopped cilantro, shredded cheese, or diced tomatoes for a more visually appealing presentation.
Notes
Softening the Cream Cheese Properly
If the cream cheese is too cold, it will not mix well and may result in a lumpy dip. If you are short on time, cut the cream cheese into smaller pieces to help it soften faster.
Avoiding a Runny Dip
Salsa can contain a lot of liquid, which may make the dip too thin. To avoid this, use a thicker salsa or drain some excess liquid before mixing. If the dip becomes too runny, add more cream cheese to thicken it.
Balancing the Flavor
Salsa brands vary in flavor intensity. If the dip is too tangy, add a small pinch of sugar or extra sour cream to balance it out. If it tastes too mild, a dash of garlic powder or cumin can enhance the flavor.
Making it Ahead of Time
This dip can be made a day in advance and stored in the refrigerator. The flavors will continue to develop, making it even more delicious the next day. Before serving, give it a quick stir to refresh the texture.
Many first-time cooks feel intimidated by complicated recipes with long ingredient lists and intricate steps. This dip, however, proves that making something delicious does not have to be difficult. With just three ingredients—cream cheese, salsa, and sour cream—you can create a creamy, tangy, and slightly spicy dip that pairs well with chips, vegetables, or even grilled meats.
What makes this recipe even better is its adaptability. If you prefer a lighter version, you can substitute Greek yogurt for sour cream. If you enjoy bold flavors, you can mix in fresh herbs or shredded cheese. The simplicity of this dish allows for creativity while still being approachable for beginners.
By the end of this article, you will have all the knowledge and confidence needed to make this dip successfully. From ingredient variations to troubleshooting common mistakes, every detail will be covered so you can make this dish your own.
Ingredients and Preparation
One of the best aspects of this creamy salsa dip is its short ingredient list. Each component is easy to find, budget-friendly, and requires no special equipment beyond a mixing bowl and spoon.
Ingredients
- 8 ounces cream cheese, softened – This provides the creamy base for the dip. Softening it beforehand ensures smooth mixing.
- 1 cup salsa – Choose mild, medium, or hot salsa depending on your preference. A chunky salsa will add texture, while a smooth salsa creates a more uniform consistency.
- 1 cup sour cream – This balances the richness of the cream cheese and adds a slight tang. Greek yogurt can be used as a substitute for a healthier alternative.
Ingredient Substitutions and Variations
- Dairy-Free Option: Use dairy-free cream cheese and a plant-based yogurt or sour cream substitute.
- Extra Flavor: Add a teaspoon of taco seasoning, lime juice, or finely chopped cilantro for an extra layer of flavor.
- Protein Boost: Mix in shredded cooked chicken or crumbled ground beef for a heartier dip.
Preparation Steps Before Mixing
Before you start combining the ingredients, take a few simple steps to ensure a smooth and creamy consistency.
- Soften the Cream Cheese: Let it sit at room temperature for about 30 minutes, or microwave it for 15-20 seconds to soften. This prevents lumps in the dip.
- Drain Excess Liquid from Salsa: If using a very watery salsa, strain out some of the liquid to avoid a runny dip.
- Measure Ingredients Ahead of Time: Pre-measuring makes the process quicker and ensures even mixing.
Step-by-Step Instructions
Step 1: Prepare the Ingredients
Gather all ingredients and allow the cream cheese to soften. If using a chunky salsa, give it a quick stir to evenly distribute the ingredients.
Step 2: Combine the Ingredients
In a large mixing bowl, add the softened cream cheese, salsa, and sour cream. Using a spoon or a hand mixer, stir until everything is well combined and smooth. If you prefer a whipped texture, beat the mixture with a mixer for 1-2 minutes.
Step 3: Adjust for Taste and Texture
Taste the dip and adjust as needed. If you want more heat, add a pinch of chili powder or a few drops of hot sauce. If the dip is too thick, stir in a little more salsa or a splash of milk until you reach the desired consistency.
Step 4: Chill (Optional but Recommended)
While this dip can be served immediately, refrigerating it for 30 minutes allows the flavors to meld together. The dip will also thicken slightly as it chills.
Step 5: Serve and Enjoy
Transfer the dip to a serving bowl and pair it with tortilla chips, crackers, or fresh vegetables. If serving at a gathering, garnish with chopped cilantro, shredded cheese, or diced tomatoes for a more visually appealing presentation.
Beginner Tips and Notes
Even though this is a simple recipe, a few common mistakes can affect the final result. Here are some helpful tips to ensure success:
Softening the Cream Cheese Properly
If the cream cheese is too cold, it will not mix well and may result in a lumpy dip. If you are short on time, cut the cream cheese into smaller pieces to help it soften faster.
Avoiding a Runny Dip
Salsa can contain a lot of liquid, which may make the dip too thin. To avoid this, use a thicker salsa or drain some excess liquid before mixing. If the dip becomes too runny, add more cream cheese to thicken it.
Balancing the Flavor
Salsa brands vary in flavor intensity. If the dip is too tangy, add a small pinch of sugar or extra sour cream to balance it out. If it tastes too mild, a dash of garlic powder or cumin can enhance the flavor.
Making it Ahead of Time
This dip can be made a day in advance and stored in the refrigerator. The flavors will continue to develop, making it even more delicious the next day. Before serving, give it a quick stir to refresh the texture.
Serving Suggestions
Best Ways to Serve the Dip
This creamy salsa dip is incredibly versatile and pairs well with a variety of foods.
- With Chips and Crackers: Serve it with tortilla chips, pita chips, or even pretzels for a crunchy contrast.
- As a Veggie Dip: Carrot sticks, celery, bell pepper strips, and cucumber slices are excellent dippers.
- As a Topping: Spread it on tacos, grilled chicken, or baked potatoes for an extra burst of flavor.
- With Grilled Meats: Serve alongside grilled steak, chicken, or fish for a creamy and spicy contrast.
Storage Tips for Leftovers
If you have leftovers, store them in an airtight container in the refrigerator for up to three days. Avoid freezing, as dairy-based dips tend to separate when thawed. If the dip thickens too much in the fridge, stir in a little extra salsa or sour cream to restore its original consistency.
Engagement Features
Cooking should be an enjoyable and rewarding experience, especially for beginners. This creamy salsa dip is not only simple but also a great recipe to share with friends and family.
- Encourage Creativity: Try different salsa flavors, add spices, or mix in fresh herbs to create your own version of the dip.
- Share Your Experience: If you make this dip, consider sharing your results with others. Take a picture and post it online or leave a comment with your thoughts.
- Make It a Group Activity: This dip is so easy to prepare that it can be a fun kitchen activity with kids or friends. Let everyone take turns mixing and taste-testing different variations.
Cooking does not have to be complicated, and this recipe proves that even the simplest ingredients can come together to create something truly delicious. Whether you are making this dip for a party, a snack, or a side dish, it is sure to be a hit. Try it out, experiment with flavors, and most importantly, enjoy the process of making something homemade.