Crispy Chicken Flautas: A Beginner’s Guide to a Flavorful Favorite
When I was a college student just learning how to cook, one of the first recipes I mastered was flautas. I still remember that feeling of accomplishment when I pulled those golden, crispy rolls from the hot oil, their cheesy filling bubbling ever so slightly. They weren’t perfect—some split open, others browned unevenly—but they were delicious, and more importantly, they made me feel capable. If you’re new to cooking or just looking for something simple, satisfying, and fun to make, flautas are a perfect starting point.
PrintCrispy Chicken Flautas: A Beginner’s Guide to a Flavorful Favorite

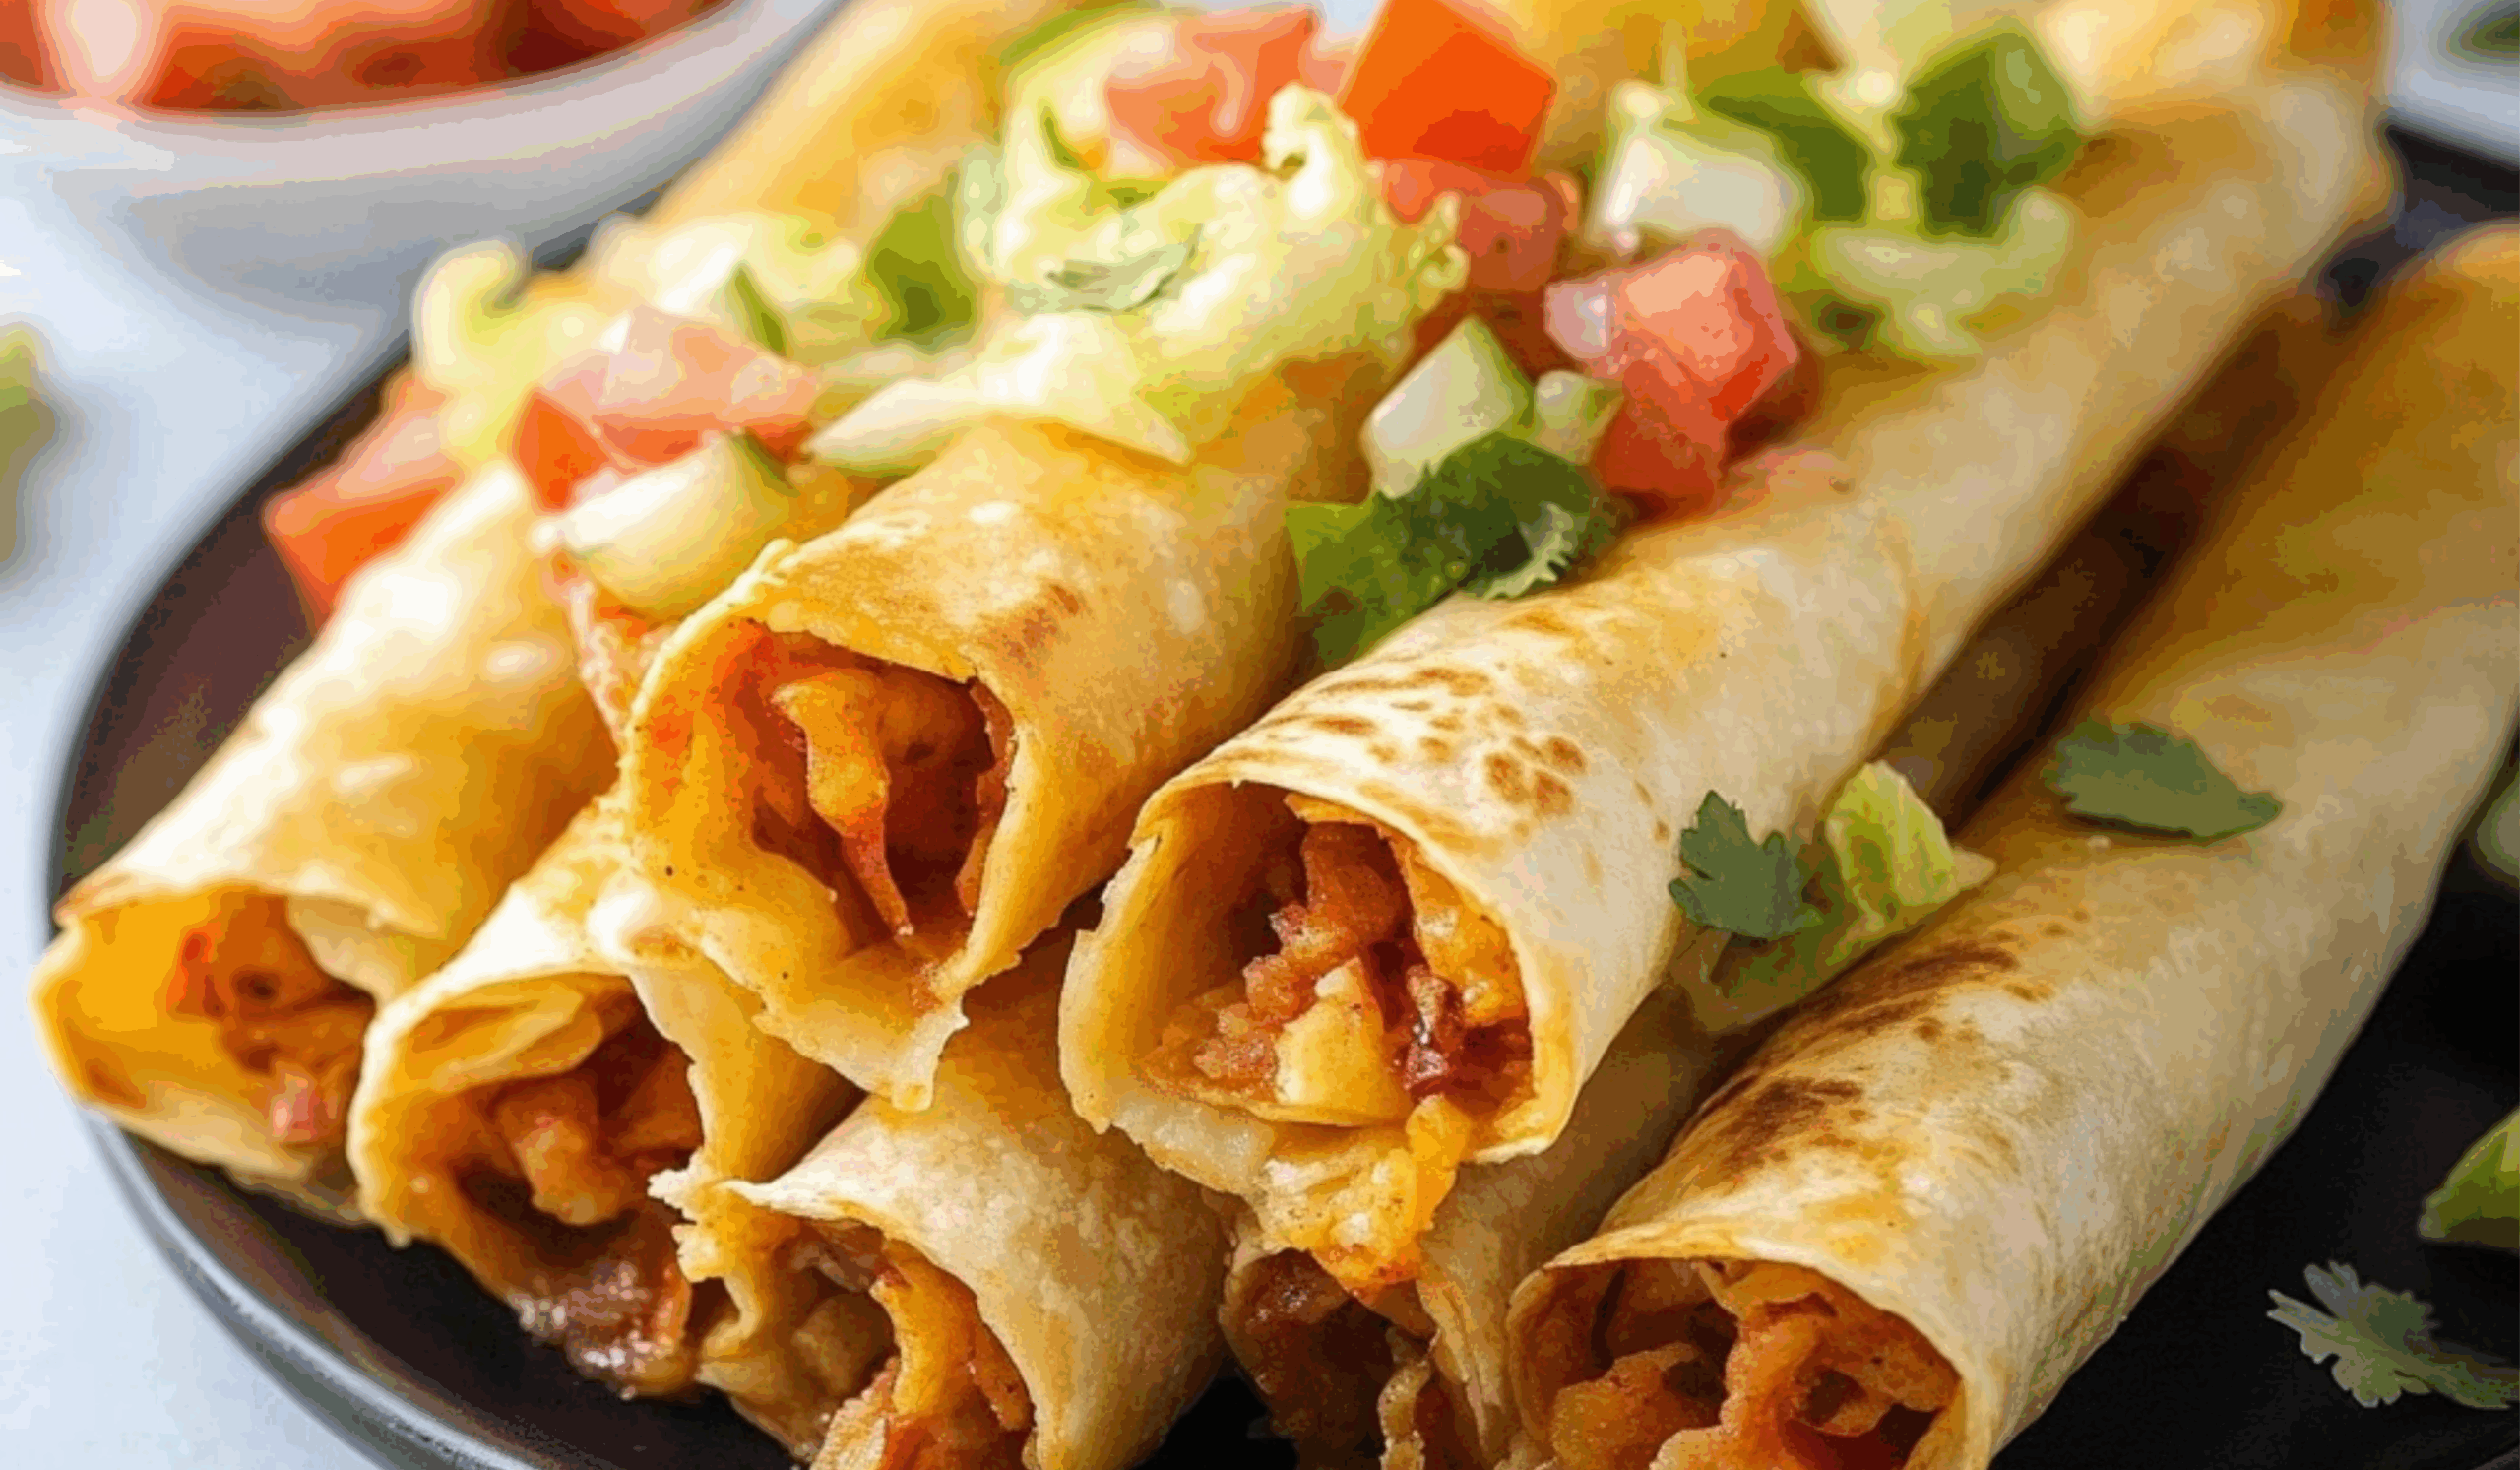
Golden, crispy, and packed with flavor—these Chicken Flautas are everything you love about Mexican comfort food, made simple for beginners! 🌮🔥 Shredded chicken, gooey cheese, and warm spices get rolled up in tortillas and fried (or baked!) to perfection. 🧀🍗 Crunchy on the outside, tender on the inside, they’re perfect for dipping, sharing, or devouring solo. No stress, all flavor—this recipe is a total win for any night of the week! ✨🥑
- Prep Time: 15 minutes
- Cook Time: 10 minutes
- Total Time: 25 minutes
- Yield: 6 servings 1x
Ingredients
- 3 cups cooked, shredded chicken (rotisserie chicken works great)
- 4 oz canned chopped green chilies, drained
- 1 tablespoon taco seasoning (store-bought or homemade)
- 1/2 cup salsa (use your favorite, mild or spicy depending on preference)
- 1 1/2 cups shredded cheddar cheese (or a blend like cheddar-jack)
- 12 small flour tortillas (you can also use corn tortillas if preferred)
- Oil for frying (vegetable, canola, or avocado oil all work well)
Optional Substitutions and Add-Ons
- Swap chicken for cooked shredded beef if desired
- Use pepper jack or Monterey Jack for a spicier twist
- Add a tablespoon of sour cream to the filling for a creamier texture
- Use whole wheat or low-carb tortillas for a healthier spin
- To bake instead of fry, use cooking spray or brush the rolled flautas lightly with oil
Instructions
1. Heat the Oil
Fill a large skillet with about 1 inch of oil. Heat over medium-high heat until it reaches approximately 360°F. If you don’t have a thermometer, test it by dipping the edge of a tortilla in—if it sizzles, it’s ready.
2. Make the Filling
In a large mixing bowl, combine the shredded chicken, green chilies, taco seasoning, salsa, and shredded cheese. Mix until evenly combined. The filling should be moist but not too runny.
3. Warm the Tortillas
Wrap the tortillas in a clean kitchen towel and microwave for about 45 seconds until they’re soft and warm. This step is crucial, especially with flour tortillas, as it keeps them from splitting during rolling.
4. Fill and Roll
Spoon about 1/4 cup of filling into each tortilla. Spread it into a thin line across one edge, then roll the tortilla tightly around the filling. Place each rolled flauta seam-side down on a plate or baking dish. This helps them hold their shape until cooking.
5. Fry Until Golden
Carefully place 4 to 5 rolled tortillas into the hot oil, seam-side down. Cook for about 4–5 minutes, turning occasionally to ensure even browning. They should be golden and crisp on all sides.
6. Drain and Cool
Remove the flautas with tongs and transfer them to a plate lined with paper towels. Let them rest for at least 5 minutes before serving to avoid burns and allow the cheese to set slightly.
Notes
Don’t Overfill
It’s tempting to pack in extra filling, but too much can cause the flautas to burst open while frying. Stick to about 1/4 cup of filling per tortilla.
Secure the Roll
If your flautas unroll in the pan, secure them with toothpicks before frying. Just remember to remove them before serving.
Even Heating
Make sure your oil stays between 350–370°F. If it gets too hot, the flautas will brown too quickly and may still be soft inside; too cold and they’ll absorb excess oil.
Alternative Cooking Methods
If you want to skip frying, air-fry the flautas at 400°F for 6–8 minutes, flipping halfway. You can also bake them at 425°F for 12–15 minutes on a greased baking sheet.
Prep Ahead
You can assemble flautas up to a day in advance and keep them refrigerated until ready to fry. They also freeze well—freeze rolled, uncooked flautas on a baking sheet, then transfer to a freezer bag for up to two months. Cook straight from frozen, adding 1–2 minutes to the cooking time.
How to Tell They’re Done
Visually, look for an even golden brown color. If you’re unsure, slice one open to check that the cheese is melted and the center is hot.
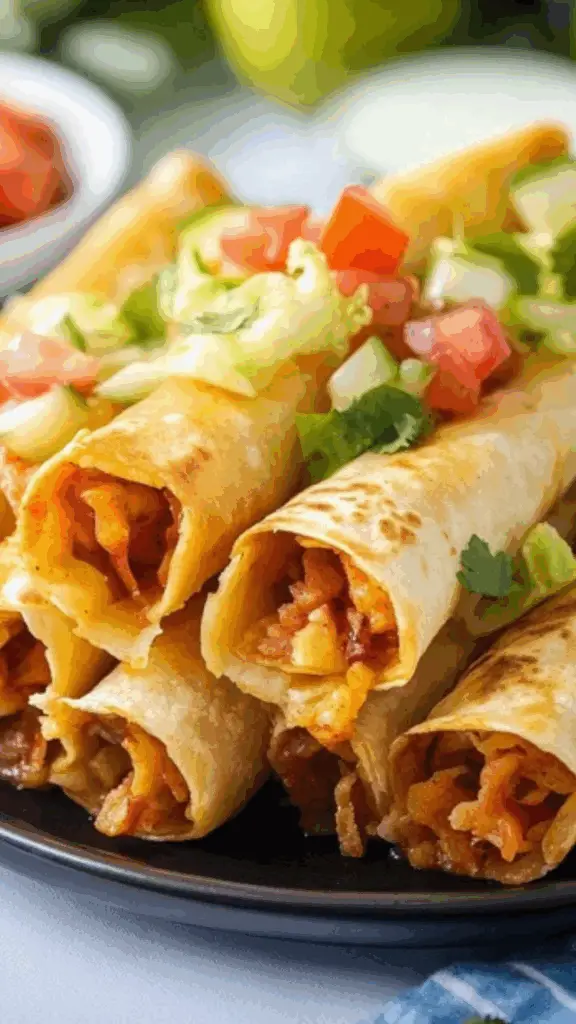
These crispy, rolled tortillas filled with seasoned chicken, cheese, and salsa strike the right balance of flavor and ease. You can prep them in under 20 minutes, use pantry staples, and cook them in several ways—traditional frying, air-frying, or even baking. They’re flexible, freezer-friendly, and kid-approved, making them ideal for weeknights, parties, or lazy weekends when you want something homemade without the stress.
Let’s break it all down, step by step, to make sure your first batch is a golden, cheesy success.
Ingredients and Preparation
Here’s what you’ll need to make approximately 12 flautas, which serves about 6 people:
Main Ingredients
- 3 cups cooked, shredded chicken (rotisserie chicken works great)
- 4 oz canned chopped green chilies, drained
- 1 tablespoon taco seasoning (store-bought or homemade)
- 1/2 cup salsa (use your favorite, mild or spicy depending on preference)
- 1 1/2 cups shredded cheddar cheese (or a blend like cheddar-jack)
- 12 small flour tortillas (you can also use corn tortillas if preferred)
- Oil for frying (vegetable, canola, or avocado oil all work well)
Optional Substitutions and Add-Ons
- Swap chicken for cooked shredded beef if desired
- Use pepper jack or Monterey Jack for a spicier twist
- Add a tablespoon of sour cream to the filling for a creamier texture
- Use whole wheat or low-carb tortillas for a healthier spin
- To bake instead of fry, use cooking spray or brush the rolled flautas lightly with oil
Make sure your chicken is already cooked before starting. If using raw chicken, boil or bake it first, then shred using two forks or a hand mixer for speed. Warm the tortillas just before assembling to keep them pliable and prevent cracking during rolling.
Step-by-Step Instructions
1. Heat the Oil
Fill a large skillet with about 1 inch of oil. Heat over medium-high heat until it reaches approximately 360°F. If you don’t have a thermometer, test it by dipping the edge of a tortilla in—if it sizzles, it’s ready.
2. Make the Filling
In a large mixing bowl, combine the shredded chicken, green chilies, taco seasoning, salsa, and shredded cheese. Mix until evenly combined. The filling should be moist but not too runny.
3. Warm the Tortillas
Wrap the tortillas in a clean kitchen towel and microwave for about 45 seconds until they’re soft and warm. This step is crucial, especially with flour tortillas, as it keeps them from splitting during rolling.
4. Fill and Roll
Spoon about 1/4 cup of filling into each tortilla. Spread it into a thin line across one edge, then roll the tortilla tightly around the filling. Place each rolled flauta seam-side down on a plate or baking dish. This helps them hold their shape until cooking.
5. Fry Until Golden
Carefully place 4 to 5 rolled tortillas into the hot oil, seam-side down. Cook for about 4–5 minutes, turning occasionally to ensure even browning. They should be golden and crisp on all sides.
6. Drain and Cool
Remove the flautas with tongs and transfer them to a plate lined with paper towels. Let them rest for at least 5 minutes before serving to avoid burns and allow the cheese to set slightly.
Beginner Tips and Notes
Cooking flautas can be incredibly simple once you get the hang of it, but here are a few tips to make your experience even smoother:
Don’t Overfill
It’s tempting to pack in extra filling, but too much can cause the flautas to burst open while frying. Stick to about 1/4 cup of filling per tortilla.
Secure the Roll
If your flautas unroll in the pan, secure them with toothpicks before frying. Just remember to remove them before serving.
Even Heating
Make sure your oil stays between 350–370°F. If it gets too hot, the flautas will brown too quickly and may still be soft inside; too cold and they’ll absorb excess oil.
Alternative Cooking Methods
If you want to skip frying, air-fry the flautas at 400°F for 6–8 minutes, flipping halfway. You can also bake them at 425°F for 12–15 minutes on a greased baking sheet.
Prep Ahead
You can assemble flautas up to a day in advance and keep them refrigerated until ready to fry. They also freeze well—freeze rolled, uncooked flautas on a baking sheet, then transfer to a freezer bag for up to two months. Cook straight from frozen, adding 1–2 minutes to the cooking time.
How to Tell They’re Done
Visually, look for an even golden brown color. If you’re unsure, slice one open to check that the cheese is melted and the center is hot.
Serving Suggestions
Flautas are super versatile and can be served as a main dish or an appetizer. Here are a few ways to round out your meal:
Toppings and Dips
- Sour cream or Greek yogurt
- Guacamole or sliced avocado
- Fresh pico de gallo or extra salsa
- Shredded lettuce and diced tomatoes for a taco-style plate
- A drizzle of hot sauce or chipotle mayo for extra flavor
Side Dishes
- Mexican rice or cilantro lime rice
- Refried or black beans
- A crisp side salad with lime vinaigrette
- Roasted vegetables like bell peppers, zucchini, or corn
Leftover Storage
Store any leftover flautas in an airtight container in the fridge for up to 3 days. To reheat, bake at 350°F for 10 minutes or air-fry for 4–5 minutes to restore crispiness. Avoid microwaving, as it tends to make them soggy.
Engagement Features
Cooking your first batch of flautas is a little like a rite of passage. It’s hands-on, a bit messy, but incredibly rewarding. You’ll quickly learn how to adjust the heat, roll tighter, and maybe even develop your own favorite variation. Don’t be discouraged if your first few aren’t picture-perfect—they’ll still be tasty, and your confidence will grow with each try.
Have you made this recipe? I’d love to hear how it turned out for you. Did you stick with the chicken or try beef? Fry or air-fry? Drop your experience, tips, or questions in the comments—I read every one. Cooking is all about sharing and learning together, and your feedback helps others feel more confident in the kitchen too.