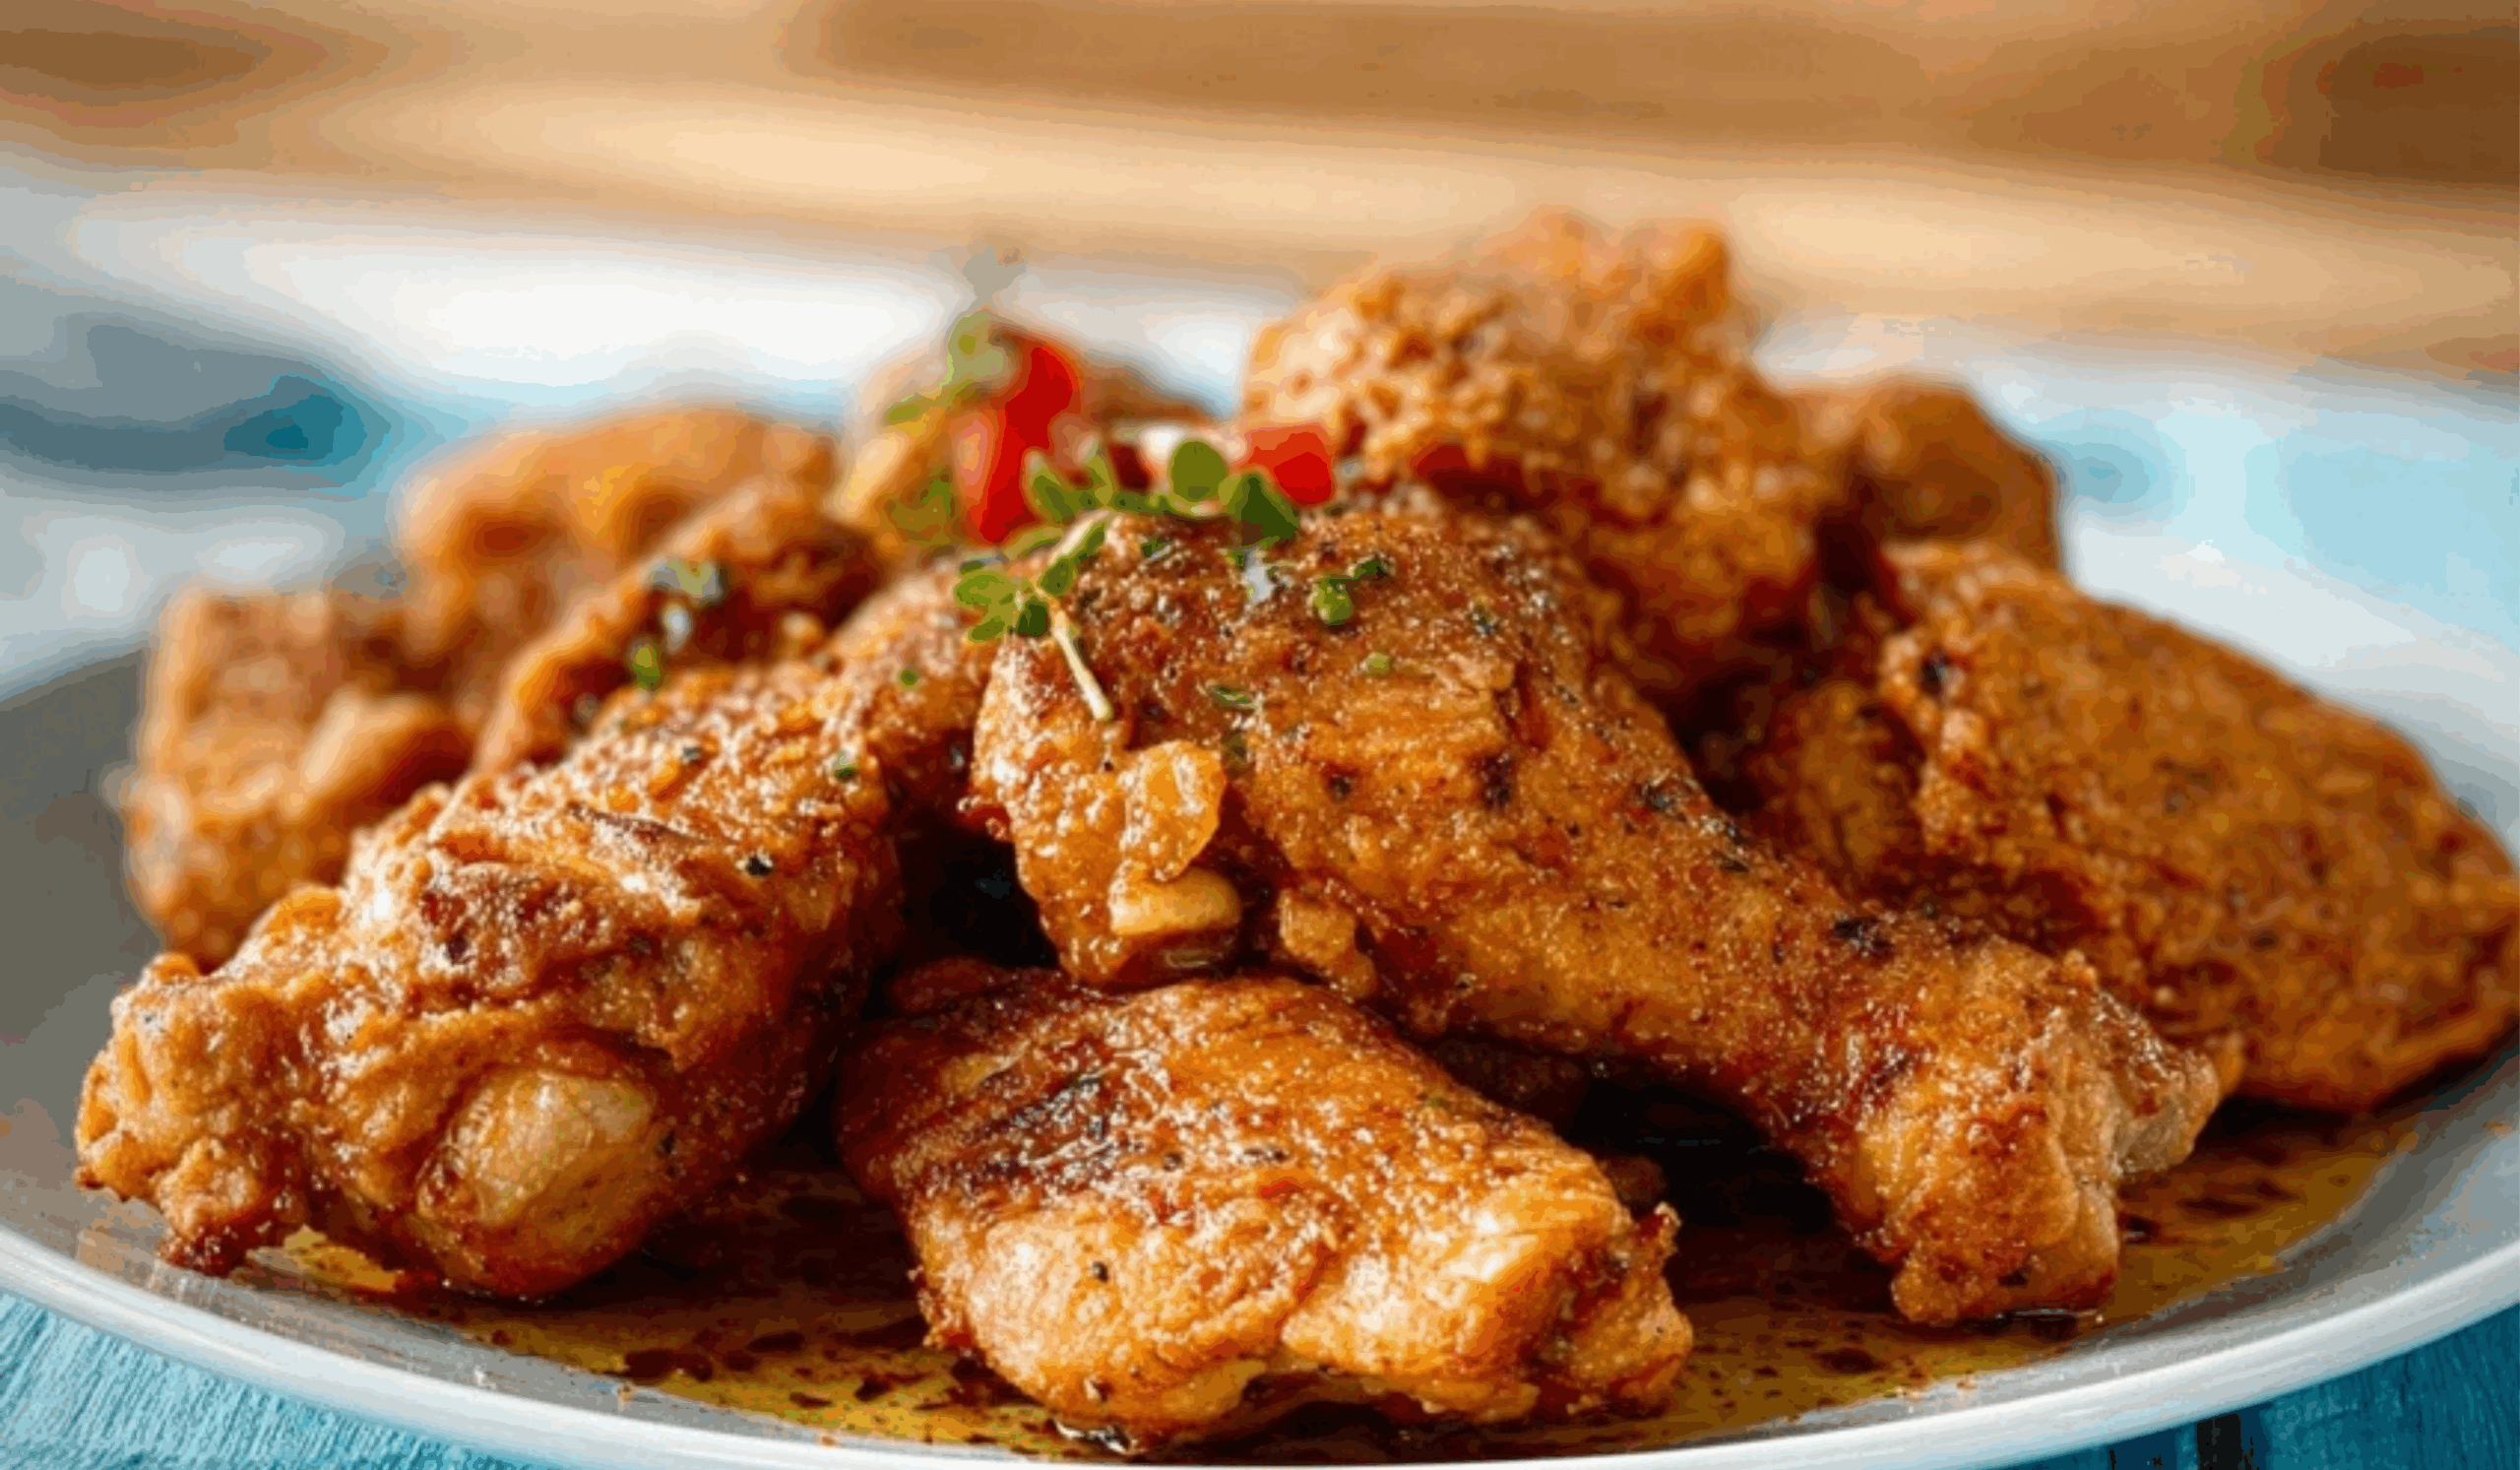
Dominican-Style Pica Pollo: Crispy Caribbean Fried Chicken at Its Best
Few dishes represent Dominican street food and home-cooked comfort as deliciously as Pica Pollo, the island’s version of fried chicken. What sets this dish apart is its bold blend of citrus, herbs, and spices, which permeate each piece of chicken and elevate it far beyond your typical fried fare. In every neighborhood across the Dominican Republic, you’ll find Pica Pollo stands serving golden, crunchy chicken alongside fried plantains, rice, and lime wedges.
In this carefully adapted version, we preserve all the heart and soul of the original while making it accessible for any home cook. We’ve omitted pork, ham, and bacon entirely—without losing any of the depth or richness—and provide you with a flavorful, straightforward approach that even beginners can master.
Whether you’re cooking a weeknight family meal or putting together a tropical-inspired weekend feast, this recipe ensures success with every crispy, juicy bite.
Ingredients and Preparation
For the Marinade:
- 2 lb bone-in chicken pieces (drumsticks, thighs, or leg quarters)
- ½ cup sour orange juice (or ¼ cup lime juice + ¼ cup orange juice as substitute)
- 1 tbsp white or apple cider vinegar
- 3 cloves garlic, finely minced
- 1 tsp dried oregano
- 1 tsp ground cumin
- 1 tsp paprika (smoked or sweet)
- 1 tsp kosher salt
- ½ tsp ground black pepper
- 2 tbsp chopped fresh cilantro or parsley (optional, for added aroma)
For the Flour Coating:
- 1½ cups all-purpose flour
- 1 tsp garlic powder
- 1 tsp onion powder
- 1 tsp paprika
- 1 tsp salt
- ½ tsp black pepper
- ½ tsp cayenne pepper (optional, for heat)
For Frying:
- Neutral oil for frying (vegetable, canola, or corn oil)
- Enough oil to fill a deep skillet or Dutch oven with 2 inches depth
Garnish:
- Fresh lime wedges
- Optional: extra chopped herbs or fresh chili slices for color and kick
Step-by-Step Instructions
1. Clean and Marinate the Chicken
- Rinse the chicken pieces with a little lime juice and water to clean them, then pat dry with paper towels.
- In a large bowl, combine sour orange juice, vinegar, garlic, oregano, cumin, paprika, salt, pepper, and cilantro.
- Place the chicken in the bowl, ensuring every piece is well coated.
- Cover the bowl with plastic wrap or transfer the contents to a sealed container.
- Refrigerate and marinate for at least 2 hours, but overnight is best for deep flavor.
2. Prepare the Flour Coating
- In a shallow dish, mix the flour with all dry seasoning ingredients: garlic powder, onion powder, paprika, salt, black pepper, and cayenne.
- Stir until the coating mix is well blended.
3. Dredge the Chicken
- Remove the marinated chicken from the fridge and let it sit at room temperature for 15–20 minutes.
- Working one piece at a time, lift chicken from the marinade and let excess drip off.
- Dredge each piece in the seasoned flour mixture, pressing gently so the coating sticks well.
- Shake off excess flour and set coated pieces on a baking rack or plate.
- Let the dredged chicken rest for 10–15 minutes. This helps the flour bind better and results in a crispier crust.
4. Heat the Oil
- In a large, heavy-bottomed skillet or Dutch oven, pour oil to a depth of about 2 inches.
- Heat the oil to 350°F (175°C) over medium-high heat.
- Use a kitchen thermometer for accuracy. If you don’t have one, drop a pinch of flour into the oil—it should sizzle and rise to the surface.
5. Fry the Chicken
- Carefully lower 3–4 pieces of chicken into the hot oil, skin-side down if applicable. Avoid overcrowding.
- Fry in batches, maintaining a consistent oil temperature between 325°F and 350°F.
- Cook each piece for 6–8 minutes per side, or until golden brown and internal temperature reaches 165°F (74°C).
- Remove chicken and drain on a wire rack or paper towel-lined plate.
6. Rest and Serve
- Let the chicken rest for 5–7 minutes before serving. This preserves the juices and ensures crispy skin.
- Serve hot with lime wedges on the side.
Beginner Tips and Notes
- Marinating Matters
• A long marination time—overnight if possible—intensifies flavor and tenderizes the chicken naturally.
• Don’t marinate too long beyond 24 hours to avoid mushy texture. - Oil Temperature is Crucial
• Use a cooking thermometer for consistent results.
• If oil is too cool, chicken will be greasy. If too hot, it will burn on the outside before cooking inside. - Flour Coating Tips
• Letting the flour-coated chicken rest before frying helps the coating adhere better.
• For a thicker crust, double-dip: dredge, dip in beaten egg or marinade, then dredge again. - Resting Period Post-Frying
• Resting chicken for a few minutes after frying ensures it stays juicy and lets crust set fully. - Spice Customization
• Want more heat? Add a pinch of cayenne or chili powder to the flour mix.
• Love earthy flavor? Try adding ground coriander or turmeric. - No Deep Fryer? No Problem
• A heavy pan like cast iron works just as well. Maintain the correct oil depth and temperature. - Kitchen Safety First
• Use tongs or a slotted spoon to place chicken in oil.
• Never leave hot oil unattended. Keep a lid nearby in case of flare-ups.
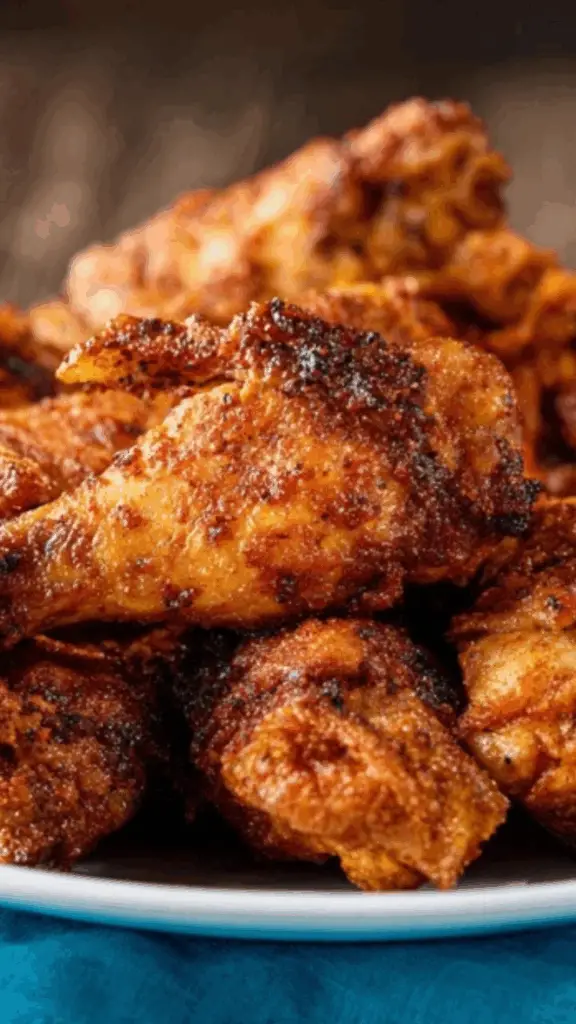
Dominican-Style Pica Pollo: Crispy Caribbean Fried Chicken at Its Best

Bring the heat and crunch with Pica Pollo – a Dominican fried chicken dish that packs serious flavor! 🔥🍗 Marinated in citrus and spices, then fried until golden and crispy, this chicken is irresistible. Whether you serve it with fried plantains, lime wedges, or rice, it’s a crowd-pleasing favorite for any occasion. 🍋🍚✨ A taste of the Dominican Republic that’s spicy, savory, and absolutely unforgettable. 🇩🇴💥
- Prep Time: 2 hours 20 minutes (including marinating and dredging)
- Cook Time: 25 minutes
- Total Time: 2 hours 45 minutes
- Yield: 6 servings 1x
Ingredients
For the Marinade:
-
2 lb bone-in chicken pieces (drumsticks, thighs, or leg quarters)
-
½ cup sour orange juice (or ¼ cup lime juice + ¼ cup orange juice as substitute)
-
1 tbsp white or apple cider vinegar
-
3 cloves garlic, finely minced
-
1 tsp dried oregano
-
1 tsp ground cumin
-
1 tsp paprika (smoked or sweet)
-
1 tsp kosher salt
-
½ tsp ground black pepper
-
2 tbsp chopped fresh cilantro or parsley (optional, for added aroma)
For the Flour Coating:
-
1½ cups all-purpose flour
-
1 tsp garlic powder
-
1 tsp onion powder
-
1 tsp paprika
-
1 tsp salt
-
½ tsp black pepper
-
½ tsp cayenne pepper (optional, for heat)
For Frying:
-
Neutral oil for frying (vegetable, canola, or corn oil)
-
Enough oil to fill a deep skillet or Dutch oven with 2 inches depth
Garnish:
-
Fresh lime wedges
-
Optional: extra chopped herbs or fresh chili slices for color and kick
Instructions
1. Clean and Marinate the Chicken
- Rinse the chicken pieces with a little lime juice and water to clean them, then pat dry with paper towels.
- In a large bowl, combine sour orange juice, vinegar, garlic, oregano, cumin, paprika, salt, pepper, and cilantro.
- Place the chicken in the bowl, ensuring every piece is well coated.
- Cover the bowl with plastic wrap or transfer the contents to a sealed container.
- Refrigerate and marinate for at least 2 hours, but overnight is best for deep flavor.
2. Prepare the Flour Coating
- In a shallow dish, mix the flour with all dry seasoning ingredients: garlic powder, onion powder, paprika, salt, black pepper, and cayenne.
- Stir until the coating mix is well blended.
3. Dredge the Chicken
- Remove the marinated chicken from the fridge and let it sit at room temperature for 15–20 minutes.
- Working one piece at a time, lift chicken from the marinade and let excess drip off.
- Dredge each piece in the seasoned flour mixture, pressing gently so the coating sticks well.
- Shake off excess flour and set coated pieces on a baking rack or plate.
- Let the dredged chicken rest for 10–15 minutes. This helps the flour bind better and results in a crispier crust.
4. Heat the Oil
- In a large, heavy-bottomed skillet or Dutch oven, pour oil to a depth of about 2 inches.
- Heat the oil to 350°F (175°C) over medium-high heat.
- Use a kitchen thermometer for accuracy. If you don’t have one, drop a pinch of flour into the oil—it should sizzle and rise to the surface.
5. Fry the Chicken
- Carefully lower 3–4 pieces of chicken into the hot oil, skin-side down if applicable. Avoid overcrowding.
- Fry in batches, maintaining a consistent oil temperature between 325°F and 350°F.
- Cook each piece for 6–8 minutes per side, or until golden brown and internal temperature reaches 165°F (74°C).
- Remove chicken and drain on a wire rack or paper towel-lined plate.
6. Rest and Serve
- Let the chicken rest for 5–7 minutes before serving. This preserves the juices and ensures crispy skin.
- Serve hot with lime wedges on the side.
Notes
- Marinating Matters
• A long marination time—overnight if possible—intensifies flavor and tenderizes the chicken naturally.
• Don’t marinate too long beyond 24 hours to avoid mushy texture. - Oil Temperature is Crucial
• Use a cooking thermometer for consistent results.
• If oil is too cool, chicken will be greasy. If too hot, it will burn on the outside before cooking inside. - Flour Coating Tips
• Letting the flour-coated chicken rest before frying helps the coating adhere better.
• For a thicker crust, double-dip: dredge, dip in beaten egg or marinade, then dredge again. - Resting Period Post-Frying
• Resting chicken for a few minutes after frying ensures it stays juicy and lets crust set fully. - Spice Customization
• Want more heat? Add a pinch of cayenne or chili powder to the flour mix.
• Love earthy flavor? Try adding ground coriander or turmeric. - No Deep Fryer? No Problem
• A heavy pan like cast iron works just as well. Maintain the correct oil depth and temperature. - Kitchen Safety First
• Use tongs or a slotted spoon to place chicken in oil.
• Never leave hot oil unattended. Keep a lid nearby in case of flare-ups.
Serving Suggestions
Pica Pollo shines with a wide range of side dishes. Whether you want something hearty, fresh, or traditional, here are delicious pairings to make your Dominican fried chicken meal complete:
- Tostones (Fried Green Plantains)
• Crunchy, salted discs that balance well with juicy chicken. - Arroz con Habichuelas (Rice with Beans)
• Dominican-style rice and beans add comfort and heartiness. - Ensalada Verde (Simple Green Salad)
• Lettuce, tomato, avocado, and red onion tossed with olive oil and lime. - Maduros (Sweet Plantains)
• Their caramelized sweetness is a lovely contrast to crispy, savory chicken. - Yuca Fries or Boiled Cassava
• A starchy, satisfying side that holds its own. - Avocado Slices with Lime
• Cool, creamy, and fresh—this pairs beautifully with spicy fried food. - Dipping Sauces
• Try garlic-lime aioli, chimichurri, or Dominican pica de gallo. - Beverage Pairings
• Cold limeade, tamarind juice, ginger beer, or a light tropical soda cut through the richness.
• For adults, a chilled beer or dry white wine works well.
Final Thought
Pica Pollo isn’t just fried chicken—it’s a celebration of culture, flavor, and family. With a simple marinade, well-balanced seasoning, and proper frying techniques, you can bring the heart of the Dominican Republic right to your kitchen. Every bite is a tribute to the island’s vibrant food traditions and a reminder that great cooking doesn’t need to be complicated—it just needs care, bold flavors, and love.
Whether you’re sharing it with friends or savoring it alone, this Dominican fried chicken recipe will leave you satisfied, inspired, and probably reaching for a second piece.
Let this be your go-to version of crispy chicken with character—no pork, no shortcuts, just flavor done right.