Honey Garlic Chicken: A Perfect Beginner-Friendly Recipe
Cooking at home can feel intimidating for beginners, but some recipes are so simple and rewarding that they make the perfect starting point. One such dish is honey garlic chicken—a sweet and savory delight that is both easy to prepare and bursting with flavor.
PrintHoney Garlic Chicken: A Perfect Beginner-Friendly Recipe

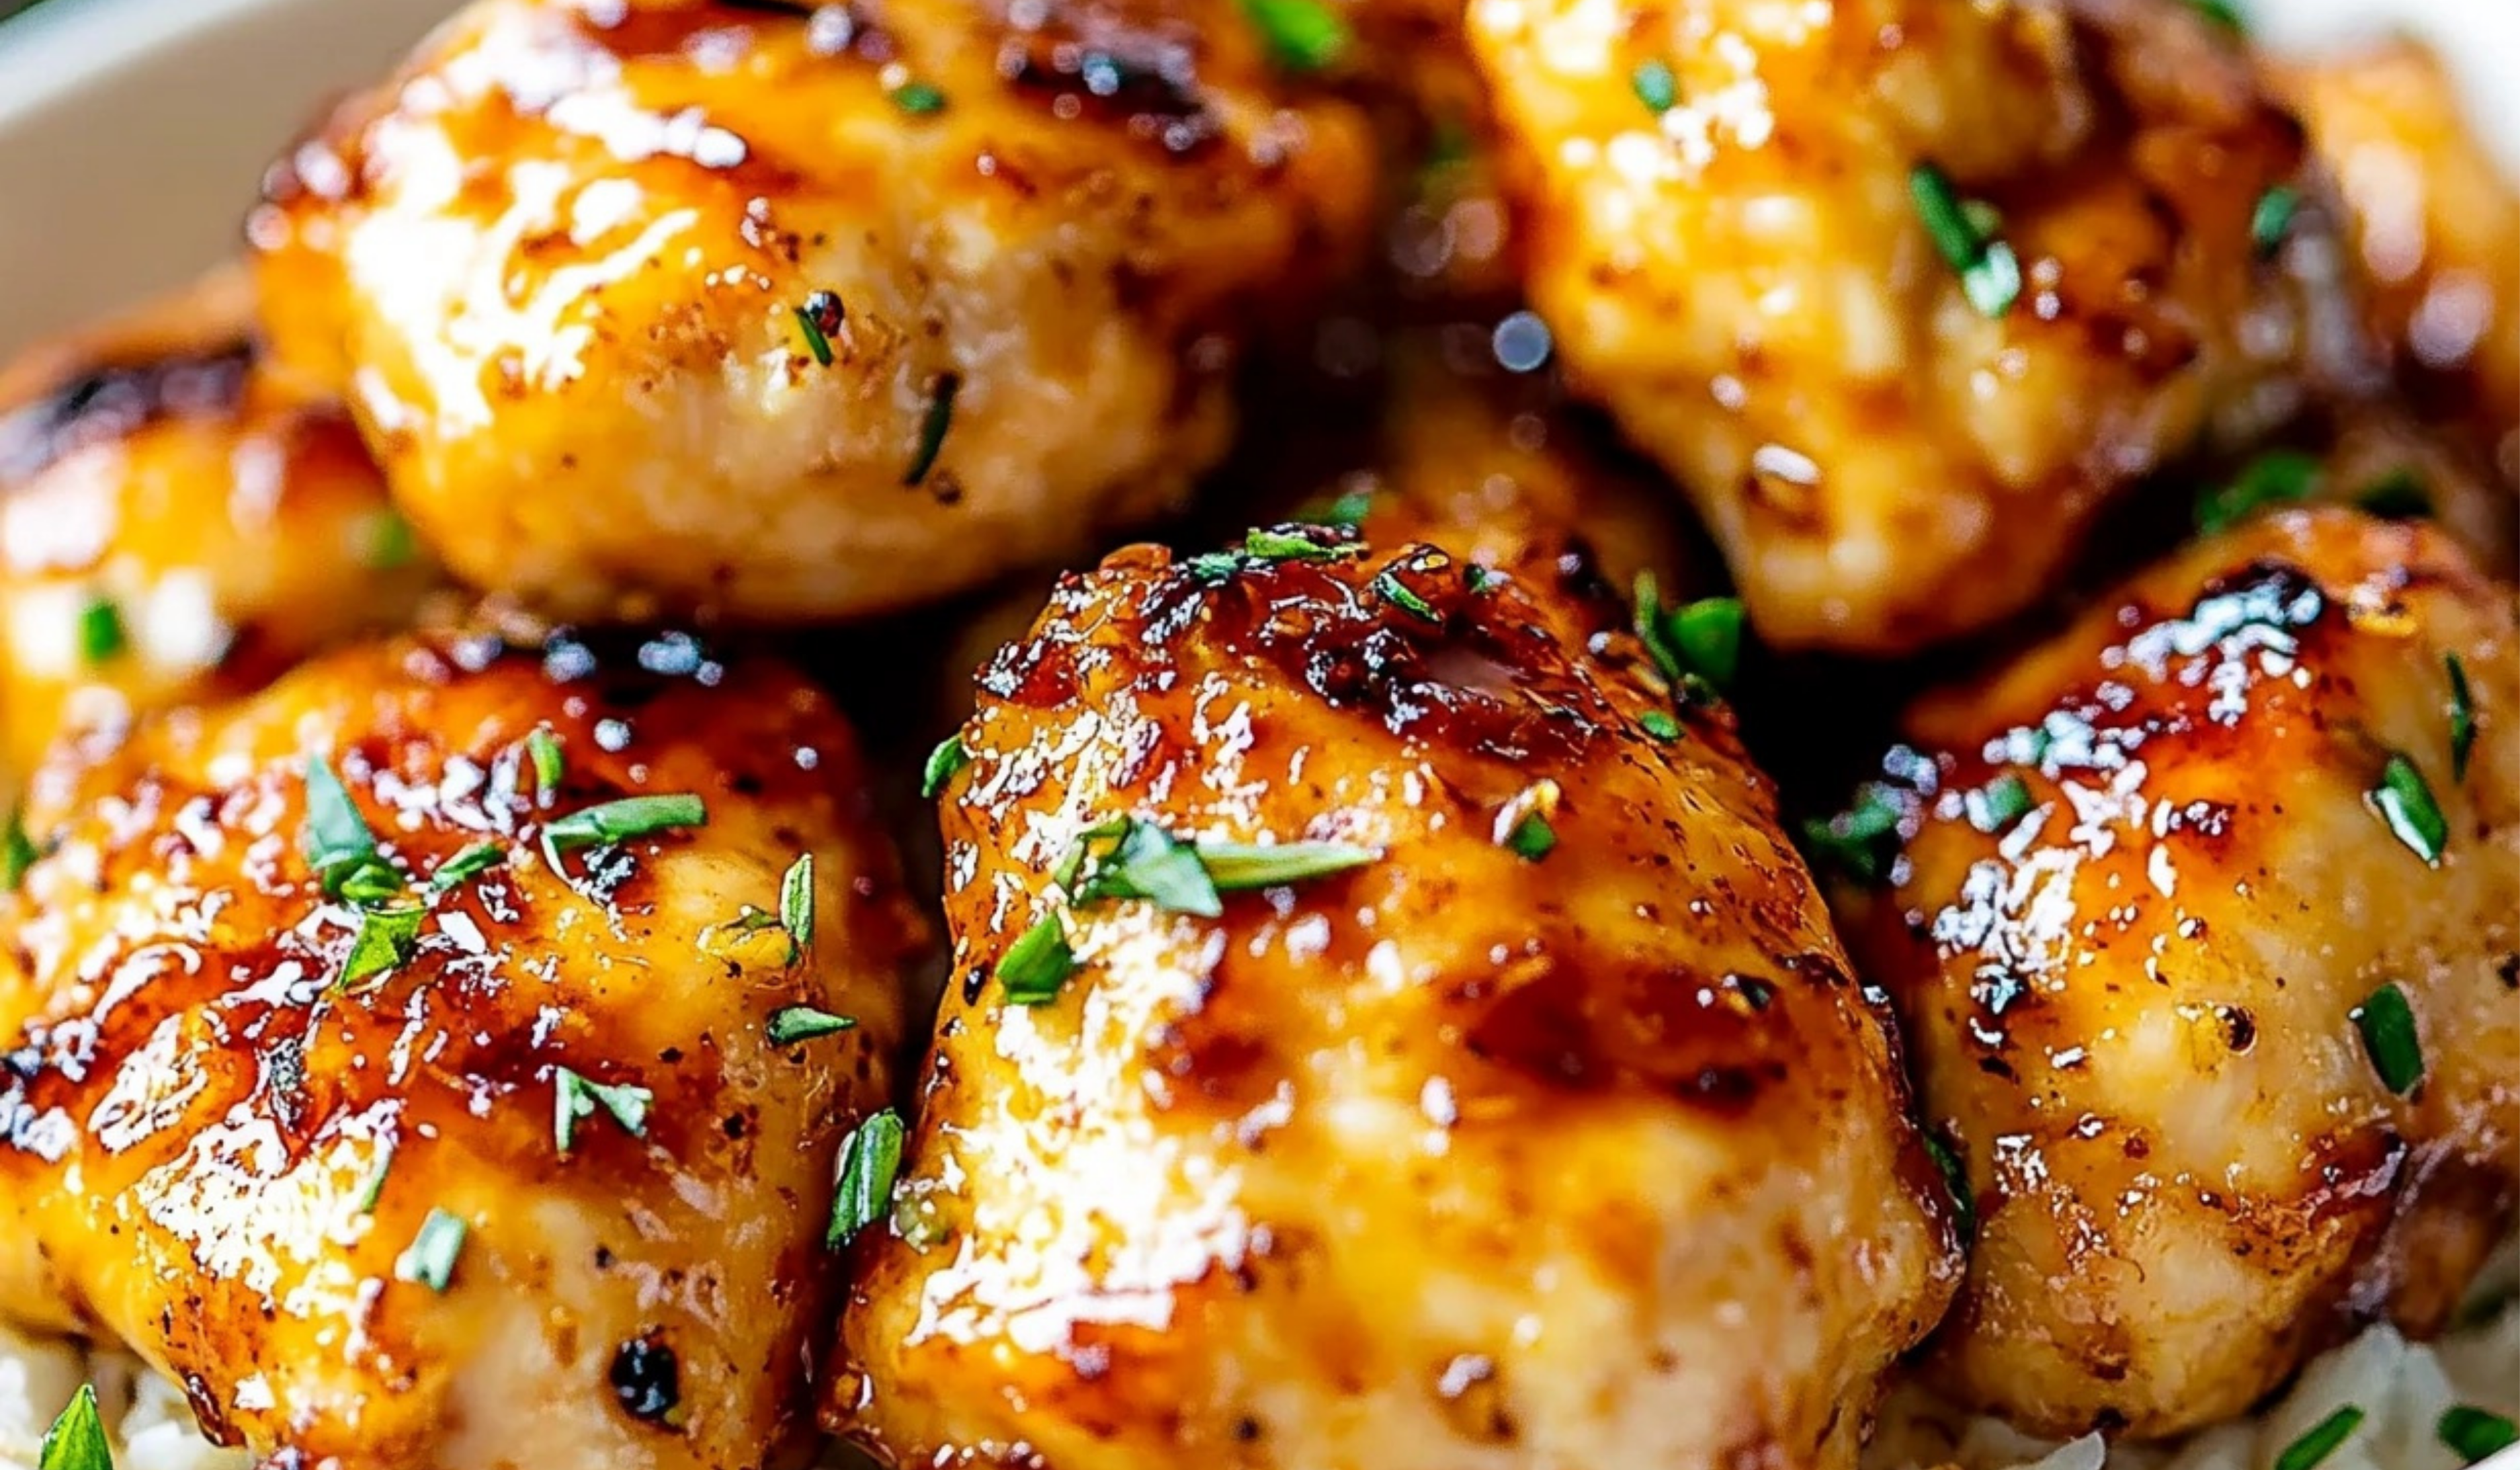
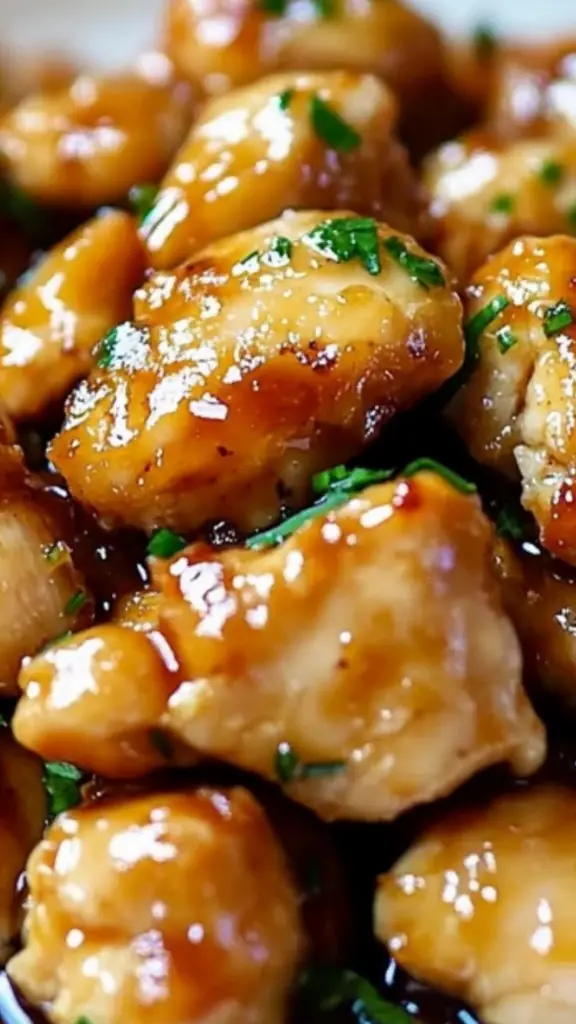
If you love that irresistible sweet, savory, and garlicky combo, this Honey Garlic Chicken will be your new obsession! 🍗🔥 Caramelized honey meets fragrant garlic in a rich, glossy sauce that clings to every bite of juicy chicken. It’s the perfect dish for beginners—minimal effort, maximum flavor! Just a handful of pantry staples and 20 minutes stand between you and a meal that’ll have everyone asking for seconds. Serve it with rice, noodles, or steamed veggies for the ultimate comfort food experience!
#HoneyGarlicMagic ✨ #EasyRecipes 🍴 #QuickAndTasty ⏱️ #ChickenDinner Winner 🏆 #HomemadeGoodness 🍯 #StickyGarlicLove 🧄 #SatisfyYourCravings 😋 #DinnertimeDelight 🌟 #SavorySweetPerfection ❤️ #SimpleYetDelicious 🍽️
- Prep Time: 5 minutes
- Cook Time: 20 minutes
- Total Time: 25 minutes
- Yield: 4 servings
Ingredients
- Chicken: Boneless, skinless chicken thighs or breasts work well. Thighs tend to be juicier, while breasts are leaner.
- Honey: This provides natural sweetness and helps create a sticky glaze.
- Garlic: Freshly minced garlic adds a deep, aromatic flavor.
- Soy Sauce: Use low-sodium soy sauce for better control over salt levels.
- Olive Oil: Used for pan-searing the chicken to golden perfection.
- Ginger (Optional): Freshly grated ginger adds a subtle spice and warmth.
- Cornstarch (Optional): If a thicker sauce is preferred, this helps with consistency.
- Salt and Pepper: Enhances the flavors of the dish.
- Green Onions (Optional): Adds a fresh, mildly spicy garnish.
Instructions
Step 1: Season the Chicken
Start by patting the chicken dry with paper towels. This helps it cook evenly and develop a golden crust. Season both sides with salt and pepper.
Step 2: Sear the Chicken
Heat olive oil in a large skillet over medium-high heat. Add the chicken and cook for six to eight minutes per side until golden brown. The key is to let it cook undisturbed so it develops a nice crust.
If unsure whether the chicken is fully cooked, use a meat thermometer. It should read 165°F (75°C) internally. If a thermometer is unavailable, cut into the thickest part—if the juices run clear, it is ready.
Step 3: Prepare the Honey Garlic Sauce
While the chicken cooks, mix honey, soy sauce, minced garlic, and ginger in a small bowl. Stir well until combined.
Step 4: Add the Sauce
Remove the cooked chicken from the pan and set it aside. Lower the heat to medium-low and pour the honey garlic mixture into the pan. Let it simmer for two to three minutes, stirring occasionally, until it starts to thicken slightly.
If the sauce is too thin, mix one teaspoon of cornstarch with one tablespoon of water, then stir it into the sauce to thicken.
Step 5: Coat the Chicken
Return the chicken to the pan and toss it in the sauce until fully coated. Let it cook for another one to two minutes so the flavors meld together.
Step 6: Garnish and Serve
Sprinkle with chopped green onions for a fresh burst of flavor. Serve warm with favorite sides.
Notes
Common Mistakes and Fixes
If the chicken sticks to the pan, ensure the pan is hot before adding oil and chicken. Avoid moving the chicken too soon—it will naturally release when ready.
If the sauce is too thick, add a splash of water or chicken broth to loosen it up.
If the garlic burns, reduce the heat and add the sauce sooner to prevent bitterness.
Efficient Kitchen Tips
Pre-mince garlic or use a garlic press for faster prep.
Measure ingredients ahead of time to make cooking stress-free.
Clean as you go to keep the workspace organized.
I remember the first time I tried making this dish; I was hesitant about getting the balance of flavors just right. However, I quickly realized that the beauty of this recipe lies in its simplicity. With just a few staple ingredients and minimal effort, I created a restaurant-quality dish that made me feel like a pro in the kitchen.
This recipe is a lifesaver for busy weeknights, offering a quick, satisfying, and healthy meal. The honey adds natural sweetness, while garlic and soy sauce infuse the dish with a rich umami depth. Plus, it requires no special equipment—just a pan, a few ingredients, and 25 minutes of your time.
Ingredients and Preparation
Before diving into the step-by-step instructions, it is essential to understand the ingredients and how they contribute to the dish.
Ingredients:
- Chicken: Boneless, skinless chicken thighs or breasts work well. Thighs tend to be juicier, while breasts are leaner.
- Honey: This provides natural sweetness and helps create a sticky glaze.
- Garlic: Freshly minced garlic adds a deep, aromatic flavor.
- Soy Sauce: Use low-sodium soy sauce for better control over salt levels.
- Olive Oil: Used for pan-searing the chicken to golden perfection.
- Ginger (Optional): Freshly grated ginger adds a subtle spice and warmth.
- Cornstarch (Optional): If a thicker sauce is preferred, this helps with consistency.
- Salt and Pepper: Enhances the flavors of the dish.
- Green Onions (Optional): Adds a fresh, mildly spicy garnish.
Ingredient Substitutions and Variations
- Soy Sauce Alternative: Use coconut aminos or tamari for a gluten-free version.
- Sweeter Option: Add a touch of brown sugar for extra caramelization.
- Spicy Kick: Sprinkle in red pepper flakes or a dash of sriracha for heat.
- Healthier Swap: Replace honey with maple syrup for a refined sugar-free option.
Step-by-Step Cooking Instructions
Step 1: Season the Chicken
Start by patting the chicken dry with paper towels. This helps it cook evenly and develop a golden crust. Season both sides with salt and pepper.
Step 2: Sear the Chicken
Heat olive oil in a large skillet over medium-high heat. Add the chicken and cook for six to eight minutes per side until golden brown. The key is to let it cook undisturbed so it develops a nice crust.
If unsure whether the chicken is fully cooked, use a meat thermometer. It should read 165°F (75°C) internally. If a thermometer is unavailable, cut into the thickest part—if the juices run clear, it is ready.
Step 3: Prepare the Honey Garlic Sauce
While the chicken cooks, mix honey, soy sauce, minced garlic, and ginger in a small bowl. Stir well until combined.
Step 4: Add the Sauce
Remove the cooked chicken from the pan and set it aside. Lower the heat to medium-low and pour the honey garlic mixture into the pan. Let it simmer for two to three minutes, stirring occasionally, until it starts to thicken slightly.
If the sauce is too thin, mix one teaspoon of cornstarch with one tablespoon of water, then stir it into the sauce to thicken.
Step 5: Coat the Chicken
Return the chicken to the pan and toss it in the sauce until fully coated. Let it cook for another one to two minutes so the flavors meld together.
Step 6: Garnish and Serve
Sprinkle with chopped green onions for a fresh burst of flavor. Serve warm with favorite sides.
Beginner Tips and Notes
Cooking can feel like a learning curve at first, but these tips will make the process even smoother.
Common Mistakes and Fixes
If the chicken sticks to the pan, ensure the pan is hot before adding oil and chicken. Avoid moving the chicken too soon—it will naturally release when ready.
If the sauce is too thick, add a splash of water or chicken broth to loosen it up.
If the garlic burns, reduce the heat and add the sauce sooner to prevent bitterness.
Efficient Kitchen Tips
Pre-mince garlic or use a garlic press for faster prep.
Measure ingredients ahead of time to make cooking stress-free.
Clean as you go to keep the workspace organized.
Serving Suggestions
Pairing the right sides can turn this dish into a complete, satisfying meal.
Best Side Dishes
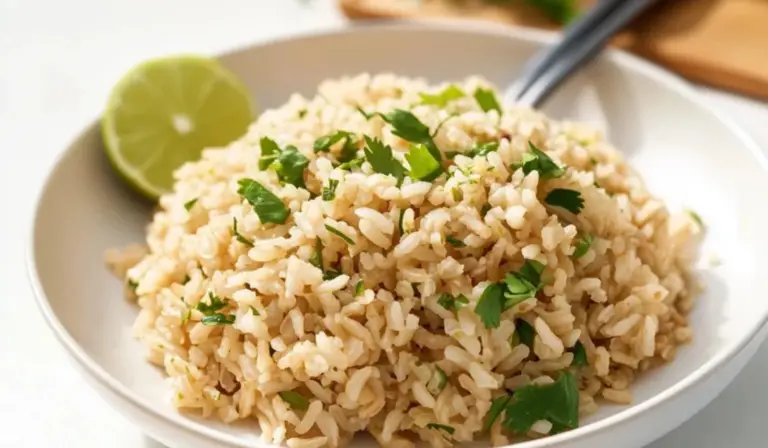
Steamed rice absorbs the delicious sauce perfectly. Jasmine or brown rice are great options.
Roasted vegetables such as broccoli, carrots, or bell peppers add a fresh, crunchy contrast.
A light, crisp salad with a tangy dressing complements the sweet-savory flavors.
Mashed or roasted potatoes make for a heartier, comforting side.
For a low-carb alternative, cauliflower rice or zucchini noodles work well.
Sauce and Garnish Ideas
A drizzle of sesame oil or a sprinkle of sesame seeds enhances the nutty flavor of the dish.
A squeeze of fresh lemon juice brightens up the flavors.
Adding chopped cilantro or parsley gives the dish a fresh, herbaceous touch.
For an extra layer of spice, serve with chili flakes or a dash of hot sauce on the side.
Storage and Leftover Tips
This dish stores well and can be enjoyed later with minimal effort.
Refrigeration
Store leftovers in an airtight container in the refrigerator for up to four days. Reheat in a skillet over medium heat or microwave in short intervals, stirring occasionally to maintain even heat.
Freezing
For longer storage, freeze the chicken in a sealed container for up to three months. Thaw overnight in the refrigerator before reheating.
If meal prepping, consider storing the sauce separately and adding it after reheating to keep the texture fresh.
Why This Recipe Works for Beginners
This recipe is designed to be beginner-friendly for several reasons.
Minimal Ingredients
With a handful of pantry staples, this dish requires little effort to prepare. There is no need for complicated ingredients or techniques, making it perfect for those just starting out in the kitchen.
Quick and Easy Cooking Process
The entire dish comes together in just 25 minutes, making it ideal for busy weeknights or last-minute meals. The simple pan-searing method ensures that the chicken remains tender and flavorful.
Forgiving Recipe
Even if minor mistakes occur, they are easily fixable. Adjusting seasoning, sauce consistency, or cooking time can make up for any errors.
Healthy and Balanced
This dish offers a great balance of protein, natural sweetness, and umami flavors while remaining relatively healthy. Using lean chicken breasts or substituting ingredients allows for customization to suit dietary preferences.
Encouraging Reader Engagement
Cooking is more than just following a recipe; it is about learning, experimenting, and enjoying the process.
If this is your first time trying honey garlic chicken, share your experience in the comments. How did it turn out? Did you make any modifications? If you have any questions, feel free to ask.
For those who love this dish, try experimenting with different proteins like shrimp, tofu, or beef for variety. The sauce pairs well with many ingredients, making it versatile for different meals.
Cooking is a journey, and every dish brings an opportunity to improve skills and gain confidence in the kitchen. Whether you are a beginner or an experienced home cook, this honey garlic chicken recipe is a great addition to your repertoire.
Conclusion
Honey garlic chicken is the perfect recipe for anyone looking to create a flavorful, satisfying meal with minimal effort. The combination of sweet honey, aromatic garlic, and savory soy sauce makes this dish a favorite for all ages. With easy-to-follow steps, beginner-friendly techniques, and versatile serving options, this recipe is ideal for those new to cooking.
By mastering this simple dish, you will build confidence in the kitchen and be inspired to try new recipes. Cooking does not have to be complicated—it can be enjoyable, rewarding, and delicious.
So, gather your ingredients, follow the steps, and enjoy a homemade meal that is both effortless and full of flavor. If you love this recipe, share your experience and inspire others to try it too.