Jalapeño Popper Dip: A Spicy, Cheesy Delight for Beginners
There’s nothing quite like the combination of creamy cheese, a hint of spice, and a crispy, golden topping. Jalapeño poppers have long been a favorite party snack, but they can be time-consuming to prepare, requiring each pepper to be stuffed, coated, and cooked individually. That’s where this jalapeño popper dip comes in. It captures all the bold flavors of the classic appetizer but simplifies the process, making it perfect for beginner cooks.
PrintJalapeño Popper Dip: A Spicy, Cheesy Delight for Beginners

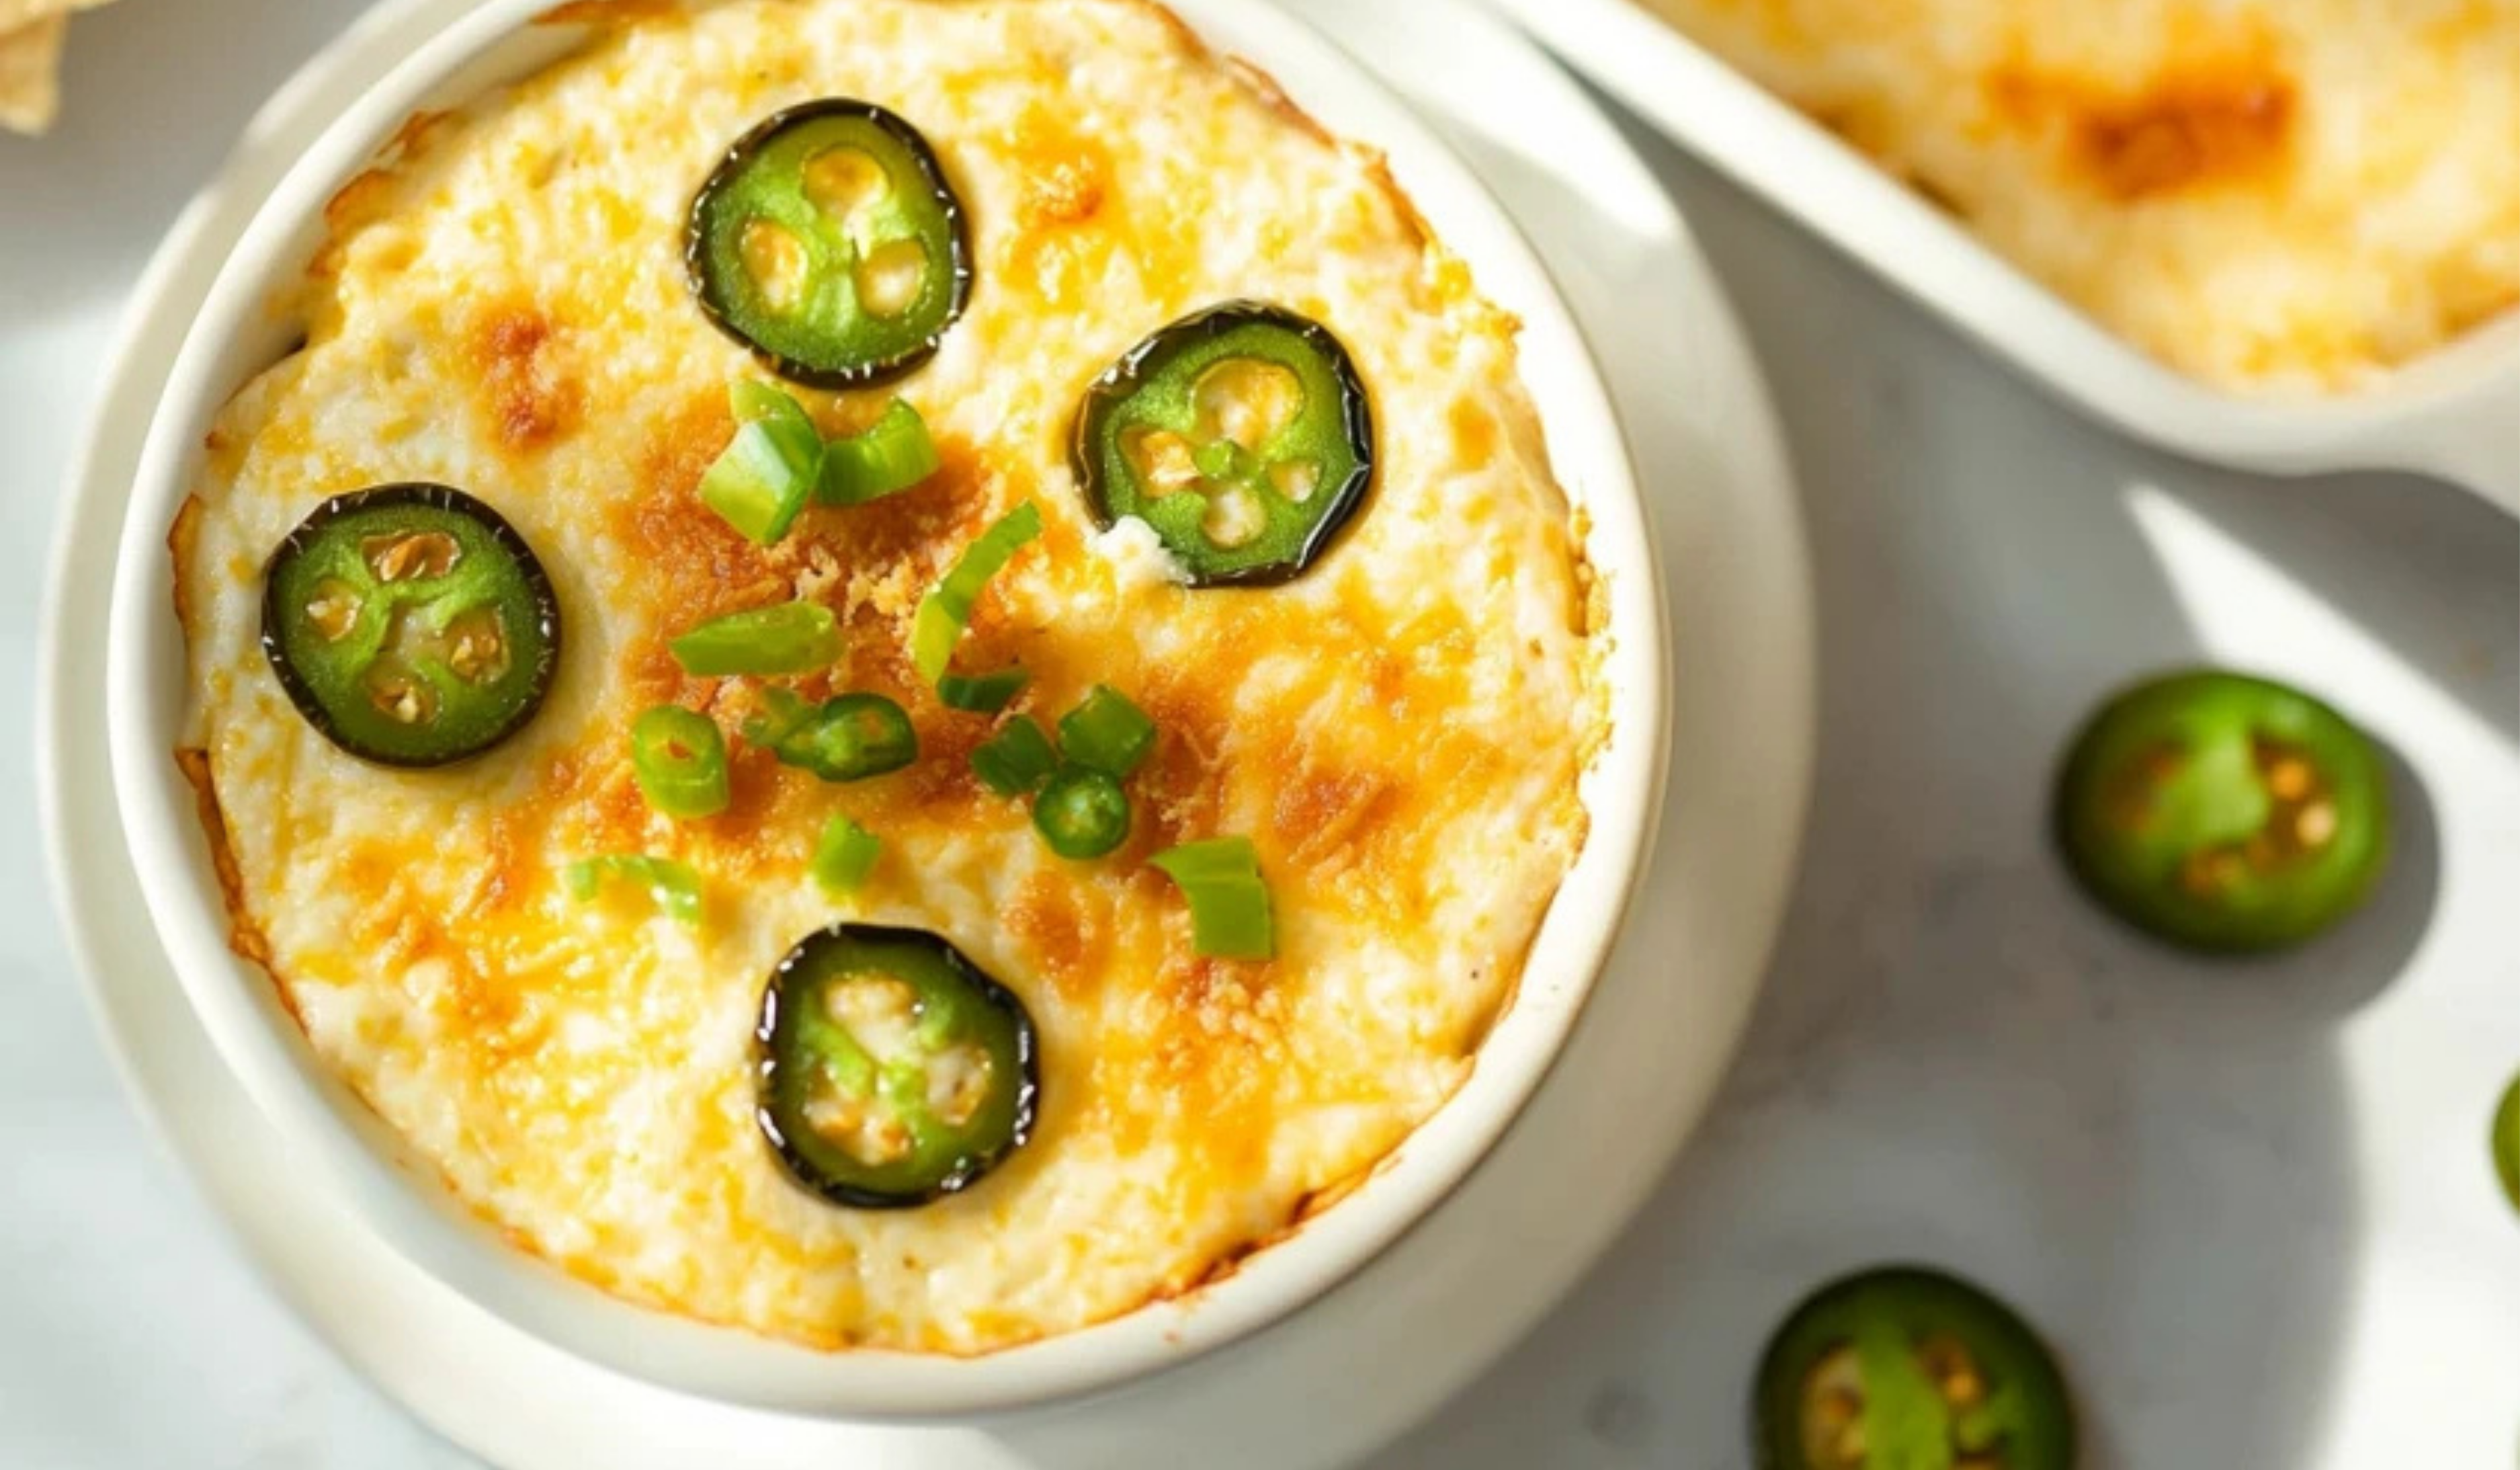
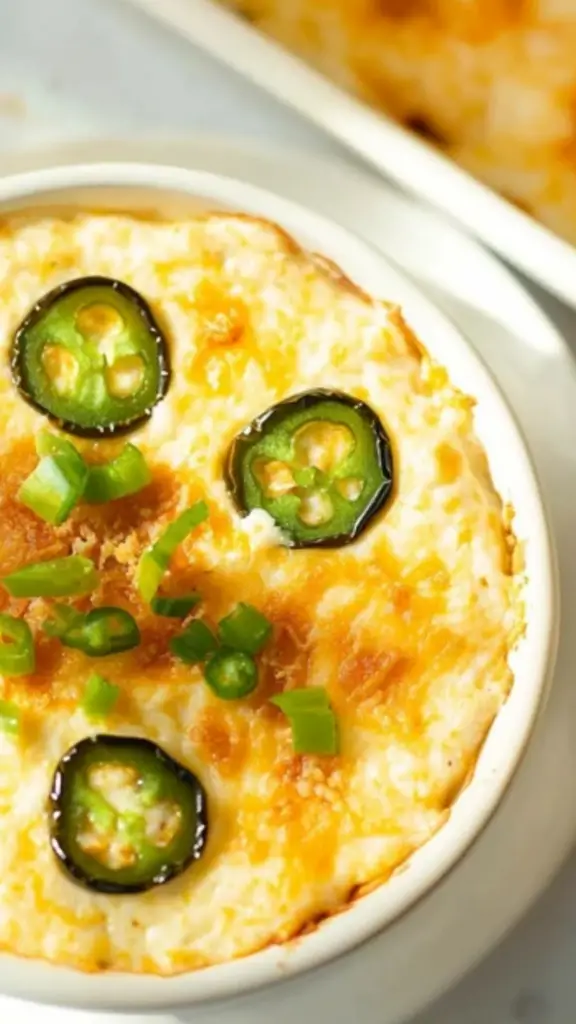
🔥 Get ready to dip into pure cheesy bliss with Jalapeño Popper Dip! Creamy, spicy, and loaded with melty cheese, this dip brings all the bold flavors of your favorite jalapeño poppers in an easy, scoopable form. Perfect for game nights, parties, or anytime cravings hit! 🌶️🧀✨
- Prep Time: 10 minutes
- Cook Time: 20 minutes
- Total Time: 30 minutes
- Yield: 6–8 servings 1x
Ingredients
Main Ingredients
- 2 (8-ounce) blocks cream cheese, softened
- 1 cup mayonnaise (or Greek yogurt for a lighter option)
- 1 (4-ounce) can chopped green chiles, drained
- 1 cup pickled jalapeños, roughly chopped (adjust based on spice preference)
- ½ cup shredded Mexican-style cheese (a mix of cheddar and Monterey Jack works well)
- ½ cup shredded Parmesan cheese
- ½ teaspoon salt
- ¼ teaspoon black pepper
- 1 cup shredded cooked chicken or 1 cup seasoned ground beef (optional for added protein)
Crispy Topping
- 4 tablespoons butter, melted
- 1 cup Panko breadcrumbs (for the perfect crunch)
- ½ cup grated Parmesan cheese
Instructions
Step 1: Preheat the Oven
Preheat the oven to 375°F. Lightly grease a 2-quart casserole dish with cooking spray or butter to prevent sticking.
Step 2: Mix the Creamy Base
In a large mixing bowl, combine the softened cream cheese and mayonnaise. Using an electric mixer or a sturdy whisk, beat until smooth and creamy. This ensures that the dip has a uniform, velvety texture.
Step 3: Add the Flavor Elements
Stir in the chopped green chiles, jalapeños, shredded cheeses, salt, black pepper, and protein of choice (shredded chicken or seasoned ground beef). Mix well until all ingredients are evenly distributed.
Step 4: Assemble the Dip
Spread the mixture evenly into the prepared casserole dish, smoothing out the top with a spatula.
Step 5: Prepare the Crispy Topping
In a small bowl, combine the melted butter, Panko breadcrumbs, and grated Parmesan cheese. Stir until the breadcrumbs are fully coated in butter, which will help them crisp up beautifully in the oven.
Step 6: Top the Dip
Evenly sprinkle the breadcrumb mixture over the top of the cream cheese base. This will create a crunchy, golden topping that contrasts with the creamy dip underneath.
Step 7: Bake Until Golden and Bubbly
Place the dish in the preheated oven and bake for 20 to 25 minutes, or until the dip is bubbling around the edges and the topping is golden brown. If the topping needs extra browning, switch the oven to broil for the last one to two minutes, keeping a close eye to prevent burning.
Step 8: Cool Slightly and Serve
Allow the dip to rest for about five minutes before serving. This helps it set slightly and makes it easier to scoop. Serve warm with tortilla chips, toasted baguette slices, crackers, or fresh vegetables.
Notes
- Softening cream cheese: If you forget to take the cream cheese out in advance, microwave it for 15 to 20 seconds to soften it quickly.
- Adjusting the spice level: Pickled jalapeños tend to be milder than fresh ones. If you prefer more heat, consider adding diced fresh jalapeños or a pinch of cayenne pepper.
- Making ahead: This dip can be assembled up to a day in advance. Cover it tightly and store it in the refrigerator. When ready to bake, allow it to sit at room temperature for about 15 minutes before placing it in the oven.
- Ensuring an even bake: If your oven has hot spots, rotate the dish halfway through baking for even browning.
- Preventing a greasy topping: Avoid adding too much butter to the Panko mixture. Just enough to coat the breadcrumbs will keep them crispy without becoming oily.
This dip is warm, cheesy, and just the right amount of spicy. It requires only a few ingredients and minimal prep work, making it a great choice for anyone looking to build confidence in the kitchen. Unlike other jalapeño popper recipes that rely on pork-based toppings like bacon, this version uses flavorful shredded chicken or seasoned ground beef, ensuring a delicious, hearty texture without sacrificing taste.
It’s an ideal dish for gatherings, game nights, or even a cozy night in. The best part is that it’s highly customizable, so you can adjust the heat level, experiment with different cheeses, or even add extra protein for a more filling dish. With clear, step-by-step instructions and helpful beginner tips, this recipe is designed to be stress-free and rewarding.
Ingredients and Preparation
Before starting, gather all the ingredients to ensure a smooth cooking process. Pre-measuring and prepping ingredients can make the experience much easier, especially for beginners.
Main Ingredients
- 2 (8-ounce) blocks cream cheese, softened
- 1 cup mayonnaise (or Greek yogurt for a lighter option)
- 1 (4-ounce) can chopped green chiles, drained
- 1 cup pickled jalapeños, roughly chopped (adjust based on spice preference)
- ½ cup shredded Mexican-style cheese (a mix of cheddar and Monterey Jack works well)
- ½ cup shredded Parmesan cheese
- ½ teaspoon salt
- ¼ teaspoon black pepper
- 1 cup shredded cooked chicken or 1 cup seasoned ground beef (optional for added protein)
Crispy Topping
- 4 tablespoons butter, melted
- 1 cup Panko breadcrumbs (for the perfect crunch)
- ½ cup grated Parmesan cheese
For Serving
- Tortilla chips, toasted baguette slices, crackers, or sliced vegetables such as bell peppers and cucumbers
Ingredient Substitutions and Variations
- For a milder version, reduce the amount of jalapeños or replace them with mild roasted bell peppers
- For extra creaminess, mix in ¼ cup sour cream along with the mayonnaise
- For a smoky flavor, use fire-roasted green chiles instead of regular canned ones
- For added protein, include shredded rotisserie chicken or cooked and seasoned ground beef
- For a cheesier dip, increase the amount of shredded Mexican cheese or add a handful of mozzarella
Step-by-Step Instructions
Step 1: Preheat the Oven
Preheat the oven to 375°F. Lightly grease a 2-quart casserole dish with cooking spray or butter to prevent sticking.
Step 2: Mix the Creamy Base
In a large mixing bowl, combine the softened cream cheese and mayonnaise. Using an electric mixer or a sturdy whisk, beat until smooth and creamy. This ensures that the dip has a uniform, velvety texture.
Step 3: Add the Flavor Elements
Stir in the chopped green chiles, jalapeños, shredded cheeses, salt, black pepper, and protein of choice (shredded chicken or seasoned ground beef). Mix well until all ingredients are evenly distributed.
Step 4: Assemble the Dip
Spread the mixture evenly into the prepared casserole dish, smoothing out the top with a spatula.
Step 5: Prepare the Crispy Topping
In a small bowl, combine the melted butter, Panko breadcrumbs, and grated Parmesan cheese. Stir until the breadcrumbs are fully coated in butter, which will help them crisp up beautifully in the oven.
Step 6: Top the Dip
Evenly sprinkle the breadcrumb mixture over the top of the cream cheese base. This will create a crunchy, golden topping that contrasts with the creamy dip underneath.
Step 7: Bake Until Golden and Bubbly
Place the dish in the preheated oven and bake for 20 to 25 minutes, or until the dip is bubbling around the edges and the topping is golden brown. If the topping needs extra browning, switch the oven to broil for the last one to two minutes, keeping a close eye to prevent burning.
Step 8: Cool Slightly and Serve
Allow the dip to rest for about five minutes before serving. This helps it set slightly and makes it easier to scoop. Serve warm with tortilla chips, toasted baguette slices, crackers, or fresh vegetables.
Beginner Tips and Notes
- Softening cream cheese: If you forget to take the cream cheese out in advance, microwave it for 15 to 20 seconds to soften it quickly.
- Adjusting the spice level: Pickled jalapeños tend to be milder than fresh ones. If you prefer more heat, consider adding diced fresh jalapeños or a pinch of cayenne pepper.
- Making ahead: This dip can be assembled up to a day in advance. Cover it tightly and store it in the refrigerator. When ready to bake, allow it to sit at room temperature for about 15 minutes before placing it in the oven.
- Ensuring an even bake: If your oven has hot spots, rotate the dish halfway through baking for even browning.
- Preventing a greasy topping: Avoid adding too much butter to the Panko mixture. Just enough to coat the breadcrumbs will keep them crispy without becoming oily.
Serving Suggestions
This dip pairs well with a variety of dippers and side dishes.
- Tortilla chips: Classic and sturdy, making them ideal for scooping up the creamy dip
- Toasted baguette slices: Adds a gourmet touch and provides a satisfying crunch
- Crackers: Buttery or whole-wheat crackers work well with the rich flavors
- Vegetables: Bell pepper strips, celery sticks, and cucumber slices offer a refreshing contrast
For a full appetizer spread, consider serving this dip alongside fresh salsa, guacamole, or a light salad to balance the richness.
Storage and Reheating Tips
If you have leftovers, store them in an airtight container in the refrigerator for up to three days. To reheat:
- Oven method (best for texture): Preheat the oven to 350°F and bake for 10 to 15 minutes until warmed through.
- Microwave method: Heat in 30-second intervals, stirring occasionally, until heated through.
Freezing is not recommended, as the cream cheese base may separate and change texture upon reheating.
Final Thoughts and Encouragement
Jalapeño popper dip is the perfect recipe for beginner cooks looking to create a flavorful and impressive dish with minimal effort. The balance of creamy cheese, mild heat, and crispy topping makes it a guaranteed hit at any gathering.
This recipe is also highly adaptable, allowing you to experiment with different levels of spice, types of cheese, and added proteins like shredded chicken or seasoned ground beef. Whether you’re making it for a family night, a potluck, or a game-day snack, this dip is sure to be a favorite.
If you try this recipe, share your experience in the comments. What did you serve it with? Did you make any customizations? Cooking is all about making a dish your own, and this dip is a great place to start. Enjoy your homemade jalapeño popper dip, and happy cooking!