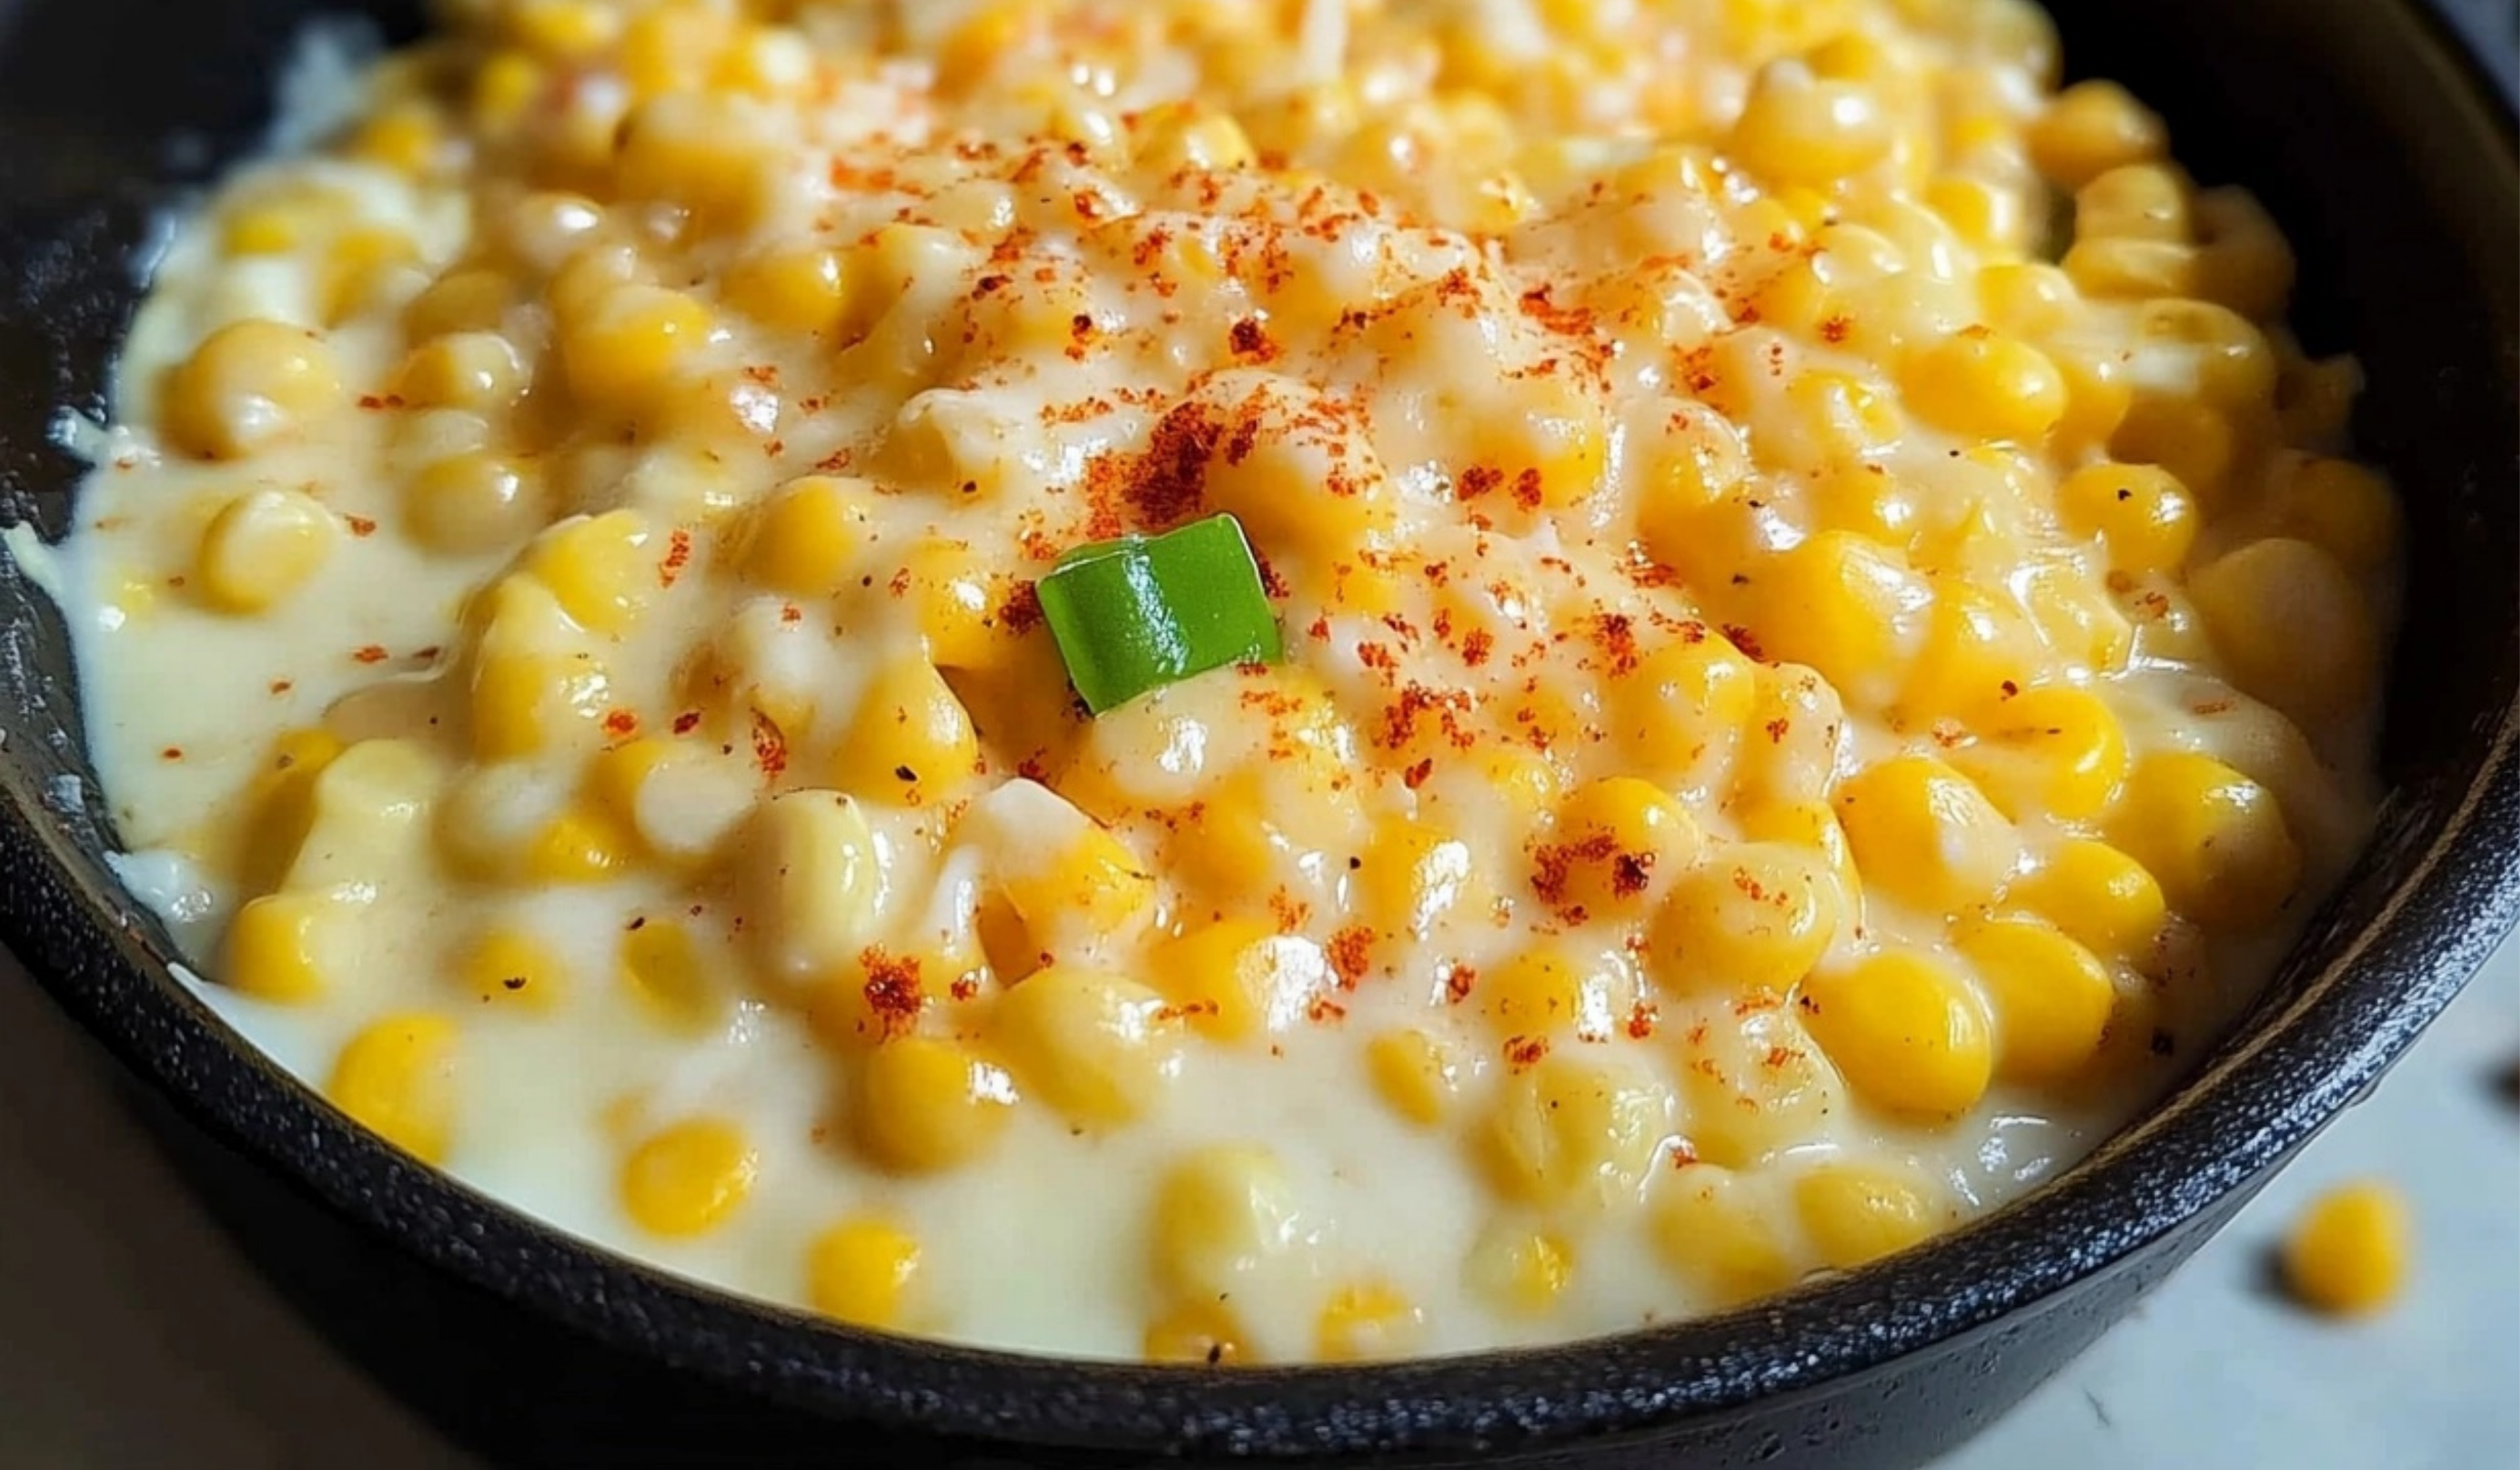
Korean Corn Cheese: A Beginner-Friendly Delight
If you’ve ever been to a Korean BBQ restaurant, you’ve likely encountered Korean Corn Cheese, a deliciously sweet, cheesy dish that’s often served as a side. It’s the kind of dish that elevates any meal, creating a perfect balance of savory and sweet, with gooey cheese melting over crispy, tender corn kernels. But what makes this dish even more special is that it’s surprisingly easy to make at home, even for beginner cooks!
PrintKorean Corn Cheese: A Beginner-Friendly Delight

If you’ve never tried Korean Corn Cheese, it’s time to indulge! 🌽🧀 This beginner-friendly recipe is packed with flavor and super easy to make. The sweet corn and melted cheese create a perfect harmony of textures, while a touch of mayo and seasoning brings it all together. Perfect for when you’re craving something cheesy, comforting, and delicious. 🧀💫 Try it tonight and watch your kitchen come alive with flavor! 🍽️
#CornCheeseLove 🌽💖 #CheeseDelight 🧀 #QuickSnackIdeas ⏱️ #EasyCookingTips 👩🍳 #SavorySensation 😍 #BeginnerFriendlyRecipe ✨ #KoreanFlavors 🇰🇷 #ComfortInEveryBite 💕 #MeltedCheeseMagic 🧀 #TasteOfKorea 🍽️
- Prep Time: 5 minutes
- Cook Time: 10 minutes
- Total Time: 15 minutes
- Yield: 4 servings 1x
Ingredients
- 1 can of corn (alternatively, you can use frozen corn if that’s what you have on hand)
- 1 tablespoon butter
- 3–4 tablespoons kewpie mayonnaise (or regular mayonnaise if preferred)
- 1 teaspoon sugar
- Mozzarella cheese, enough to sprinkle generously over the corn mixture (about 1 cup)
Instructions
- Prepare the Corn: Start by draining the canned corn. If you’re using frozen corn, make sure to thaw it before adding it to the dish. You want the corn to be warm and ready for the next steps.
- Mix the Corn with Mayo and Sugar: In a large mixing bowl, combine the corn with the mayonnaise and sugar. Stir until everything is well-coated. The mayo adds a creamy richness, while the sugar balances the natural sweetness of the corn. You can adjust the sugar according to your taste—more if you like it sweeter, less if you prefer a more savory version.
- Melt the Butter: Heat a skillet or frying pan over medium heat. Add the butter and let it melt completely. You can also use a non-stick pan to avoid too much sticking or burning.
- Cook the Corn Mixture: Once the butter is melted, add the corn mixture to the pan. Stir it occasionally, allowing the corn to cook for a few minutes. The goal here is to warm the corn through and let the mayo meld with the butter, creating a creamy sauce.
- Melt the Cheese: When the corn is heated through and starting to sizzle lightly, it’s time to add the mozzarella. Sprinkle the cheese generously over the corn. Cover the pan with a lid to trap the heat and help the cheese melt perfectly. It should only take a few minutes for the cheese to melt into a gooey, golden layer.
- Serve and Enjoy: Once the cheese is melted to your liking, it’s ready to serve! Spoon it onto a plate or into a serving dish, and dig in. It’s great on its own or served alongside grilled meats, salads, or other appetizers.
Notes
- How to Tell if the Corn is Cooked Through: The corn will be heated through and slightly caramelized on the edges. If you’re using frozen corn, be sure to cook it until it’s soft and warmed up. Fresh corn should be tender and sweet.
- If the Cheese is Browning Too Quickly: If the cheese is starting to brown before fully melting, reduce the heat and let it melt more slowly. Covering the pan with a lid helps the cheese melt evenly without burning.
- If the Corn is Overcooking: If you find the corn getting too soft or overcooked, simply remove it from the heat and serve it immediately. It’s a dish that’s best enjoyed right when the cheese is gooey!
I still remember the first time I tried this dish. It was during a Korean BBQ night at a friend’s house. The grill was sizzling with juicy meats, but it was the Korean Corn Cheese that stole the show. The gooey cheese, the sweetness of the corn, and the richness of the mayo—it was a harmony of flavors that immediately caught my attention. After that, I couldn’t stop thinking about it and knew I had to try making it myself. Fast forward to today, and it’s now a go-to recipe for any casual gathering or even a weeknight dinner.
This recipe is perfect for beginners because it’s simple, quick, and requires minimal cooking skills while still delivering impressive results. Whether you’re hosting a Korean BBQ night or looking for a fun and cheesy appetizer, this dish will surely become a favorite in your kitchen. And if you don’t have all the ingredients on hand, I’ll also share some easy substitutions to help you adapt the recipe.
Why This Recipe Is Perfect for Beginners
Korean Corn Cheese is incredibly beginner-friendly for several reasons:
- Minimal Ingredients: You don’t need a complicated list of ingredients to make this dish. Just a can of corn, some butter, mayo, sugar, and mozzarella cheese, and you’re good to go!
- Quick to Make: The entire process takes under 20 minutes, making it a perfect side dish when you’re short on time or need a simple addition to your meal.
- No Special Cooking Skills Needed: The steps are straightforward, and there’s no need for fancy techniques. If you can stir ingredients and melt butter, you’re already halfway there!
- Customizable: This dish can be made to suit your preferences. Whether you prefer a bit more sweetness, extra cheese, or a touch of spice, you can adjust it to your taste.
Ingredients and Preparation
Here’s what you’ll need to make this mouthwatering Korean Corn Cheese:
- 1 can of corn (alternatively, you can use frozen corn if that’s what you have on hand)
- 1 tablespoon butter
- 3–4 tablespoons kewpie mayonnaise (or regular mayonnaise if preferred)
- 1 teaspoon sugar
- Mozzarella cheese, enough to sprinkle generously over the corn mixture (about 1 cup)
Ingredient Alternatives
- Corn: If you prefer fresh corn, feel free to use 2–3 ears of corn instead of canned or frozen corn. Simply cook, remove the kernels, and proceed with the recipe.
- Butter: If you’re looking for a healthier option, you can swap butter with olive oil or coconut oil. The flavor will be slightly different, but it’ll still taste great.
- Mayonnaise: While I recommend using kewpie mayo for that rich, creamy texture, regular mayo works well too. You can even try adding a bit of Greek yogurt for a tangy twist.
- Cheese: Mozzarella cheese is the classic choice because it melts beautifully, but feel free to experiment with other cheeses like cheddar or gouda for different textures and flavors.
Step-by-Step Instructions
Now that you’ve got your ingredients ready, let’s dive into the cooking process. Don’t worry—it’s incredibly simple!
- Prepare the Corn: Start by draining the canned corn. If you’re using frozen corn, make sure to thaw it before adding it to the dish. You want the corn to be warm and ready for the next steps.
- Mix the Corn with Mayo and Sugar: In a large mixing bowl, combine the corn with the mayonnaise and sugar. Stir until everything is well-coated. The mayo adds a creamy richness, while the sugar balances the natural sweetness of the corn. You can adjust the sugar according to your taste—more if you like it sweeter, less if you prefer a more savory version.
- Melt the Butter: Heat a skillet or frying pan over medium heat. Add the butter and let it melt completely. You can also use a non-stick pan to avoid too much sticking or burning.
- Cook the Corn Mixture: Once the butter is melted, add the corn mixture to the pan. Stir it occasionally, allowing the corn to cook for a few minutes. The goal here is to warm the corn through and let the mayo meld with the butter, creating a creamy sauce.
- Melt the Cheese: When the corn is heated through and starting to sizzle lightly, it’s time to add the mozzarella. Sprinkle the cheese generously over the corn. Cover the pan with a lid to trap the heat and help the cheese melt perfectly. It should only take a few minutes for the cheese to melt into a gooey, golden layer.
- Serve and Enjoy: Once the cheese is melted to your liking, it’s ready to serve! Spoon it onto a plate or into a serving dish, and dig in. It’s great on its own or served alongside grilled meats, salads, or other appetizers.
Beginner Tips and Notes
- How to Tell if the Corn is Cooked Through: The corn will be heated through and slightly caramelized on the edges. If you’re using frozen corn, be sure to cook it until it’s soft and warmed up. Fresh corn should be tender and sweet.
- If the Cheese is Browning Too Quickly: If the cheese is starting to brown before fully melting, reduce the heat and let it melt more slowly. Covering the pan with a lid helps the cheese melt evenly without burning.
- If the Corn is Overcooking: If you find the corn getting too soft or overcooked, simply remove it from the heat and serve it immediately. It’s a dish that’s best enjoyed right when the cheese is gooey!
Serving Suggestions
Korean Corn Cheese is the perfect side dish to serve with a variety of meals, but it’s especially delicious when paired with Korean BBQ. Here are some ideas for complementary sides and sauces:
- Korean BBQ Meats: Serve this corn dish alongside marinated beef, chicken, or pork (substitute with chicken or beef as per your preference) cooked on the grill. The sweet corn and melted cheese balance the savory flavors of the grilled meats perfectly.
- Rice: A simple bowl of steamed rice makes a great accompaniment. You can even serve the corn cheese directly over the rice for a comforting, cheesy rice bowl.
- Pickled Vegetables: For a fresh contrast to the rich flavors of the corn cheese, try pairing it with kimchi or other pickled vegetables. The acidity and crunch of the pickles will help cut through the richness.
- Dipping Sauce: If you want to add a little extra flavor, serve the corn with a spicy mayo or a soy sauce-based dipping sauce. A sprinkle of sesame seeds on top will add a delightful crunch and extra flavor.

Storage Tips for Leftovers
If you happen to have leftovers (though I doubt you will!), store them in an airtight container in the fridge for up to 2–3 days. To reheat, simply warm it in the microwave or on the stovetop. You may want to add a little extra cheese to give it that melty, gooey goodness again.
Conclusion: Give It a Try!
Korean Corn Cheese is a simple yet indulgent dish that’s perfect for anyone, especially beginner cooks. Whether you’re hosting a Korean BBQ night or looking for a quick and easy appetizer, this recipe is a must-try. It’s a great way to add some cheesy comfort to your meals, and I promise you’ll impress your friends and family with how delicious it is!
So go ahead, give it a try, and let me know how it turned out! I’d love to hear about your experience and any creative twists you might have added to make it your own. Happy cooking!