Melt-In-Your-Mouth Chicken Breast: A Beginner-Friendly Recipe for Juicy, Flavorful Chicken
Every home cook needs a go-to recipe that is both simple and delicious. This Melt-In-Your-Mouth Chicken Breast is the perfect solution for beginners looking to create a satisfying meal with minimal effort. The combination of tender, juicy chicken and a creamy, flavorful topping makes this dish a favorite for busy weeknights or meal prep.
PrintMelt-In-Your-Mouth Chicken Breast: A Beginner-Friendly Recipe for Juicy, Flavorful Chicken
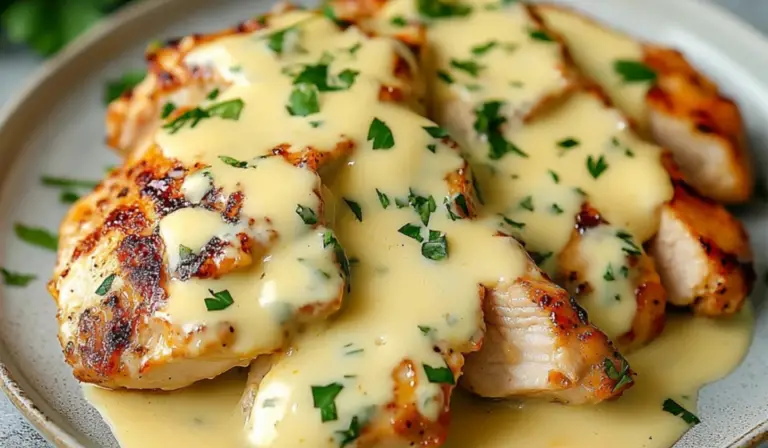
Want the secret to ultra-juicy, tender chicken every single time? This Melt-In-Your-Mouth Chicken Breast recipe is a game-changer! 🍗🔥 A creamy, flavorful topping keeps the chicken moist and bursting with flavor—no more dry, overcooked chicken! Whether you’re a beginner in the kitchen or a seasoned home cook, this foolproof method is guaranteed to impress. Pair it with your favorite sides for a simple yet unforgettable meal. Once you take that first bite, you’ll wonder where this recipe has been all your life!
#TenderAndJuicy 🍗 #NoMoreDryChicken ❌ #FlavorExplosion 😍 #EasyAndTasty 🍽️ #BakedToPerfection 🔥 #SimpleCooking 👩🍳 #HomeCookedGoodness ❤️ #MeltInYourMouth 🤤 #WeeknightFavorite ⏳ #ChickenDinnerGoals 🌟
- Prep Time: 10 minutes
- Cook Time: 25 minutes
- Total Time: 35 minutes
- Yield: 4 servings 1x
Ingredients
- 4 boneless, skinless chicken breasts
- ½ cup mayonnaise (or substitute with Greek yogurt for a lighter option)
- ½ cup grated Parmesan cheese
- 1 teaspoon garlic powder
- 1 teaspoon onion powder
- 1 teaspoon paprika
- ½ teaspoon salt
- ½ teaspoon black pepper
- Fresh parsley, chopped (for garnish)
Instructions
Step 1: Preheat the Oven
Set your oven to 375°F (190°C). This temperature ensures the chicken cooks evenly without drying out.
Step 2: Prepare the Creamy Mixture
In a small bowl, combine:
- **Mayonnaise (or Greek yogurt)
- Parmesan cheese
- Garlic powder
- Onion powder
- Paprika
- Salt and black pepper**
Mix well until all ingredients are fully combined. This mixture will not only add flavor but will also help keep the chicken moist while baking.
Step 3: Arrange the Chicken
Place the chicken breasts in a greased baking dish. Make sure they are arranged in a single layer to ensure even cooking.
Step 4: Apply the Topping
Spread the creamy mixture evenly over the top of each chicken breast. Use a spoon or a spatula to coat them generously.
Step 5: Bake to Perfection
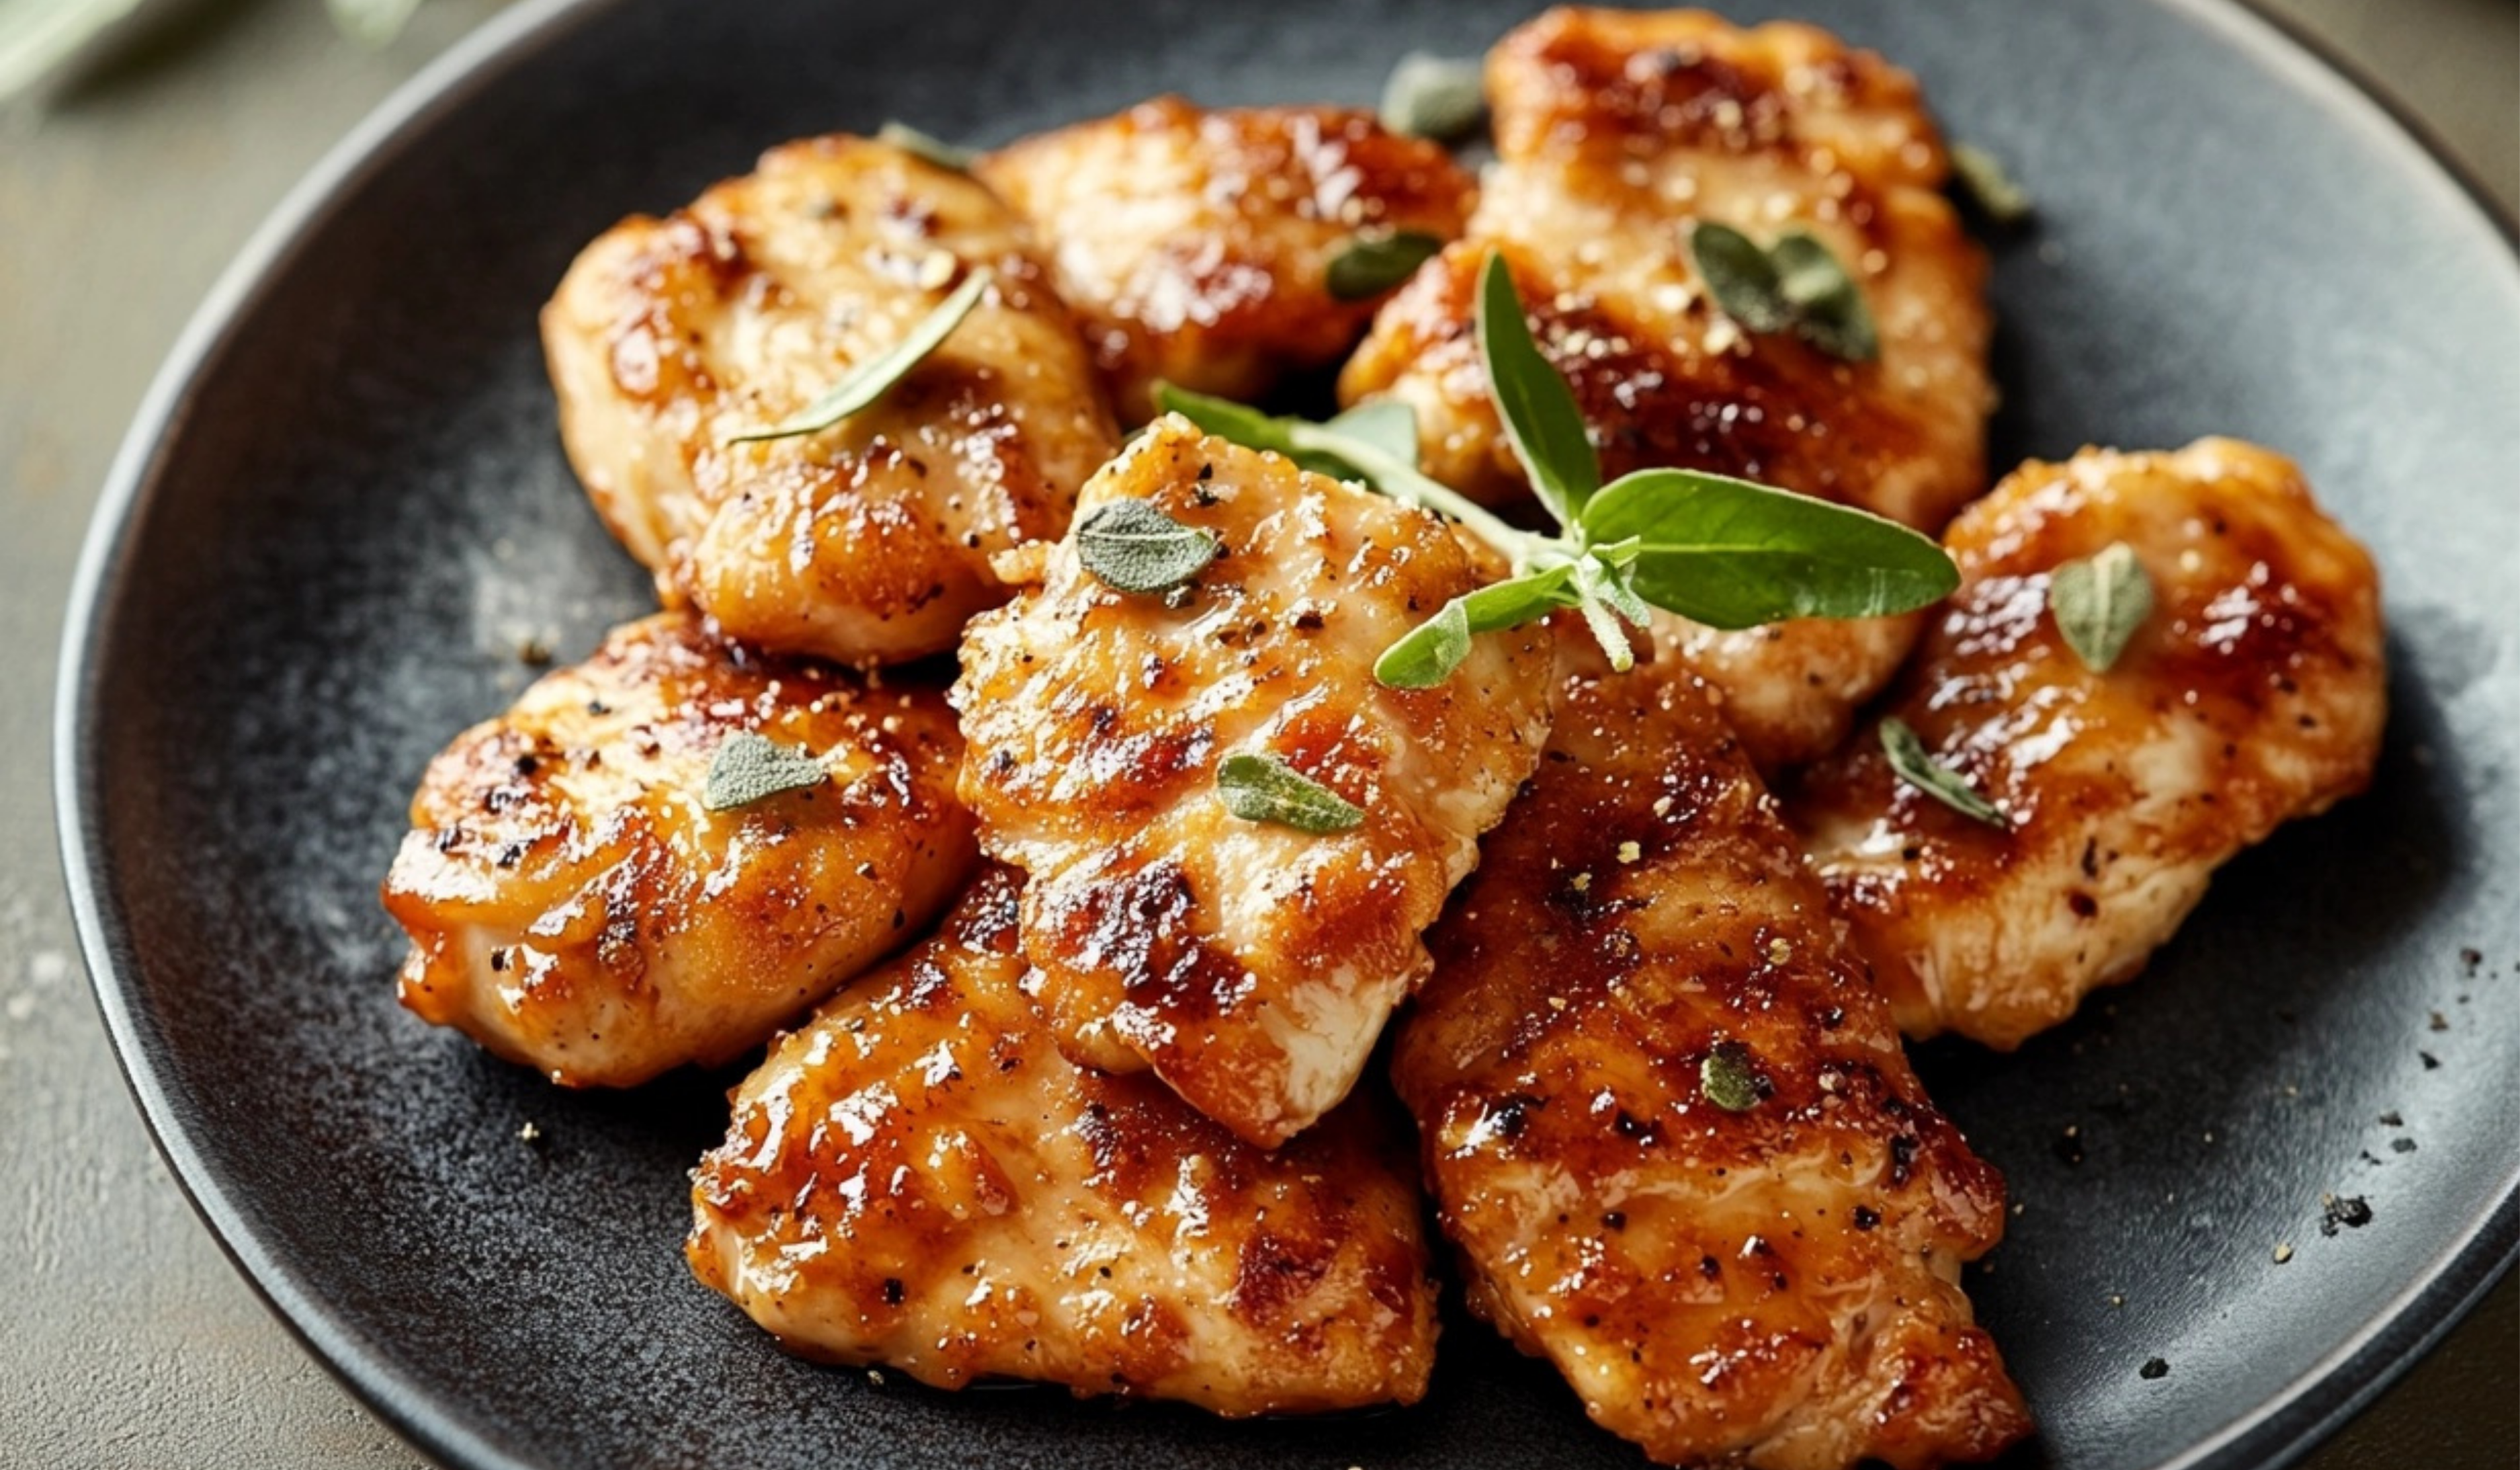
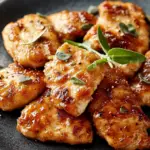
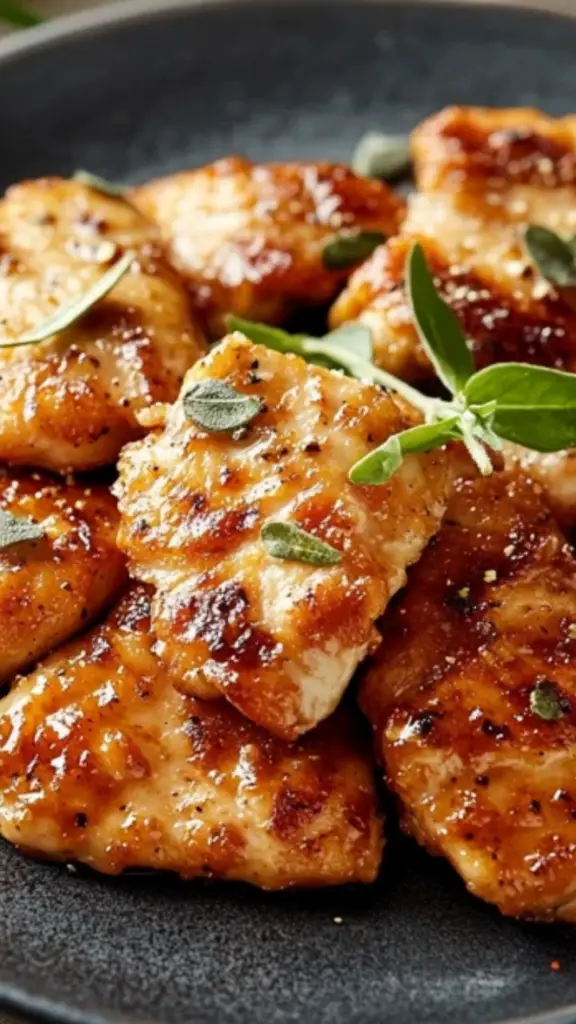
Bake for 25-30 minutes, or until the chicken reaches an internal temperature of 165°F (75°C). The top should be golden brown, and the chicken should be juicy and tender.
Tip: If you don’t have a meat thermometer, cut into the thickest part of the chicken—if the juices run clear and the meat is white throughout, it’s done.
Step 6: Garnish and Serve
Sprinkle fresh parsley over the top before serving for added freshness and color.
Notes
- Use an oven thermometer: Ovens can sometimes run hotter or cooler than expected. Check the actual temperature before baking.
- Don’t overcook: Chicken breast can dry out quickly. Using a meat thermometer ensures perfect doneness without guesswork.
- Let it rest: After baking, allow the chicken to rest for 5 minutes before slicing. This helps retain its juices.
I remember the first time I made this recipe—it was one of those evenings when I wanted something homemade but didn’t have the time or patience for complicated cooking. With just a few ingredients and a quick baking time, this chicken turned out so tender and flavorful that it instantly became a staple in my kitchen. The best part? It requires no special cooking skills, making it ideal for anyone just starting out in the kitchen.
What makes this recipe beginner-friendly?
- Simplicity: Requires only a handful of ingredients.
- Time-Efficiency: Takes just 35 minutes from start to finish.
- Health Benefits: Uses lean chicken breast and can be made lighter with Greek yogurt instead of mayonnaise.
If you’re looking for a meal that is effortless yet impressive, this recipe is for you.
Ingredients and Preparation
One of the reasons this dish is so great for beginners is that it doesn’t require any complex techniques or specialty ingredients. Here’s everything you need:
Ingredients (Serves 4)
- 4 boneless, skinless chicken breasts
- ½ cup mayonnaise (or substitute with Greek yogurt for a lighter option)
- ½ cup grated Parmesan cheese
- 1 teaspoon garlic powder
- 1 teaspoon onion powder
- 1 teaspoon paprika
- ½ teaspoon salt
- ½ teaspoon black pepper
- Fresh parsley, chopped (for garnish)
Ingredient Substitutions for Flexibility
- Chicken Alternatives: If you prefer dark meat, boneless, skinless chicken thighs work well in this recipe. Just adjust the cooking time slightly, as thighs take a bit longer to cook through.
- Dairy-Free Option: If you need a dairy-free version, swap the Parmesan cheese for nutritional yeast or a dairy-free cheese alternative.
- Seasoning Variations: Experiment with Italian seasoning, smoked paprika, or a dash of cayenne pepper for added spice.
Step-by-Step Instructions
Cooking chicken perfectly every time can seem tricky, but by following these steps, you’ll achieve juicy, flavorful results effortlessly.
Step 1: Preheat the Oven
Set your oven to 375°F (190°C). This temperature ensures the chicken cooks evenly without drying out.
Step 2: Prepare the Creamy Mixture
In a small bowl, combine:
- **Mayonnaise (or Greek yogurt)
- Parmesan cheese
- Garlic powder
- Onion powder
- Paprika
- Salt and black pepper**
Mix well until all ingredients are fully combined. This mixture will not only add flavor but will also help keep the chicken moist while baking.
Step 3: Arrange the Chicken
Place the chicken breasts in a greased baking dish. Make sure they are arranged in a single layer to ensure even cooking.
Step 4: Apply the Topping
Spread the creamy mixture evenly over the top of each chicken breast. Use a spoon or a spatula to coat them generously.
Step 5: Bake to Perfection
Bake for 25-30 minutes, or until the chicken reaches an internal temperature of 165°F (75°C). The top should be golden brown, and the chicken should be juicy and tender.
Tip: If you don’t have a meat thermometer, cut into the thickest part of the chicken—if the juices run clear and the meat is white throughout, it’s done.
Step 6: Garnish and Serve
Sprinkle fresh parsley over the top before serving for added freshness and color.
Beginner Tips and Notes
How to Prevent Dry Chicken
- Use an oven thermometer: Ovens can sometimes run hotter or cooler than expected. Check the actual temperature before baking.
- Don’t overcook: Chicken breast can dry out quickly. Using a meat thermometer ensures perfect doneness without guesswork.
- Let it rest: After baking, allow the chicken to rest for 5 minutes before slicing. This helps retain its juices.
Troubleshooting Common Issues
- If the chicken is browning too quickly: Cover it loosely with foil during the last 10 minutes of baking.
- If the topping is too thick: Add a small amount of milk or lemon juice to thin it out.
- If the chicken is undercooked: Continue baking in 5-minute increments, checking the internal temperature each time.
Kitchen Tips for Efficiency
- Pre-measure ingredients: This makes cooking faster and prevents mistakes.
- Use parchment paper or foil: Lining your baking dish makes cleanup easier.
- Batch cook: Make extra chicken breasts for meal prep—they store well for later meals.
Serving Suggestions
This melt-in-your-mouth chicken is delicious on its own, but pairing it with complementary sides can make the meal even better.
Side Dish Ideas
- Roasted Vegetables: Serve with roasted broccoli, carrots, or asparagus for a nutritious balance.
- Rice or Quinoa: A side of fluffy rice or quinoa soaks up the creamy flavors of the chicken.
- Mashed Potatoes: For a comforting meal, pair with creamy mashed potatoes.
- Fresh Salad: A simple green salad with a light vinaigrette adds a refreshing contrast.
Sauces to Elevate the Dish
- Garlic Butter Sauce: Drizzle with melted butter and minced garlic for extra richness.
- Lemon Herb Sauce: Mix lemon juice, olive oil, and fresh herbs for a bright, fresh flavor.
- Honey Mustard: A touch of honey mustard adds a slightly sweet and tangy contrast.
Storage and Leftover Tips
- Refrigeration: Store leftovers in an airtight container for up to 3 days.
- Freezing: For longer storage, freeze cooked chicken for up to 3 months. Thaw in the refrigerator overnight before reheating.
- Reheating: Warm in the oven at 325°F (163°C) for 10 minutes to maintain moisture, or microwave in 30-second intervals.
Engagement Features
Cooking should be a fun and rewarding experience, especially for beginners. If you try this recipe, let me know how it turned out. Did you make any modifications? What sides did you pair it with?
This melt-in-your-mouth chicken is the perfect way to build confidence in the kitchen. With its simple method and foolproof flavors, it’s a dish you’ll return to again and again. Whether you’re cooking for yourself, family, or friends, this recipe delivers great taste with minimal effort.
Give it a try and share your experience—I’d love to hear how it worked for you. Happy cooking!