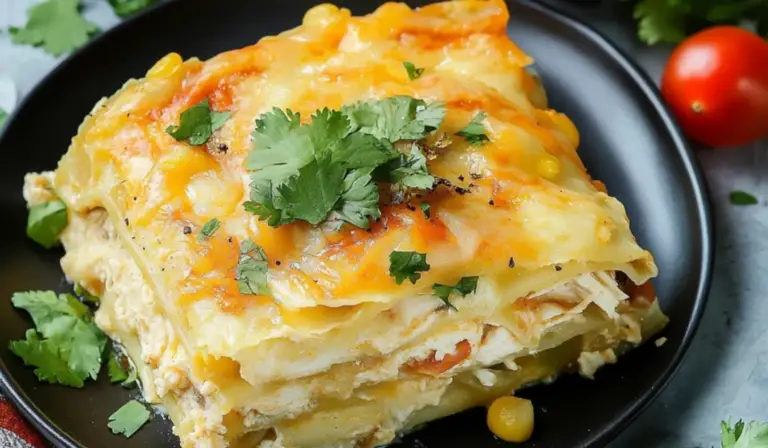
Mini Chicken Chimichangas: A Beginner’s Guide to a Crispy, Flavorful Mexican Treat
There is something deeply comforting about a golden, crispy chimichanga filled with creamy, spiced chicken and melted cheese. It is one of those dishes that feels indulgent but is surprisingly easy to make, especially for beginners in the kitchen. The first time I tried making chimichangas, I was hesitant because I associated them with deep frying and complicated techniques. However, I quickly learned that baking them can achieve the same satisfying crunch with much less effort, making this an ideal recipe for anyone new to cooking.
PrintMini Chicken Chimichangas: A Beginner’s Guide to a Crispy, Flavorful Mexican Treat

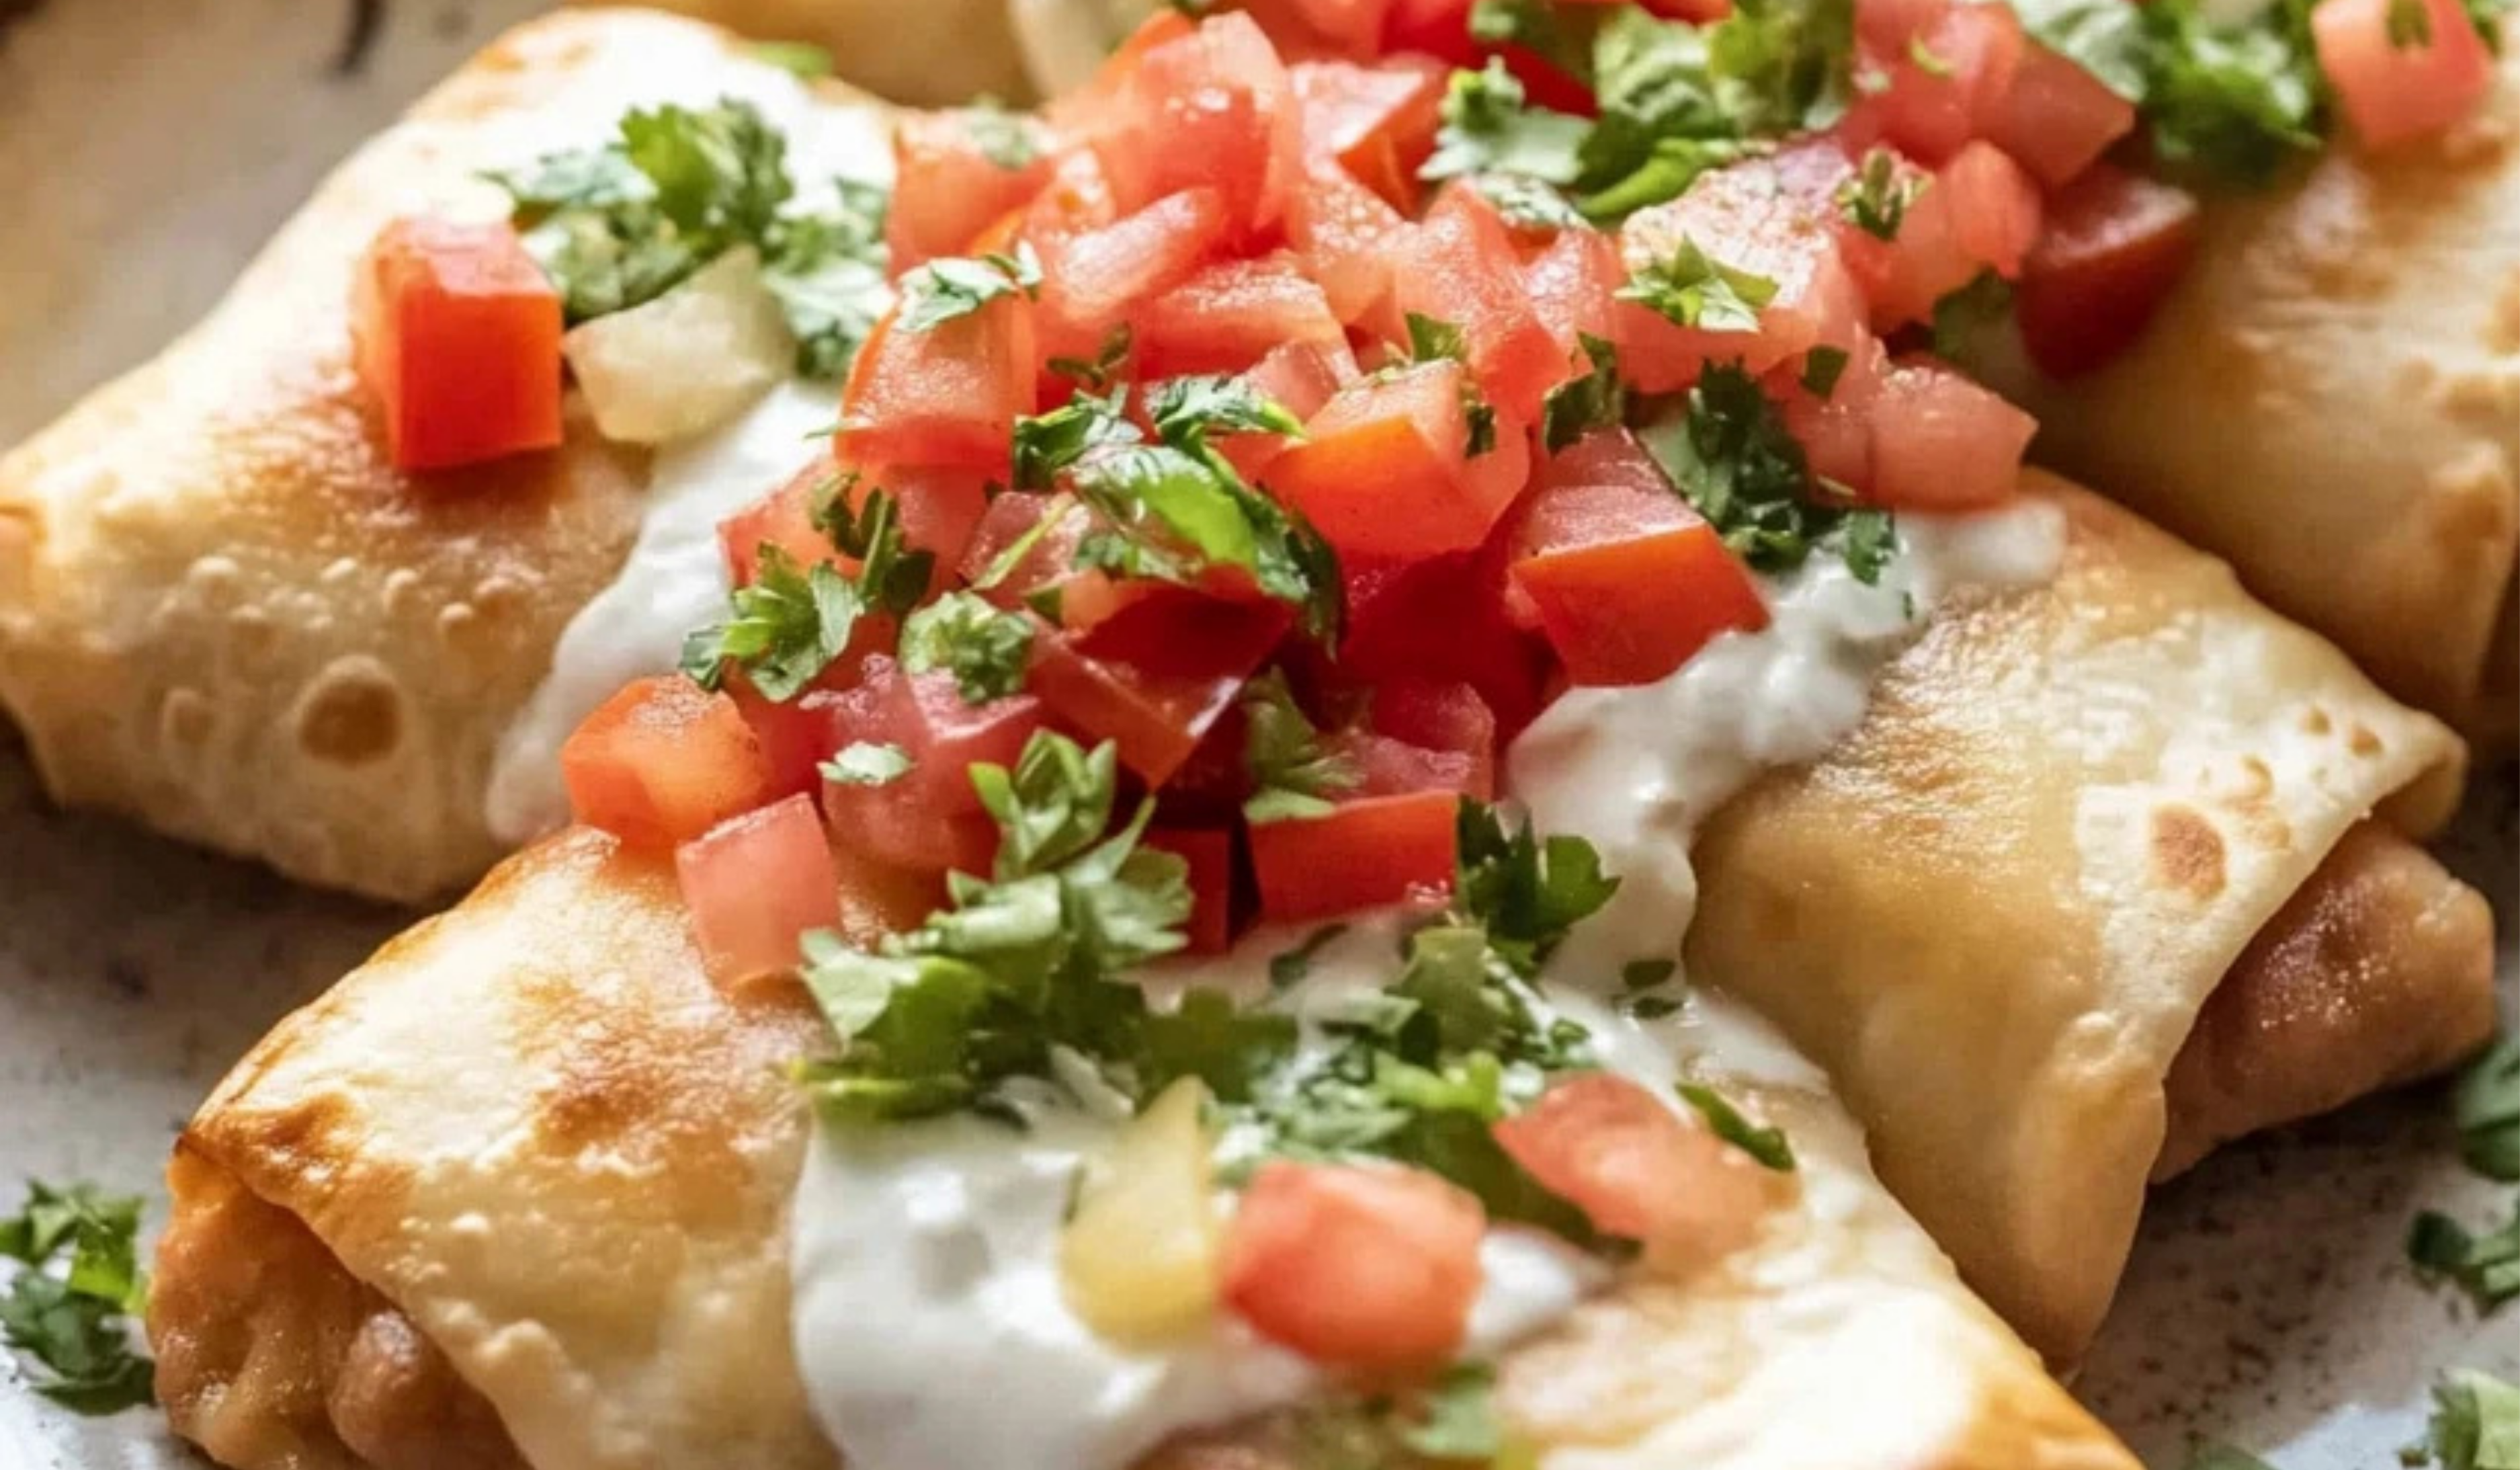
🔥 Mini Chicken Chimichangas are crispy, golden pockets of flavor! These bite-sized delights are filled with juicy, seasoned chicken and melty cheese, then fried (or air-fried) to perfection. Crunchy on the outside, savory on the inside—perfect for dipping, snacking, or serving as a party favorite! 🌮🧀✨
- Prep Time: 5 minutes
- Cook Time: 20 minutes
- Total Time: 25 minutes
- Yield: 16 servings 1x
Ingredients
- 1 (8-ounce) package cream cheese, room temperature
- 1 tablespoon taco seasoning
- 8 ounces Pepper Jack cheese, shredded (about 2 cups)
- 3 cups shredded cooked chicken (rotisserie works well)
- 16–20 soft taco-sized tortillas
- 1 tablespoon butter, melted
- Toppings: sour cream, guacamole, and pico de gallo
Instructions
Step 1: Preheat the Oven
Preheat the oven to 350°F. Line a baking sheet with parchment paper or lightly spray it with cooking spray to prevent sticking.
Step 2: Prepare the Filling
In a large mixing bowl, combine the softened cream cheese, taco seasoning, shredded Pepper Jack cheese, and shredded chicken. Stir well until all ingredients are evenly incorporated. The mixture should be creamy and hold together well.
Step 3: Assemble the Chimichangas
Lay out a tortilla on a clean surface. Spoon about ¼ cup of the chicken mixture into the center. Fold in the sides, then roll the tortilla tightly from the bottom up to form a small burrito shape. Place the chimichanga seam-side down on the prepared baking sheet. Repeat with the remaining tortillas and filling.
Step 4: Brush with Butter
Lightly brush the tops of the chimichangas with melted butter. This helps them develop a crispy, golden-brown exterior as they bake.
Step 5: Bake Until Golden and Crispy
Bake the chimichangas for 15-20 minutes, or until they turn golden brown and crispy on the outside. If a crispier texture is desired, they can be broiled for an additional 1-2 minutes, but watch closely to prevent burning.
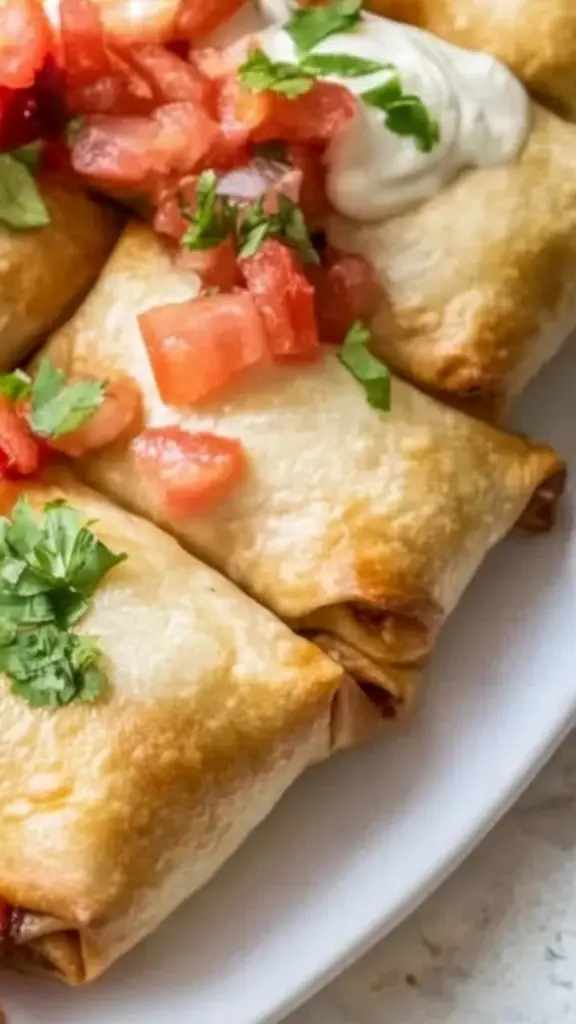
Step 6: Serve with Toppings
Once baked, remove the chimichangas from the oven and let them cool slightly. Serve warm with sour cream, guacamole, and pico de gallo.
Notes
How to Tell When the Chimichangas Are Ready
The best indicator of doneness is their color and texture. They should be golden brown and crispy to the touch. If unsure, gently press on the top with a spatula. They should feel firm rather than soft or doughy.
How to Keep Tortillas from Tearing
If the tortillas are breaking when rolling, they may be too dry. To prevent this, microwave them for 10-15 seconds before assembling. This makes them more pliable and easier to roll without cracking.
Adjusting the Spice Level
For a milder version, swap Pepper Jack cheese for Monterey Jack or mozzarella. If a spicier kick is preferred, add a few dashes of hot sauce or a small amount of finely diced jalapeños to the filling.
Crispier Chimichangas Without Frying
Brushing the tortillas with butter before baking helps create a crispy texture. For an even crispier finish, the chimichangas can be flipped halfway through baking or placed under the broiler for the last couple of minutes.
Using Different Cooking Methods
While baking is the easiest method, chimichangas can also be cooked in an air fryer at 375°F for about 10 minutes, flipping halfway through. They can also be pan-fried in a small amount of oil over medium heat for 2-3 minutes per side until golden and crispy.
Storage and Reheating Tips
If there are leftovers, chimichangas can be stored in an airtight container in the refrigerator for up to three days. To reheat, bake at 350°F for about 10 minutes or air fry at 375°F for 5 minutes. Microwaving is an option but may result in a softer texture.
These mini chicken chimichangas are perfect for those who want a simple yet impressive dish. They require minimal ingredients, most of which are pantry staples, and take only 25 minutes from start to finish. Baking them instead of frying not only reduces the mess but also makes them a lighter option without sacrificing flavor. The combination of shredded chicken, creamy cheese, and a touch of spice makes these chimichangas a crowd-pleaser, whether served as an appetizer, snack, or main course.
For beginners, this recipe is an excellent introduction to working with tortillas, learning how to fold and roll them properly, and understanding how simple ingredients can come together to create a dish full of flavor. The best part is that there is plenty of room for customization. From choosing different cheeses to adjusting the spice level, this recipe is incredibly flexible, making it easy to adapt to personal tastes.
Ingredients and Preparation
This recipe calls for simple, readily available ingredients that come together to create a deliciously crispy and creamy filling wrapped in a soft tortilla. Each component contributes to the texture and taste, ensuring a satisfying bite every time.
Ingredients
- 1 (8-ounce) package cream cheese, room temperature
- 1 tablespoon taco seasoning
- 8 ounces Pepper Jack cheese, shredded (about 2 cups)
- 3 cups shredded cooked chicken (rotisserie works well)
- 16-20 soft taco-sized tortillas
- 1 tablespoon butter, melted
- Toppings: sour cream, guacamole, and pico de gallo
Ingredient Alternatives
One of the advantages of this recipe is its flexibility. If Pepper Jack cheese is too spicy, it can be substituted with Monterey Jack or cheddar for a milder flavor. For those who prefer a slightly different protein, shredded beef can replace chicken. If cream cheese is unavailable, Greek yogurt or sour cream can provide a similar creamy texture with a slightly tangy flavor. Whole wheat or low-carb tortillas can be used for a healthier twist.
Step-by-Step Instructions
Step 1: Preheat the Oven
Preheat the oven to 350°F. Line a baking sheet with parchment paper or lightly spray it with cooking spray to prevent sticking.
Step 2: Prepare the Filling
In a large mixing bowl, combine the softened cream cheese, taco seasoning, shredded Pepper Jack cheese, and shredded chicken. Stir well until all ingredients are evenly incorporated. The mixture should be creamy and hold together well.
Step 3: Assemble the Chimichangas
Lay out a tortilla on a clean surface. Spoon about ¼ cup of the chicken mixture into the center. Fold in the sides, then roll the tortilla tightly from the bottom up to form a small burrito shape. Place the chimichanga seam-side down on the prepared baking sheet. Repeat with the remaining tortillas and filling.
Step 4: Brush with Butter
Lightly brush the tops of the chimichangas with melted butter. This helps them develop a crispy, golden-brown exterior as they bake.
Step 5: Bake Until Golden and Crispy
Bake the chimichangas for 15-20 minutes, or until they turn golden brown and crispy on the outside. If a crispier texture is desired, they can be broiled for an additional 1-2 minutes, but watch closely to prevent burning.
Step 6: Serve with Toppings
Once baked, remove the chimichangas from the oven and let them cool slightly. Serve warm with sour cream, guacamole, and pico de gallo.
Beginner Tips and Notes
Cooking should be a fun and stress-free experience, especially for those just starting. Here are some helpful tips to ensure success when making mini chicken chimichangas.
How to Tell When the Chimichangas Are Ready
The best indicator of doneness is their color and texture. They should be golden brown and crispy to the touch. If unsure, gently press on the top with a spatula. They should feel firm rather than soft or doughy.
How to Keep Tortillas from Tearing
If the tortillas are breaking when rolling, they may be too dry. To prevent this, microwave them for 10-15 seconds before assembling. This makes them more pliable and easier to roll without cracking.
Adjusting the Spice Level
For a milder version, swap Pepper Jack cheese for Monterey Jack or mozzarella. If a spicier kick is preferred, add a few dashes of hot sauce or a small amount of finely diced jalapeños to the filling.
Crispier Chimichangas Without Frying
Brushing the tortillas with butter before baking helps create a crispy texture. For an even crispier finish, the chimichangas can be flipped halfway through baking or placed under the broiler for the last couple of minutes.
Using Different Cooking Methods
While baking is the easiest method, chimichangas can also be cooked in an air fryer at 375°F for about 10 minutes, flipping halfway through. They can also be pan-fried in a small amount of oil over medium heat for 2-3 minutes per side until golden and crispy.
Storage and Reheating Tips
If there are leftovers, chimichangas can be stored in an airtight container in the refrigerator for up to three days. To reheat, bake at 350°F for about 10 minutes or air fry at 375°F for 5 minutes. Microwaving is an option but may result in a softer texture.
Serving Suggestions
These mini chicken chimichangas can be enjoyed on their own, but pairing them with complementary sides can enhance the meal.
- Mexican Rice: A classic side that adds extra flavor and makes the meal more filling.
- Refried Beans: A creamy and satisfying option that pairs well with the crispy texture of the chimichangas.
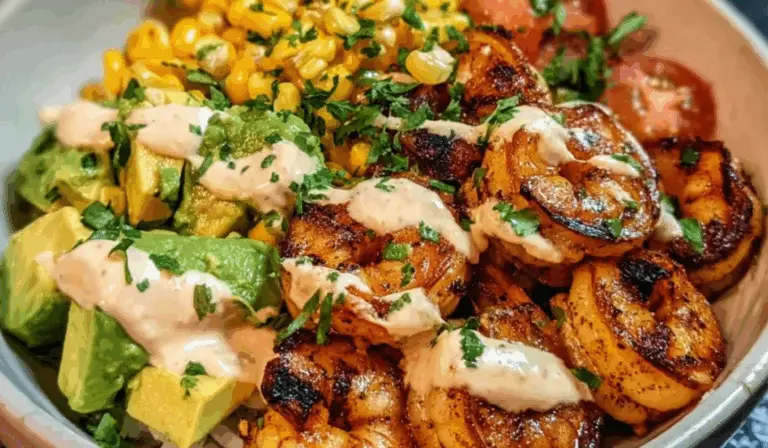
- Fresh Salad: A light and refreshing balance to the richness of the filling. A simple lettuce and tomato salad with a lime vinaigrette works well.
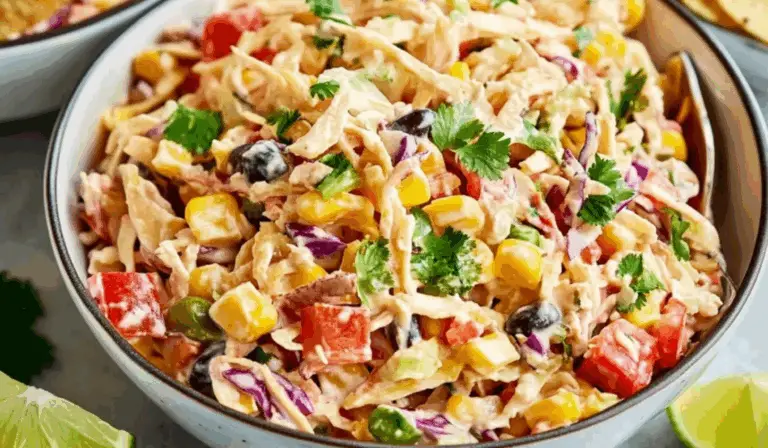
- Corn Salsa: A sweet and tangy addition that adds freshness and texture.
- Cilantro Lime Sauce: A drizzle of homemade cilantro lime sauce enhances the flavors of the dish.
For a complete meal, serve the chimichangas with a mix of these sides along with the recommended toppings of sour cream, guacamole, and pico de gallo.
Engagement Features
Cooking is more enjoyable when it feels interactive and rewarding. For those making this recipe, experimenting with different fillings, spices, and toppings can be a fun way to personalize the dish.
For beginners, following the step-by-step instructions ensures success, but trying variations such as using different cheeses or adding vegetables like sautéed bell peppers can make each batch unique. Those who try the recipe are encouraged to share their experience, whether it is through comments, photos, or feedback.
Making mini chicken chimichangas at home is a great way to gain confidence in the kitchen while creating a dish that is both delicious and visually appealing. Whether serving them at a family gathering, a casual dinner, or as a snack, these chimichangas are sure to be a hit.
Cooking should be an enjoyable and rewarding experience. By following this simple recipe, even those new to the kitchen can create a dish that feels special and restaurant-worthy. The satisfaction of making something from scratch and enjoying the results is what makes cooking so fulfilling. Those who try this recipe should not hesitate to experiment and make it their own. Sharing the experience with others, whether by inviting family to help in the kitchen or posting photos of the final result, makes it even more enjoyable.