Pollo Asado: A Beginner-Friendly Guide to Mexican Grilled Chicken
Cooking can often seem like a daunting task, especially if you’re just starting in the kitchen. However, there’s something incredibly satisfying about making a dish that not only tastes amazing but also boosts your confidence as a home cook. Pollo Asado, a deliciously flavorful Mexican grilled chicken, is one of those recipes that does exactly that. With a marinade packed with citrus juices, bold spices, and a bit of achiote powder for a hint of color, this chicken is as easy to prepare as it is to eat. Whether you grill it or roast it in the oven, the result is tender, juicy chicken bursting with authentic Mexican flavors.
PrintPollo Asado: A Beginner-Friendly Guide to Mexican Grilled Chicken

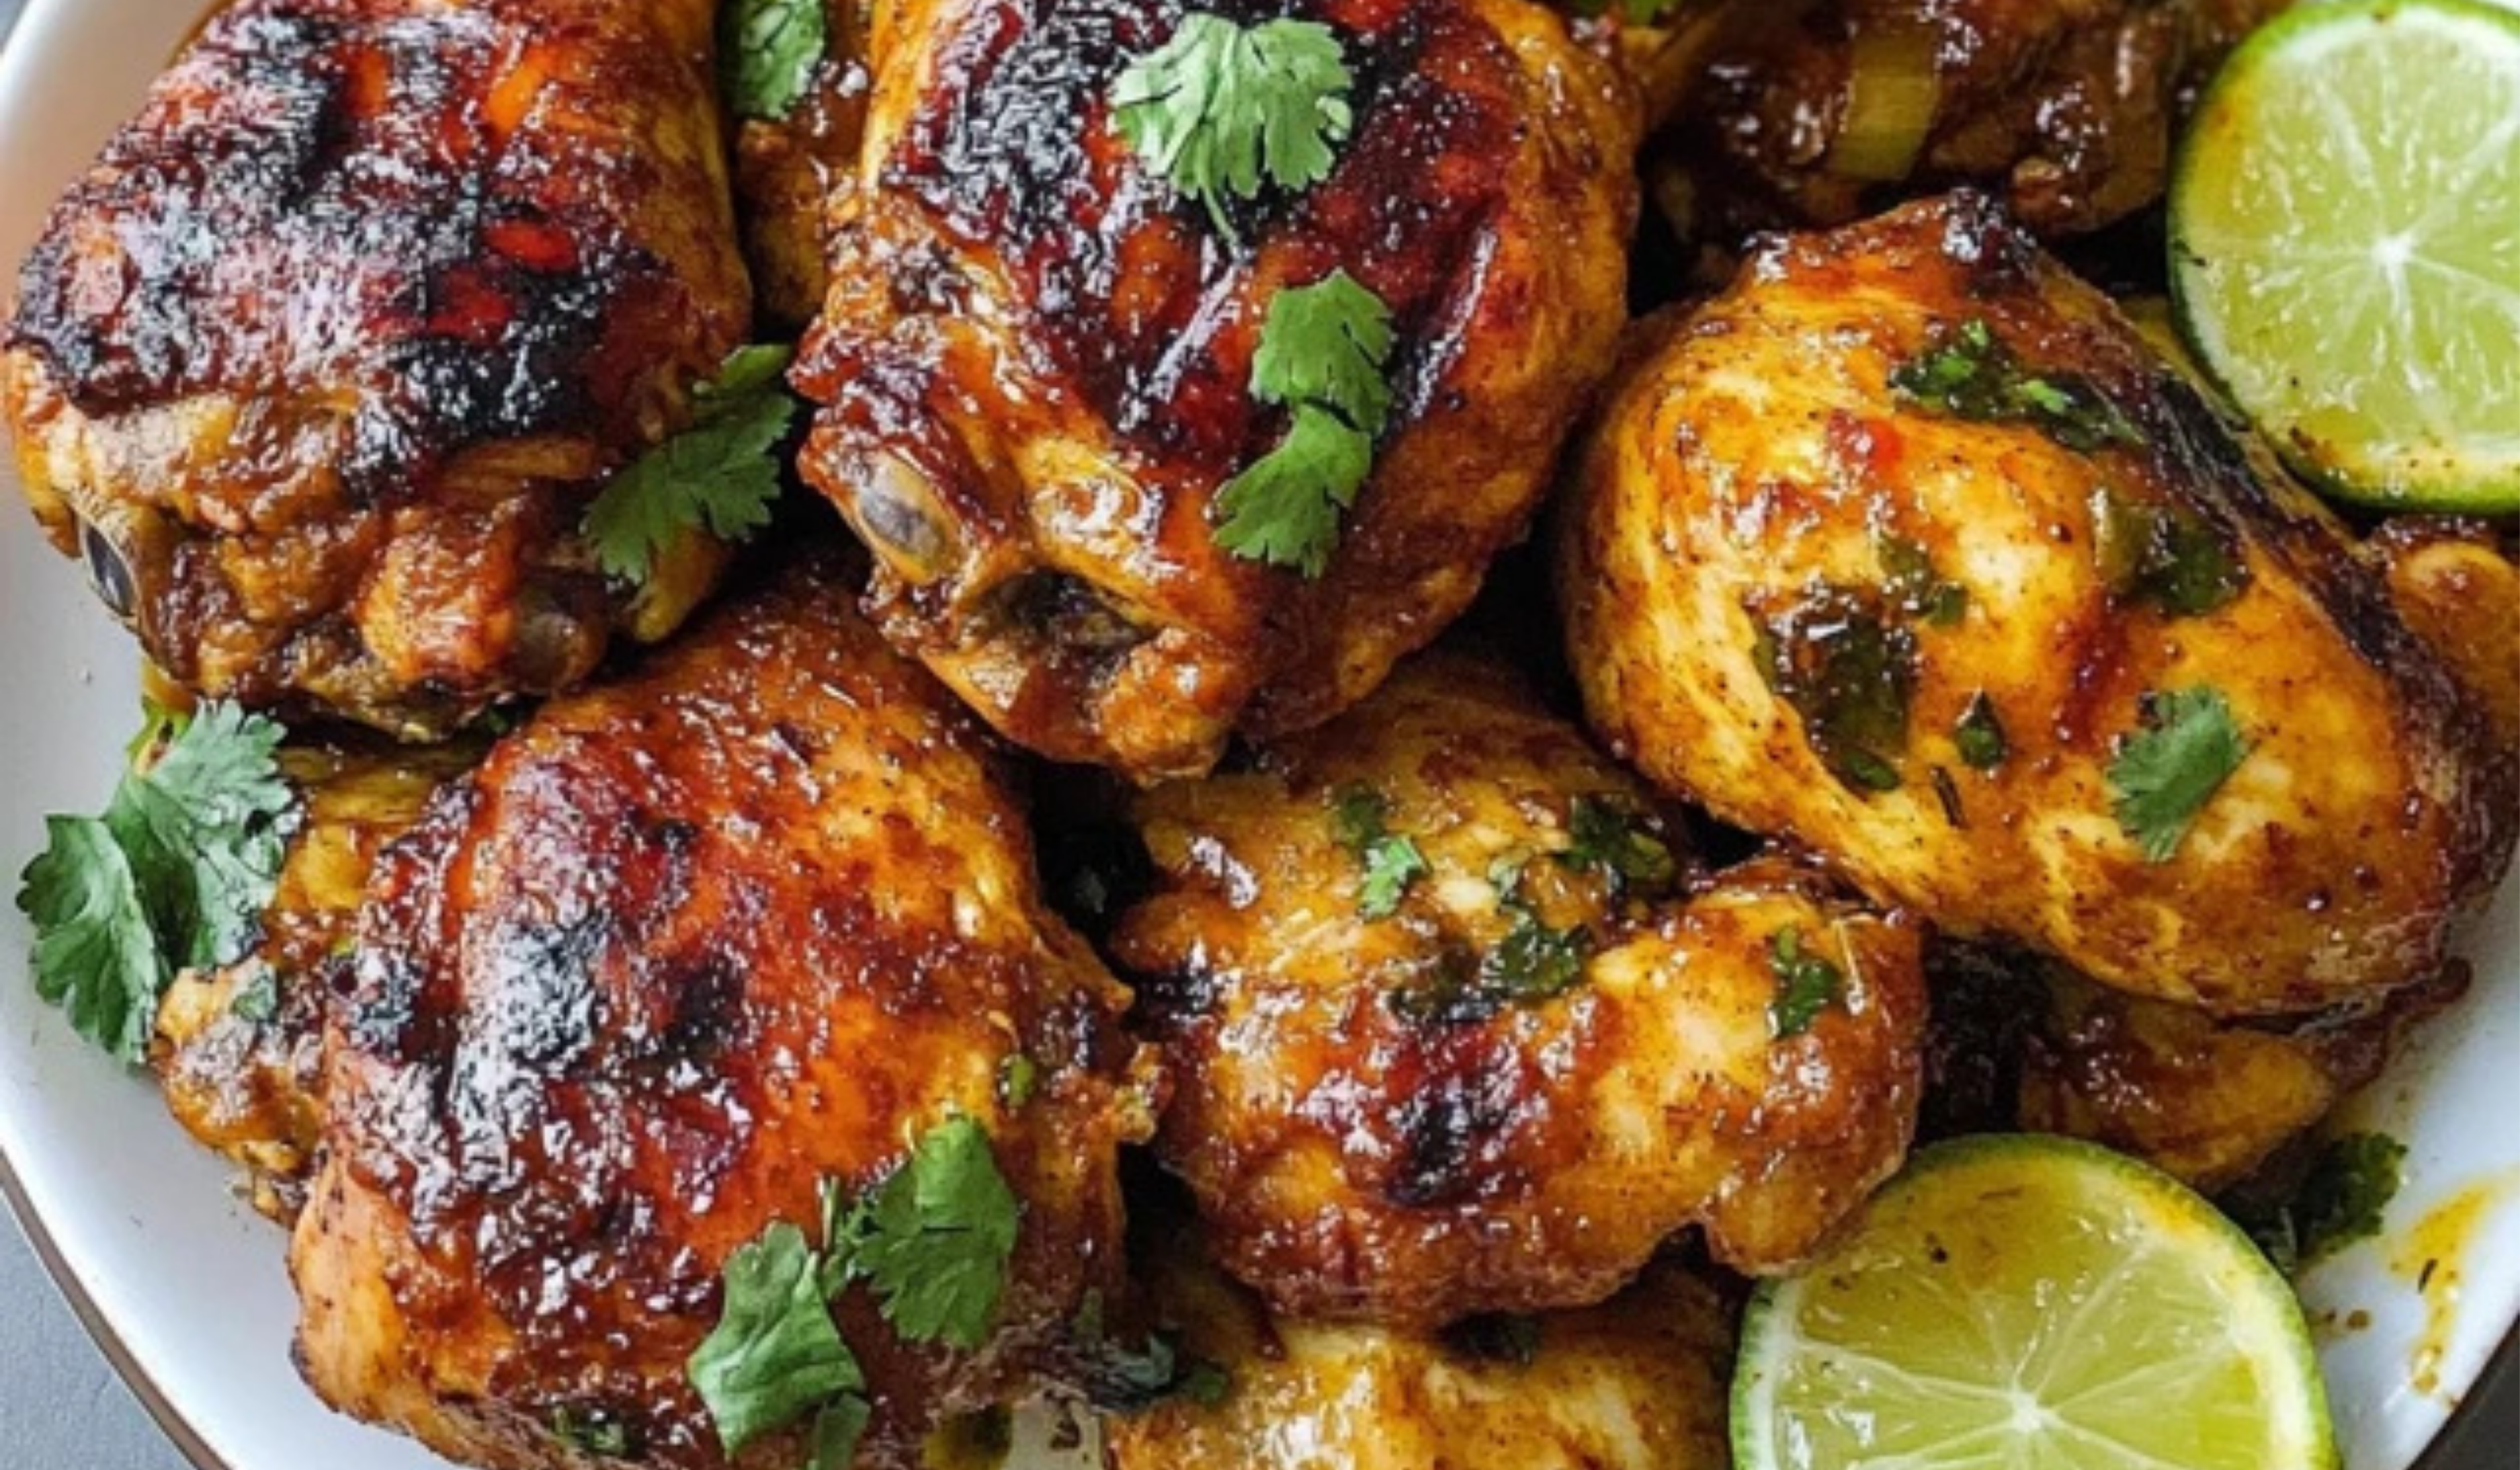
Fire up the grill and get ready for bold, juicy flavor! 🔥🍗 This beginner-friendly Pollo Asado recipe makes it easy to master Mexican grilled chicken. Marinated in citrus, garlic, and spices, every bite is tender, smoky, and packed with authentic flair. 🍊🧄 Whether you’re grilling for taco night or meal prep, this foolproof recipe delivers mouthwatering results with minimal effort. 🌮🌿 Delicious, simple, and unforgettable—this is grilled chicken done right!
- Prep Time: 10 minutes
- Cook Time: 40 minutes
- Total Time: 1 hour 20 minutes
- Yield: 6 servings 1x
Ingredients
- 1/2 cup orange juice
- 1/4 cup lime juice
- 3 tablespoons olive oil
- 3–4 garlic cloves, minced (or 1 tablespoon garlic paste)
- 1 tablespoon achiote powder (or achiote paste)
- 1 teaspoon ground cumin
- 1 teaspoon ground coriander
- 1 teaspoon dried oregano (Mexican oregano is preferred)
- 2 teaspoons sea salt or kosher salt
- 1/2 teaspoon ground black pepper
- 3 pounds chicken thighs, legs, or breasts, bone-in or boneless, skin-on or skinless, trimmed of excess fat
For Serving (optional):
- Lime wedges
- Chopped cilantro
Instructions
1. Prepare the Marinade
In a resealable plastic bag or mixing bowl, combine the orange juice, lime juice, olive oil, garlic, achiote powder (or paste), ground cumin, ground coriander, oregano, salt, and black pepper. Stir or massage the bag to ensure the ingredients are fully mixed. If using achiote paste, use a spoon or the back of a fork to break it up and distribute it evenly through the marinade. This step is crucial for achieving the vibrant and tangy flavor in your Pollo Asado.
2. Marinate the Chicken
Once your marinade is ready, it’s time to add the chicken. Place the chicken pieces into the bag or bowl, making sure to coat each piece evenly with the marinade. If using a resealable plastic bag, seal it tightly and massage the bag gently to help the marinade coat the chicken. If you prefer to use a bowl, cover it with plastic wrap. Allow the chicken to marinate for at least 30 minutes at room temperature, or for up to 4 hours in the refrigerator. However, avoid marinating the chicken for more than 4 hours, as the acidity from the citrus can start to break down the meat too much, resulting in a mushy texture.
3. Prepare the Grill or Oven
While the chicken is marinating, prepare your grill or oven. If you’re using a gas grill, clean and oil the grates, then preheat the grill to medium-high heat, aiming for a temperature between 375°F and 425°F. If you’re using a charcoal grill, light the charcoal and create two cooking zones by placing the coals on one side of the grill, leaving the other side empty. This will allow you to cook the chicken over direct and indirect heat.
For oven roasting, preheat the oven to 400°F. Line a baking pan with aluminum foil or parchment paper and place a wire rack inside. This setup will help the chicken cook evenly and prevent it from becoming soggy.
4. Grill or Roast the Chicken
Once the chicken has marinated, remove it from the bag or bowl, shaking off any excess marinade. Discard the marinade.
- To Grill: For bone-in chicken, place the pieces skin-side down on the grill directly over the heat. Grill for about 20 minutes, turning the chicken every 5 minutes to ensure even cooking. After 20 minutes, move the chicken to the cooler side of the grill (indirect heat) and cook for an additional 15-20 minutes, or until the chicken’s internal temperature reaches 160°F to 165°F. For boneless chicken, reduce the cooking time slightly, as it cooks faster than bone-in cuts.
- To Roast: Place the chicken skin-side up on the wire rack in your prepared baking pan, leaving 1-2 inches between each piece. Roast in the oven for 35-45 minutes, flipping the chicken halfway through the cooking time. The chicken is done when it reaches an internal temperature of 165°F.
5. Rest the Chicken
After the chicken has finished cooking, remove it from the grill or oven and let it rest for 10 minutes, tented with aluminum foil. This allows the juices to redistribute, keeping the chicken tender and juicy when sliced.
6. Serve
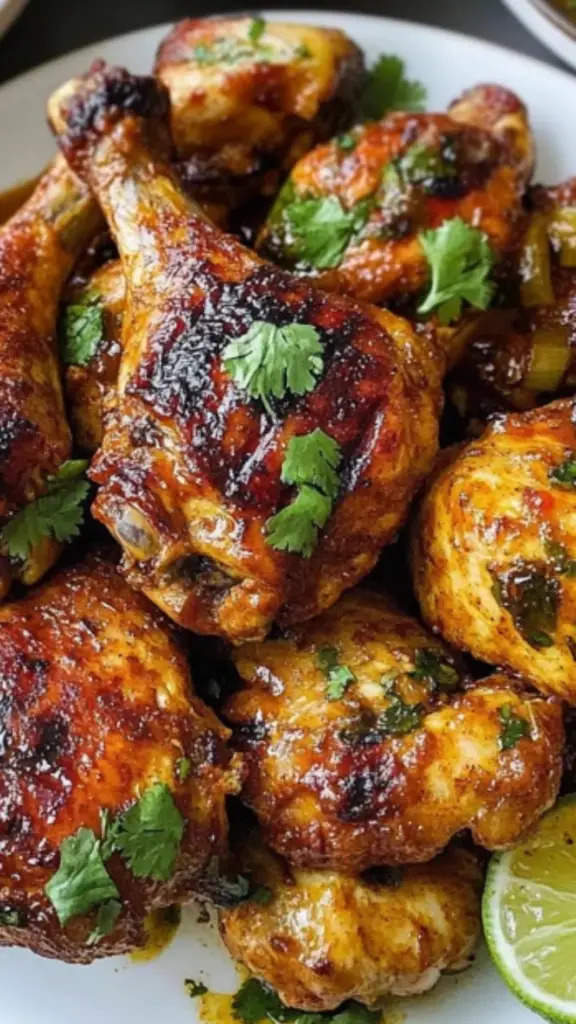
Once the chicken has rested, you’re ready to serve! Garnish with chopped cilantro and lime wedges for an extra burst of freshness.
Notes
- Marinating Time: While 30 minutes of marination is enough for a flavorful result, marinating the chicken for a few hours will allow the flavors to penetrate deeper, making for even juicier, more flavorful chicken.
- Cooking Temperature: Make sure to check the internal temperature of the chicken with a meat thermometer. For white meat like chicken breasts, the internal temperature should reach 160°F, and for dark meat like thighs, it should reach 165°F. This ensures the chicken is fully cooked but still moist and tender.
- Avoid Overcrowding the Grill: If grilling, avoid overcrowding the grill grates. Leave enough space between the chicken pieces so they cook evenly. Overcrowding can result in uneven cooking and prevent the chicken from developing a crispy, golden exterior.
- What to Do If the Chicken Gets Too Brown: If you notice the chicken is browning too quickly on the grill or in the oven, move it to a cooler part of the grill (indirect heat) or lower the oven temperature slightly to allow the chicken to cook through without burning on the outside.
- Resting the Chicken: Don’t skip the resting step! Resting the chicken after cooking ensures the juices stay inside the meat, preventing it from becoming dry.
In this guide, we’ll break down the process of making Pollo Asado step by step, offer practical tips for beginners, and provide helpful insights on how to serve and store your delicious creation. Whether you’re cooking for a family meal or looking for a recipe to impress guests, Pollo Asado is a must-try.
Ingredients and Preparation
Before diving into the cooking process, let’s gather all the ingredients you’ll need to make this mouth-watering dish.
Ingredients:
- 1/2 cup orange juice
- 1/4 cup lime juice
- 3 tablespoons olive oil
- 3-4 garlic cloves, minced (or 1 tablespoon garlic paste)
- 1 tablespoon achiote powder (or achiote paste)
- 1 teaspoon ground cumin
- 1 teaspoon ground coriander
- 1 teaspoon dried oregano (Mexican oregano is preferred)
- 2 teaspoons sea salt or kosher salt
- 1/2 teaspoon ground black pepper
- 3 pounds chicken thighs, legs, or breasts, bone-in or boneless, skin-on or skinless, trimmed of excess fat
For Serving (optional):
- Lime wedges
- Chopped cilantro
Preparation:
Start by gathering a resealable plastic bag or a large mixing bowl where you will combine all the marinade ingredients. If you’re using achiote paste, make sure to break it up to ensure it mixes thoroughly with the other ingredients. The marinade is what gives this chicken its irresistible flavor, so take a moment to mix everything together before adding the chicken. Once your marinade is ready, you’re all set to start the marinating process.
Step-by-Step Instructions
Cooking Pollo Asado is straightforward, even for beginners. Below is a breakdown of how to bring this flavorful dish to life.
1. Prepare the Marinade
In a resealable plastic bag or mixing bowl, combine the orange juice, lime juice, olive oil, garlic, achiote powder (or paste), ground cumin, ground coriander, oregano, salt, and black pepper. Stir or massage the bag to ensure the ingredients are fully mixed. If using achiote paste, use a spoon or the back of a fork to break it up and distribute it evenly through the marinade. This step is crucial for achieving the vibrant and tangy flavor in your Pollo Asado.
2. Marinate the Chicken
Once your marinade is ready, it’s time to add the chicken. Place the chicken pieces into the bag or bowl, making sure to coat each piece evenly with the marinade. If using a resealable plastic bag, seal it tightly and massage the bag gently to help the marinade coat the chicken. If you prefer to use a bowl, cover it with plastic wrap. Allow the chicken to marinate for at least 30 minutes at room temperature, or for up to 4 hours in the refrigerator. However, avoid marinating the chicken for more than 4 hours, as the acidity from the citrus can start to break down the meat too much, resulting in a mushy texture.
3. Prepare the Grill or Oven
While the chicken is marinating, prepare your grill or oven. If you’re using a gas grill, clean and oil the grates, then preheat the grill to medium-high heat, aiming for a temperature between 375°F and 425°F. If you’re using a charcoal grill, light the charcoal and create two cooking zones by placing the coals on one side of the grill, leaving the other side empty. This will allow you to cook the chicken over direct and indirect heat.
For oven roasting, preheat the oven to 400°F. Line a baking pan with aluminum foil or parchment paper and place a wire rack inside. This setup will help the chicken cook evenly and prevent it from becoming soggy.
4. Grill or Roast the Chicken
Once the chicken has marinated, remove it from the bag or bowl, shaking off any excess marinade. Discard the marinade.
- To Grill: For bone-in chicken, place the pieces skin-side down on the grill directly over the heat. Grill for about 20 minutes, turning the chicken every 5 minutes to ensure even cooking. After 20 minutes, move the chicken to the cooler side of the grill (indirect heat) and cook for an additional 15-20 minutes, or until the chicken’s internal temperature reaches 160°F to 165°F. For boneless chicken, reduce the cooking time slightly, as it cooks faster than bone-in cuts.
- To Roast: Place the chicken skin-side up on the wire rack in your prepared baking pan, leaving 1-2 inches between each piece. Roast in the oven for 35-45 minutes, flipping the chicken halfway through the cooking time. The chicken is done when it reaches an internal temperature of 165°F.
5. Rest the Chicken
After the chicken has finished cooking, remove it from the grill or oven and let it rest for 10 minutes, tented with aluminum foil. This allows the juices to redistribute, keeping the chicken tender and juicy when sliced.
6. Serve
Once the chicken has rested, you’re ready to serve! Garnish with chopped cilantro and lime wedges for an extra burst of freshness.
Beginner Tips and Notes
Cooking Pollo Asado is a great way to practice your kitchen skills while making a dish that feels impressive. Here are some tips to help ensure your chicken turns out perfectly:
- Marinating Time: While 30 minutes of marination is enough for a flavorful result, marinating the chicken for a few hours will allow the flavors to penetrate deeper, making for even juicier, more flavorful chicken.
- Cooking Temperature: Make sure to check the internal temperature of the chicken with a meat thermometer. For white meat like chicken breasts, the internal temperature should reach 160°F, and for dark meat like thighs, it should reach 165°F. This ensures the chicken is fully cooked but still moist and tender.
- Avoid Overcrowding the Grill: If grilling, avoid overcrowding the grill grates. Leave enough space between the chicken pieces so they cook evenly. Overcrowding can result in uneven cooking and prevent the chicken from developing a crispy, golden exterior.
- What to Do If the Chicken Gets Too Brown: If you notice the chicken is browning too quickly on the grill or in the oven, move it to a cooler part of the grill (indirect heat) or lower the oven temperature slightly to allow the chicken to cook through without burning on the outside.
- Resting the Chicken: Don’t skip the resting step! Resting the chicken after cooking ensures the juices stay inside the meat, preventing it from becoming dry.
Serving Suggestions
Pollo Asado is incredibly versatile and can be served in a variety of ways. Here are a few ideas to elevate your dish:
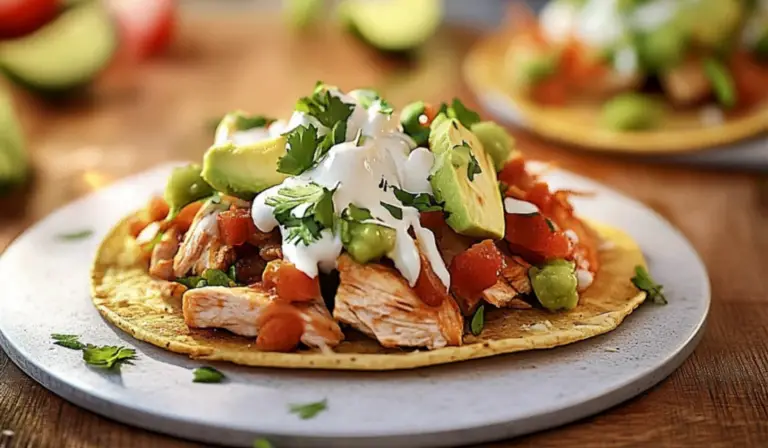
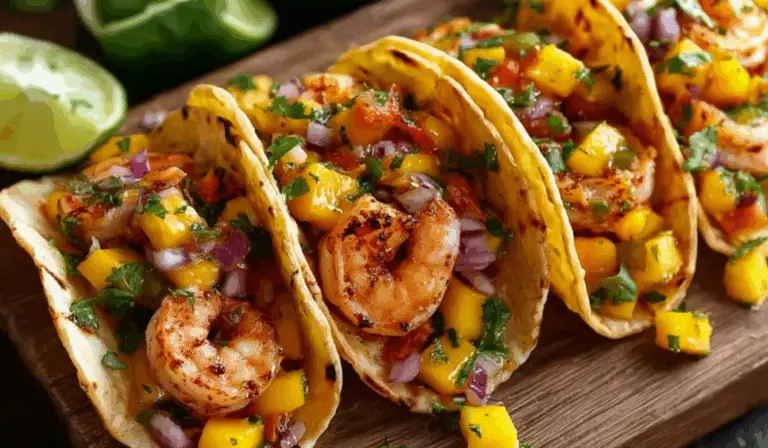
- Tacos: Shred the cooked chicken and serve it in soft corn tortillas with your favorite taco toppings like avocado, onions, cilantro, and a squeeze of lime.
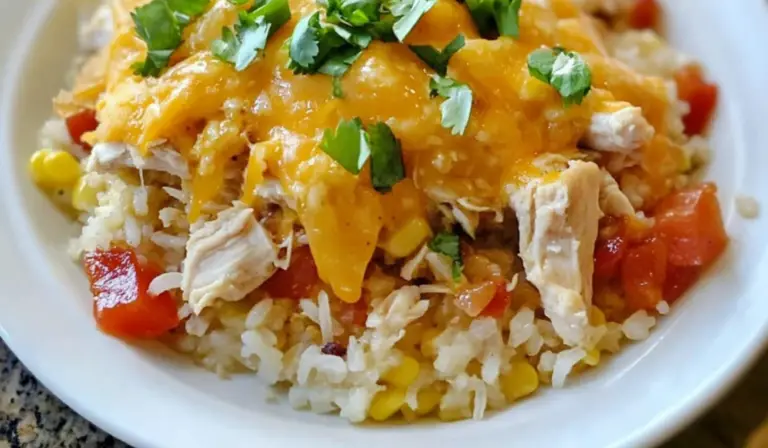
- Burrito Bowls: Create a vibrant burrito bowl with Pollo Asado, rice, black beans, corn, pico de gallo, and a dollop of sour cream or guacamole.
- Salads: Add grilled Pollo Asado to a bed of fresh greens for a light yet satisfying meal. Top with a simple vinaigrette or creamy dressing.
- Rice and Beans: Serve the chicken alongside traditional Mexican rice and refried beans for a comforting, well-rounded meal.
For leftovers, store the chicken in an airtight container in the refrigerator for up to 3 days. You can also freeze cooked chicken for up to 3 months, making it perfect for meal prep.
Engagement Features
I hope this Pollo Asado recipe has inspired you to get into the kitchen and try your hand at something new! The beauty of this dish lies in its simplicity and versatility. Whether you’re grilling it for a weekend cookout or roasting it in the oven for a weeknight dinner, it’s sure to be a hit with your family and friends.
I’d love to hear about your experience! Have you tried this recipe or made any fun twists on it? Share your thoughts or any questions you might have in the comments below. Cooking is a journey, and I’m here to support you every step of the way. Enjoy the process, and happy cooking!