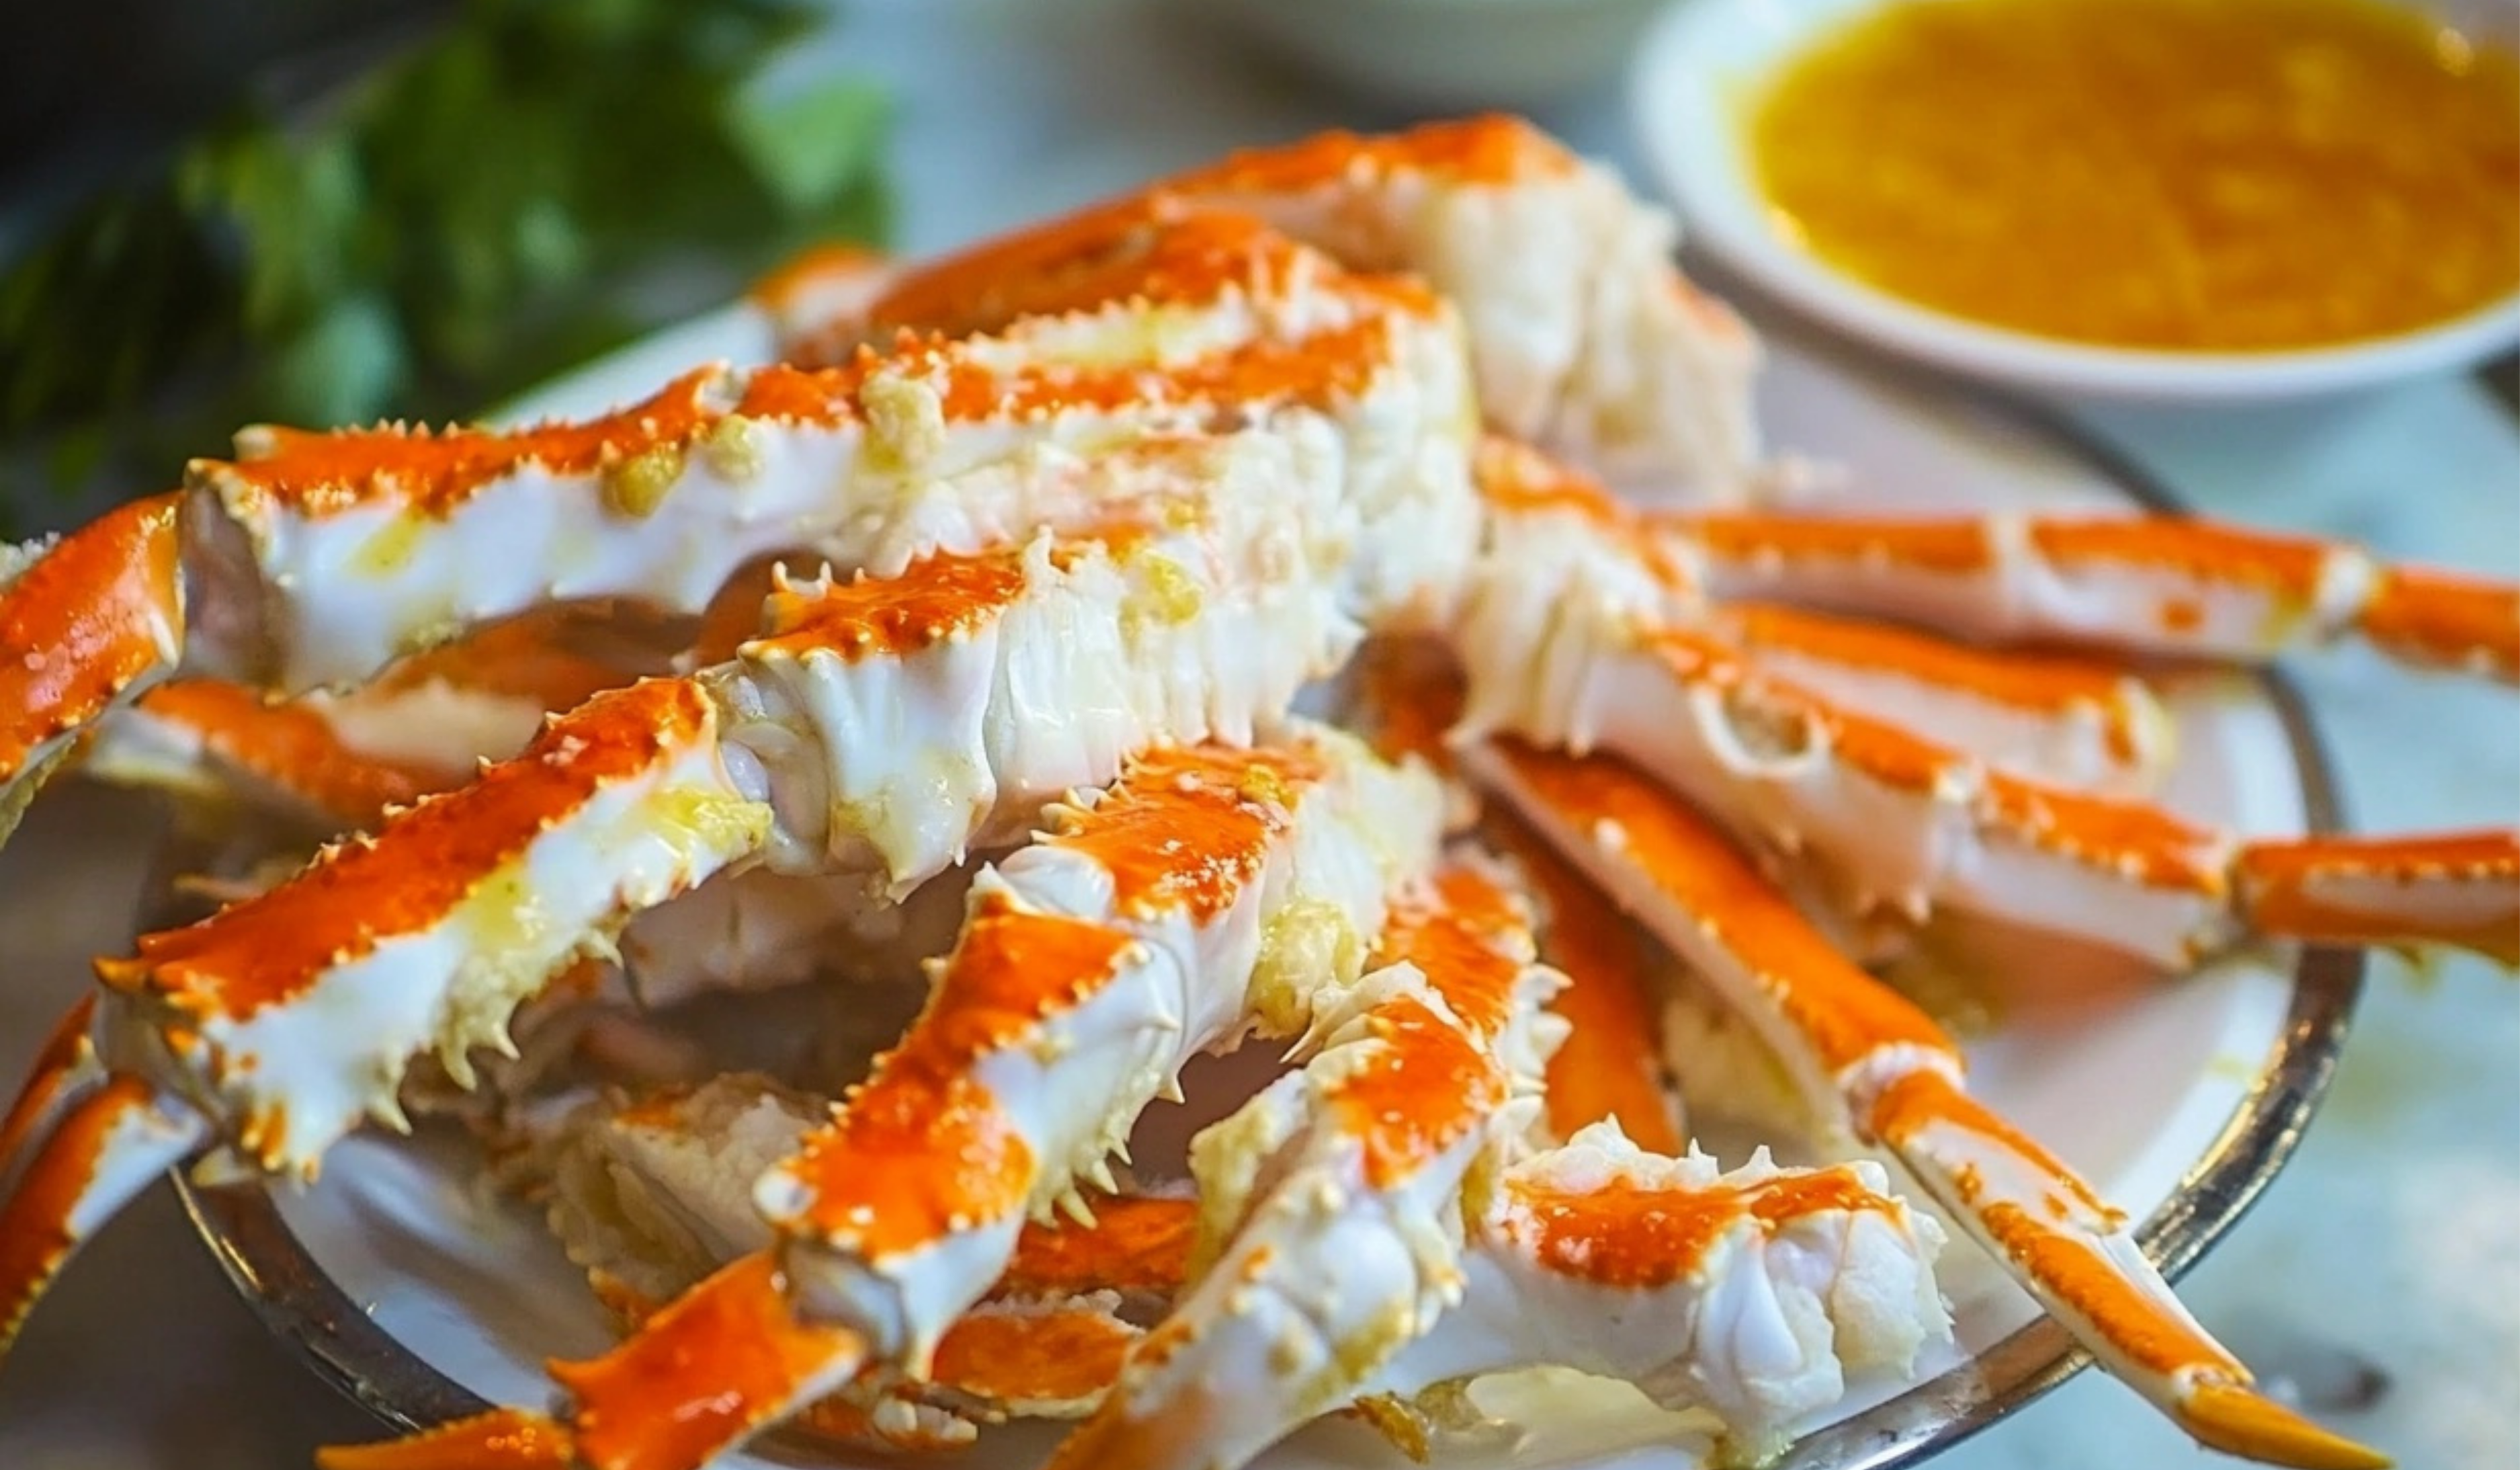
The Beginner’s Guide to Steamed King Crab Legs
Seafood often feels like a luxury reserved for restaurants, but cooking it at home is much easier than most people think. When I first attempted to cook king crab legs, I was surprised by how simple the process was. There were no complicated sauces, no lengthy preparation—just a short steaming process that brought out the natural sweetness of the crab meat. If you’re new to cooking seafood, this is the perfect dish to start with.
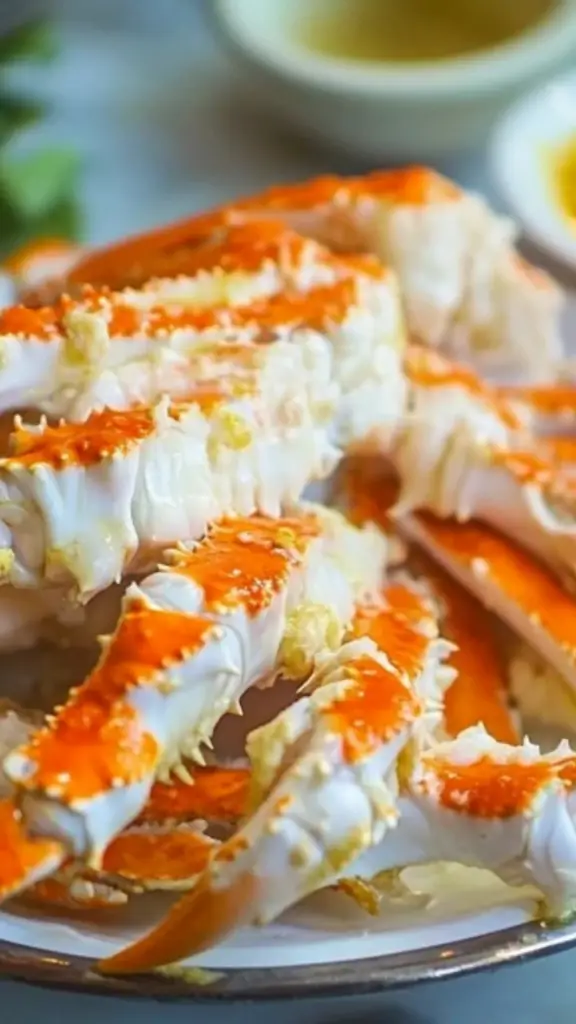
PrintThe Beginner’s Guide to Steamed King Crab Legs

Want to enjoy restaurant-quality king crab legs at home? 🦀✨ Steaming is the easiest way to keep them juicy, tender, and full of flavor! No complicated prep—just a quick steam and a dip in buttery, lemony goodness for the ultimate seafood experience. Whether it’s a special occasion or a weeknight treat, this beginner’s guide makes it simple. Get ready to crack open some sweet, succulent crab meat and enjoy every bite! 🍽️🔥
#CrabLovers 🦀 #SeafoodDelight 🌊 #MeltInYourMouth 😋 #EasyAndElegant ✨ #SteamedToPerfection 🍽️ #ButterDippedGoodness 💛 #FlavorPacked 🔥 #HomeCookedLuxury 🏡 #FreshAndTasty 🤤 #SeafoodFeast 🎉
- Prep Time: 5 minutes
- Cook Time: 7 minutes
- Total Time: 12 minutes
- Yield: 4 servings 1x
Ingredients
- 5 lbs king crab legs (thawed if frozen)
- Water (for steaming)
- Optional:
- Lemon wedges – Enhances flavor with a fresh, citrusy kick
- Clarified butter – Provides a rich, velvety dipping option
- Salt and black pepper – Adds a simple, classic seasoning
Instructions
Step 1: Boil the Water
In a large pot, bring about 2 inches of water to a boil over medium-high heat. The water level should be below the steamer basket to ensure that the crab legs steam rather than boil.
Step 2: Arrange the Crab Legs in the Steamer
Once the water is boiling and steaming, carefully place the king crab legs into the steamer. Avoid overcrowding so that the steam can circulate evenly, ensuring that all the crab legs are heated through.
Step 3: Steam for 7 Minutes
Cover the pot with a lid and allow the crab legs to steam for 7 minutes. Since king crab legs are pre-cooked before being frozen, this steaming process is simply to reheat them while preserving their juicy texture.
For snow crab legs, reduce the steaming time to 5 minutes as they are smaller and cook faster.
Step 4: Remove and Serve
Use tongs to carefully remove the crab legs from the steamer and transfer them to a serving platter. Be cautious, as they will be extremely hot.
Notes
How to Tell If Crab Legs Are Ready
- The shell should be a bright, deep red with white, opaque meat inside.
- If the meat still appears slightly translucent, steam for another minute before checking again.
- The crab meat should pull apart easily with a fork.
Common Beginner Mistakes and Fixes
- Overcooking – If the crab becomes rubbery, it was left in the steamer too long. Serve it with extra butter or lemon juice to restore moisture.
- Not Using a Steamer – If you don’t have a steamer basket, use a metal colander placed inside a large pot, covering it with a lid.
- Hard-to-Crack Shells – Use kitchen shears instead of crab crackers for an easier way to open the shell.
Kitchen Efficiency Tips
- Buy Pre-Cut Crab Legs – Some stores sell king crab legs that are already cracked for easier eating.
- Save the Shells – Don’t throw them away! You can boil them with garlic, onion, and herbs to make a flavorful seafood broth for soups or pasta sauces.
- Use a Kitchen Towel for Grip – Wrapping the crab legs in a towel before cracking helps prevent slipping and protects your hands from sharp edges.
King crab legs are one of the most sought-after seafood delicacies because of their large, meaty texture and naturally sweet flavor. The best part? They require minimal effort and just a few ingredients to prepare. With only a few steps, you’ll be able to enjoy a restaurant-quality meal right at home. This dish is great for special occasions or just a satisfying weeknight dinner, and since crab is rich in protein and essential nutrients, it’s a nutritious choice too.
In this guide, we’ll cover everything you need to know about steaming king crab legs: from preparation and cooking to serving suggestions and beginner-friendly kitchen tips. By the end, you’ll feel confident making this dish anytime you crave a seafood feast.
Ingredients and Preparation
Ingredients
- 5 lbs king crab legs (thawed if frozen)
- Water (for steaming)
- Optional:
- Lemon wedges – Enhances flavor with a fresh, citrusy kick
- Clarified butter – Provides a rich, velvety dipping option
- Salt and black pepper – Adds a simple, classic seasoning
Ingredient Alternatives
- Snow crab legs – If king crab legs are unavailable, snow crab legs are a great substitute. They are smaller but cook faster and are equally delicious.
- Butter substitutes – If you don’t have clarified butter, melted unsalted butter or even olive oil works well.
- Herb-infused butter – Mix melted butter with fresh herbs like parsley, thyme, or chives for an added layer of flavor.
How to Prepare Crab Legs for Steaming
- Thaw Properly – If your crab legs are frozen, place them in the refrigerator overnight. If short on time, run them under cold water for 30–45 minutes until completely thawed.
- Pre-Cut for Easy Eating (Optional) – Use kitchen shears to cut along the shell before steaming. This makes it easier to remove the meat later.
- Set Up the Steamer – Fill a large pot with about 2 inches of water and bring it to a boil. Place a steamer basket or rack inside.
Step-by-Step Cooking Instructions
Step 1: Boil the Water
In a large pot, bring about 2 inches of water to a boil over medium-high heat. The water level should be below the steamer basket to ensure that the crab legs steam rather than boil.
Step 2: Arrange the Crab Legs in the Steamer
Once the water is boiling and steaming, carefully place the king crab legs into the steamer. Avoid overcrowding so that the steam can circulate evenly, ensuring that all the crab legs are heated through.
Step 3: Steam for 7 Minutes
Cover the pot with a lid and allow the crab legs to steam for 7 minutes. Since king crab legs are pre-cooked before being frozen, this steaming process is simply to reheat them while preserving their juicy texture.
For snow crab legs, reduce the steaming time to 5 minutes as they are smaller and cook faster.
Step 4: Remove and Serve
Use tongs to carefully remove the crab legs from the steamer and transfer them to a serving platter. Be cautious, as they will be extremely hot.
Beginner Tips and Kitchen Notes
How to Tell If Crab Legs Are Ready
- The shell should be a bright, deep red with white, opaque meat inside.
- If the meat still appears slightly translucent, steam for another minute before checking again.
- The crab meat should pull apart easily with a fork.
Common Beginner Mistakes and Fixes
- Overcooking – If the crab becomes rubbery, it was left in the steamer too long. Serve it with extra butter or lemon juice to restore moisture.
- Not Using a Steamer – If you don’t have a steamer basket, use a metal colander placed inside a large pot, covering it with a lid.
- Hard-to-Crack Shells – Use kitchen shears instead of crab crackers for an easier way to open the shell.
Kitchen Efficiency Tips
- Buy Pre-Cut Crab Legs – Some stores sell king crab legs that are already cracked for easier eating.
- Save the Shells – Don’t throw them away! You can boil them with garlic, onion, and herbs to make a flavorful seafood broth for soups or pasta sauces.
- Use a Kitchen Towel for Grip – Wrapping the crab legs in a towel before cracking helps prevent slipping and protects your hands from sharp edges.
Serving Suggestions
While steamed king crab legs are delicious on their own, pairing them with the right sides and dips can elevate the meal.
Classic Dipping Options
- Clarified Butter – The most traditional and luxurious option.
- Lemon Butter Sauce – Melt butter and mix with fresh lemon juice for a tangy, buttery dip.
- Garlic Butter – Melt butter with minced garlic for an aromatic twist.
- Old Bay Seasoning Butter – Melt butter with a sprinkle of Old Bay seasoning for extra flavor.
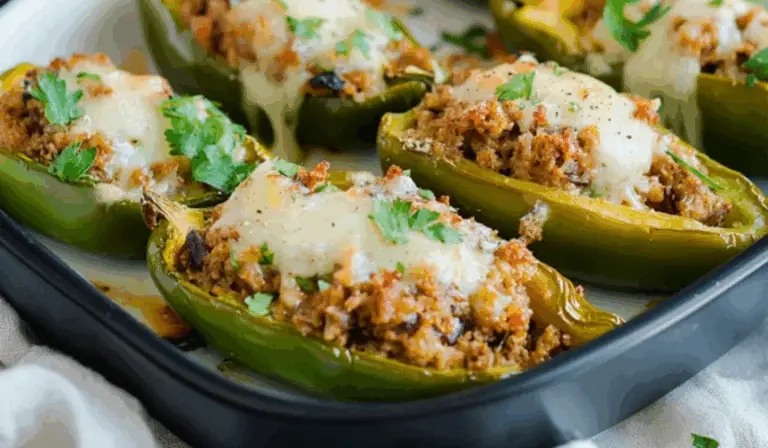
Perfect Side Dishes
- Garlic Butter Rice – A simple yet flavorful side that complements seafood beautifully.
- Steamed Vegetables – Broccoli, asparagus, or corn on the cob make for a balanced, colorful meal.
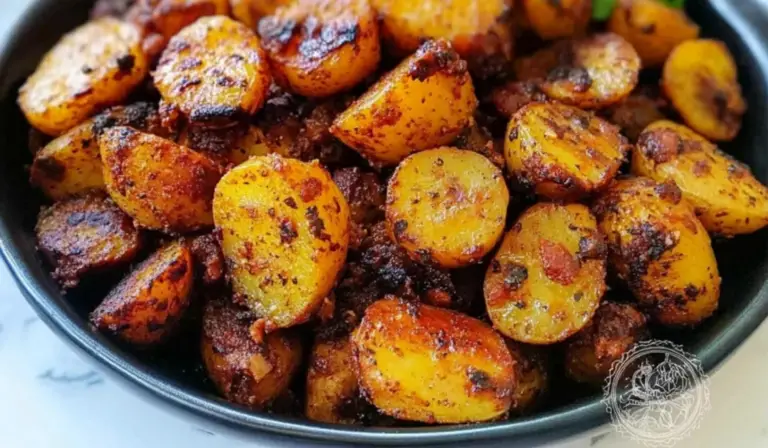
- Crispy Roasted Potatoes – The crispy texture of roasted potatoes contrasts well with tender crab meat.
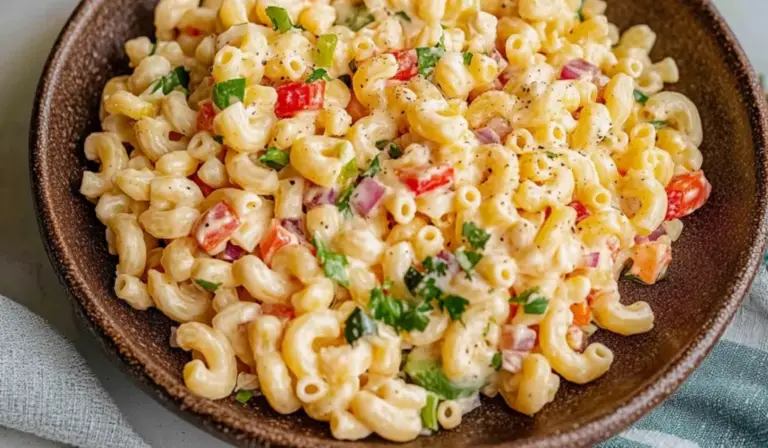
- Fresh Garden Salad – A light, refreshing side to balance the richness of the crab.
Storing and Reheating Leftovers
If you have leftovers, proper storage is key to maintaining freshness.
Storage
- Store leftover crab legs in an airtight container in the refrigerator for up to 2 days.
- For longer storage, wrap them in plastic wrap and aluminum foil before freezing. They can last up to 3 months in the freezer.
Reheating
- Steaming – Place crab legs in a steamer for 3–4 minutes to restore moisture.
- Oven Method – Wrap in foil and bake at 350°F for 10 minutes.
- Microwave – Not recommended as it can dry out the meat. If needed, wrap in a damp paper towel and microwave for 30 seconds at a time.
Conclusion
Cooking seafood at home doesn’t have to be intimidating. Steamed king crab legs are one of the easiest yet most impressive dishes a beginner can master. With minimal prep, a simple steaming method, and versatile serving options, you can enjoy a gourmet seafood experience right in your own kitchen.
The best part is that you can customize the dish to your taste. Whether you prefer a classic butter dip, a spicy Cajun twist, or a light lemon finish, there’s no wrong way to enjoy this dish.
Now, it’s your turn! Try this recipe, experiment with different dips and sides, and discover your favorite way to eat king crab legs. What’s your go-to dipping sauce? Did you try a unique seasoning? Share your thoughts and experiences in the comments!
Happy cooking!