The Ultimate Beginner’s Guide to Birria Quesatacos with Consomé
Birria quesatacos with consomé are a true celebration of bold flavors, crispy textures, and rich, slow-cooked beef. This traditional Mexican dish has gained immense popularity for its combination of tender, spiced meat, crispy tortillas, and flavorful broth. Originally from the state of Jalisco, birria was traditionally made with goat, but modern variations use beef, making it more accessible for home cooks.
PrintThe Ultimate Beginner’s Guide to Birria Quesatacos with Consomé

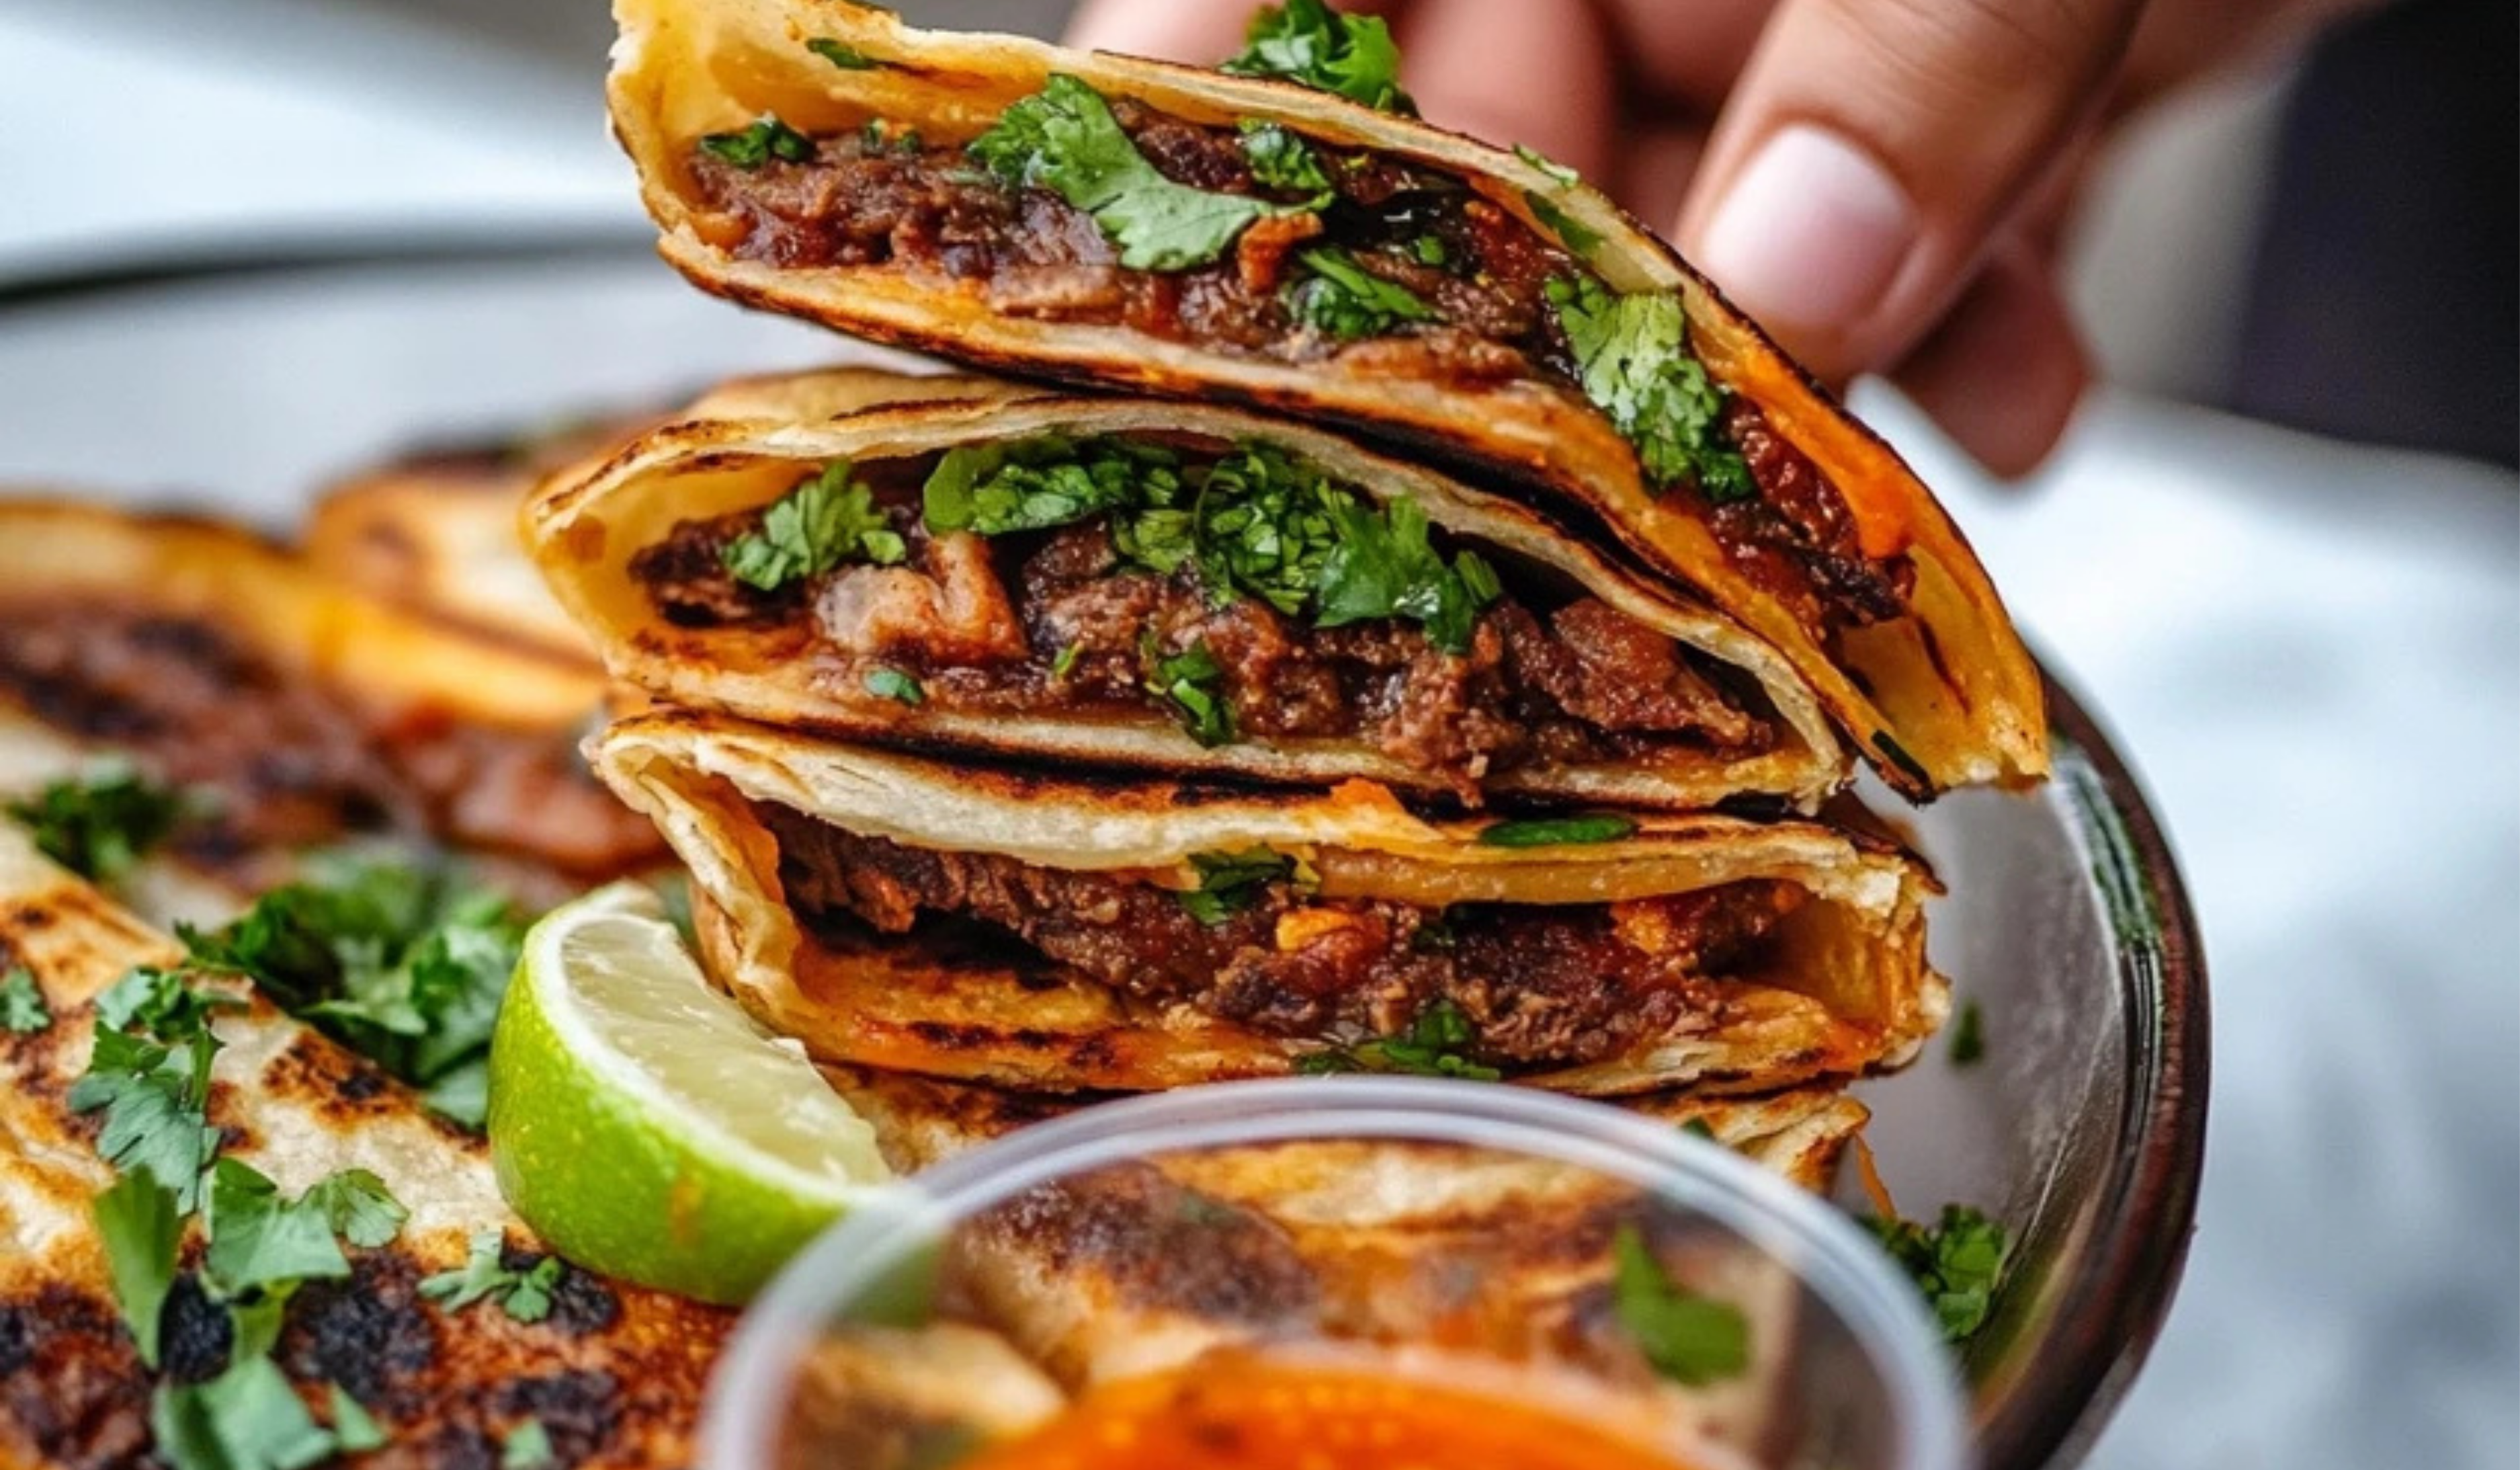
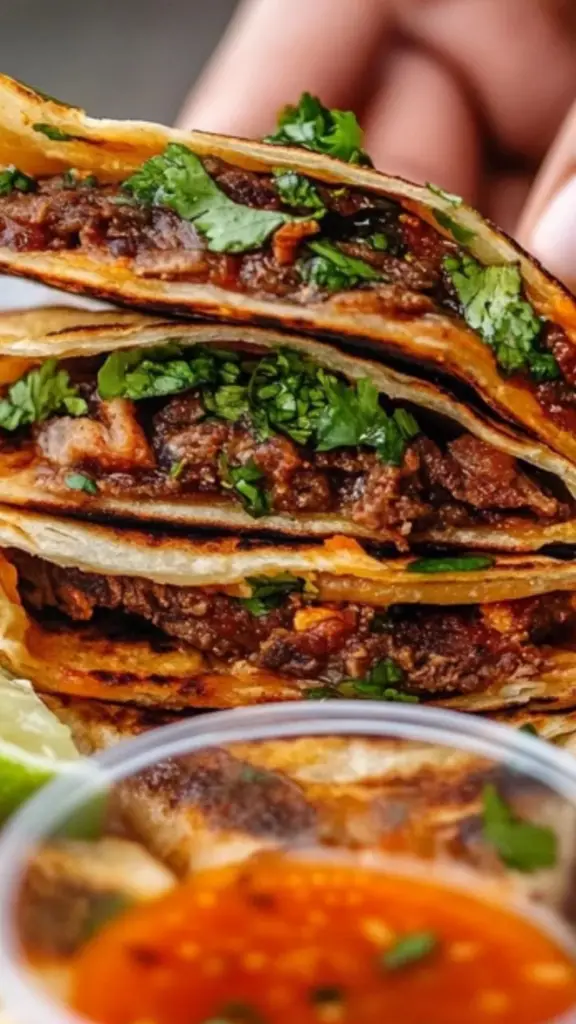
Crispy, cheesy, and packed with bold flavors! These Birria Quesatacos with Consomé are the ultimate comfort food, featuring slow-cooked, tender beef, melted cheese, and a rich, spiced dipping broth.
- Prep Time: 30 minutes
- Cook Time: 4 hours
- Total Time: 4 hours 30 minutes
- Yield: 6–8 servings 1x
Ingredients
Meat
- 3–4 lbs chuck roast, cut into large chunks
- 1–3 lbs beef shanks
- 1–2 tablespoons seasoning salt
- 1 tablespoon onion powder
- 2 tablespoons vegetable oil
- 3 garlic cloves, finely diced
- 1 yellow onion, finely diced
Chile Paste
- 4 guajillo chilies
- 5 New Mexico chilies
- 3 Chile de Árbol
- 2 Mulato chilies
- 2 chipotle peppers in adobo sauce
- 14.5 ounces petite diced tomatoes
- 4 cups beef or chicken stock
- 2 cups water
- 3 garlic cloves
- 4 bay leaves (divided)
- 1 tablespoon whole peppercorns
- 1 teaspoon Mexican oregano
- 1 teaspoon cumin
- 1 teaspoon ground coriander
- ½ teaspoon allspice
- ½ inch cinnamon stick
- 1 inch ginger, peeled and sliced
- 1 tablespoon white distilled vinegar
Instructions
Cooking the Meat
- Season the beef chunks and shanks with seasoning salt and onion powder. Coat evenly.
- Heat vegetable oil in a large skillet over medium-high heat. Sear the beef on all sides until browned, locking in flavor. This should take about 2-3 minutes per side.
- Remove the beef and set aside.
- In the same skillet, add the finely diced onion and garlic. Sauté for 1-2 minutes until fragrant.
- Remove the onion and garlic mixture and reserve it for the chile paste.
- Spray a slow cooker with nonstick cooking spray and place the seared beef inside.
Making the Chile Paste
- Remove the stems and seeds from the dried chilies.
- Heat a dry skillet over medium-high heat and toast the chilies for about one minute. Be careful not to burn them, as they will become bitter.
- In a separate pot, bring 2 cups of beef stock to a boil.
- Place the toasted chilies in a heat-safe bowl and pour the hot beef stock over them. Allow them to soak for 30 minutes until softened.
- Transfer the softened chilies and stock to a blender. Add chipotle peppers in adobo sauce, diced tomatoes, garlic cloves, 2 bay leaves, peppercorns, Mexican oregano, cumin, coriander, allspice, cinnamon stick, ginger, sautéed onion, sautéed garlic, and vinegar.
- Blend until smooth and well combined. If the paste is too thick, add a little extra stock to help it blend.
- Strain the blended paste over the slow cooker, pressing it through a fine mesh sieve to remove any solids.
- Pour in the remaining 2 cups of beef stock and 2 cups of water. Stir everything together.
- Add the last 2 bay leaves to the slow cooker.
- Cover with the lid and cook on high for 4 hours or until the beef is fork-tender.
Shredding the Meat and Preparing the Consomé
- Once the meat is fully cooked and tender, remove it from the slow cooker and shred it using two forks. Discard any bones.
- Ladle out 2 cups of the rich broth (consomé) into a separate bowl for dipping the tortillas later.
- Keep the shredded meat warm while preparing the quesatacos.
Making the Quesatacos
- Heat a large skillet or griddle over medium heat.
- Dip a corn tortilla into the reserved consomé, ensuring both sides are coated.
- Place the tortilla on the hot skillet and allow it to crisp slightly.
- Add a generous amount of shredded beef onto one side of the tortilla.
- Sprinkle shredded mozzarella and Monterey Jack cheese over the meat.
- Add chopped cilantro and onions for extra flavor.
- Fold the tortilla over and press gently. Cook until the cheese is fully melted and the tortilla is golden and crispy.
- Repeat the process for as many tacos as needed.
Notes
- Choosing the Right Meat: Chuck roast is an excellent choice because it becomes incredibly tender when slow-cooked. Beef shanks add additional richness due to the bone marrow.
- Toasting the Chilies: Be careful not to burn them. If they blacken too much, they can turn the entire sauce bitter.
- Blending and Straining: Straining the chili paste is essential for a smooth and velvety sauce. This helps remove any gritty texture from the dried chili skins.
- Cooking Time: If you prefer using a stovetop instead of a slow cooker, simmer the meat in a large pot for 3-4 hours, ensuring it remains submerged in the liquid.
- Crisping the Tacos: Fry the tortillas in a hot, lightly oiled pan. If they are too greasy, allow excess oil to drain on a paper towel before serving.
- Storage and Reheating: Leftover birria can be stored in an airtight container in the refrigerator for up to 4 days. It also freezes well for longer storage. Reheat on the stovetop or microwave before serving.
This recipe is perfect for beginners because it uses simple techniques to build deep flavors. Slow cooking ensures the meat turns out incredibly tender, while toasting and blending dried chilies create a rich, smoky sauce. The process may seem lengthy, but each step is straightforward and rewarding. The result is a dish that feels like something from an authentic Mexican taqueria, yet it can be made in the comfort of your own kitchen.
With a little patience and preparation, anyone can make these incredible birria quesatacos. Whether you are cooking for a family dinner or looking to impress guests, this recipe will become a favorite.
Ingredients and Preparation
Meat
- 3-4 lbs chuck roast, cut into large chunks
- 1-3 lbs beef shanks
- 1-2 tablespoons seasoning salt
- 1 tablespoon onion powder
- 2 tablespoons vegetable oil
- 3 garlic cloves, finely diced
- 1 yellow onion, finely diced
Chile Paste
- 4 guajillo chilies
- 5 New Mexico chilies
- 3 Chile de Árbol
- 2 Mulato chilies
- 2 chipotle peppers in adobo sauce
- 14.5 ounces petite diced tomatoes
- 4 cups beef or chicken stock
- 2 cups water
- 3 garlic cloves
- 4 bay leaves (divided)
- 1 tablespoon whole peppercorns
- 1 teaspoon Mexican oregano
- 1 teaspoon cumin
- 1 teaspoon ground coriander
- ½ teaspoon allspice
- ½ inch cinnamon stick
- 1 inch ginger, peeled and sliced
- 1 tablespoon white distilled vinegar
Quesatacos
- Corn tortillas
- Shredded mozzarella cheese
- Shredded Monterey Jack cheese
- Fresh cilantro, chopped
- White onion, finely chopped
- Lime wedges
Preparation
Before cooking, gather all ingredients and prepare them accordingly. Removing stems and seeds from the dried chilies, dicing the onions and garlic, and cutting the beef into chunks will make the cooking process smooth.
Step-by-Step Instructions
Cooking the Meat
- Season the beef chunks and shanks with seasoning salt and onion powder. Coat evenly.
- Heat vegetable oil in a large skillet over medium-high heat. Sear the beef on all sides until browned, locking in flavor. This should take about 2-3 minutes per side.
- Remove the beef and set aside.
- In the same skillet, add the finely diced onion and garlic. Sauté for 1-2 minutes until fragrant.
- Remove the onion and garlic mixture and reserve it for the chile paste.
- Spray a slow cooker with nonstick cooking spray and place the seared beef inside.
Making the Chile Paste
- Remove the stems and seeds from the dried chilies.
- Heat a dry skillet over medium-high heat and toast the chilies for about one minute. Be careful not to burn them, as they will become bitter.
- In a separate pot, bring 2 cups of beef stock to a boil.
- Place the toasted chilies in a heat-safe bowl and pour the hot beef stock over them. Allow them to soak for 30 minutes until softened.
- Transfer the softened chilies and stock to a blender. Add chipotle peppers in adobo sauce, diced tomatoes, garlic cloves, 2 bay leaves, peppercorns, Mexican oregano, cumin, coriander, allspice, cinnamon stick, ginger, sautéed onion, sautéed garlic, and vinegar.
- Blend until smooth and well combined. If the paste is too thick, add a little extra stock to help it blend.
- Strain the blended paste over the slow cooker, pressing it through a fine mesh sieve to remove any solids.
- Pour in the remaining 2 cups of beef stock and 2 cups of water. Stir everything together.
- Add the last 2 bay leaves to the slow cooker.
- Cover with the lid and cook on high for 4 hours or until the beef is fork-tender.
Shredding the Meat and Preparing the Consomé
- Once the meat is fully cooked and tender, remove it from the slow cooker and shred it using two forks. Discard any bones.
- Ladle out 2 cups of the rich broth (consomé) into a separate bowl for dipping the tortillas later.
- Keep the shredded meat warm while preparing the quesatacos.
Making the Quesatacos
- Heat a large skillet or griddle over medium heat.
- Dip a corn tortilla into the reserved consomé, ensuring both sides are coated.
- Place the tortilla on the hot skillet and allow it to crisp slightly.
- Add a generous amount of shredded beef onto one side of the tortilla.
- Sprinkle shredded mozzarella and Monterey Jack cheese over the meat.
- Add chopped cilantro and onions for extra flavor.
- Fold the tortilla over and press gently. Cook until the cheese is fully melted and the tortilla is golden and crispy.
- Repeat the process for as many tacos as needed.
Beginner Tips and Notes
- Choosing the Right Meat: Chuck roast is an excellent choice because it becomes incredibly tender when slow-cooked. Beef shanks add additional richness due to the bone marrow.
- Toasting the Chilies: Be careful not to burn them. If they blacken too much, they can turn the entire sauce bitter.
- Blending and Straining: Straining the chili paste is essential for a smooth and velvety sauce. This helps remove any gritty texture from the dried chili skins.
- Cooking Time: If you prefer using a stovetop instead of a slow cooker, simmer the meat in a large pot for 3-4 hours, ensuring it remains submerged in the liquid.
- Crisping the Tacos: Fry the tortillas in a hot, lightly oiled pan. If they are too greasy, allow excess oil to drain on a paper towel before serving.
- Storage and Reheating: Leftover birria can be stored in an airtight container in the refrigerator for up to 4 days. It also freezes well for longer storage. Reheat on the stovetop or microwave before serving.
Serving Suggestions
- With Extra Consomé: Serve each taco with a small bowl of the consomé for dipping, just like a French dip sandwich. This adds even more depth of flavor to every bite.
- Side Dishes: Pair with Mexican rice, refried beans, or a fresh cabbage slaw for a well-rounded meal.
- Fresh Toppings: In addition to chopped onions and cilantro, consider adding sliced radishes or pickled red onions for a bit of crunch.
- Spicy Kick: Serve with extra hot sauce or diced jalapeños for those who enjoy extra heat.
- Refreshing Drinks: A cold agua fresca, like hibiscus tea or horchata, complements the richness of the dish.
Engagement Features
Birria quesatacos are a fantastic recipe for both beginner and experienced cooks. If you try this recipe, consider experimenting with different cheeses, spice levels, or cooking methods. Share your experience with family and friends, and don’t be afraid to make it your own.
What did you think of this recipe? Did you add any personal twists? Leave a comment and let others know how your birria quesatacos turned out. Cooking should be an enjoyable experience, and there’s always room to learn and improve. Enjoy your meal and happy cooking!